
Fixation Ambassador Hugo Pettit and his shooting partner Finn Pomeroy put the Leica SL through its paces on a recent trip to Austria. Here they talk about their experiences and Hugo discusses his thoughts about the camera.
Hugo
I was heading out to Austria for a couple of days of work and knew I had one full day to get my skis on. Although a short amount of time, the ideal photo opportunities in these environments are slim, you have to take them when you can. Before being asked to review the Leica, I was going to shoot with my ‘go-to’ Canon 5D Mk III. Rugged, light and reliable, I’ve been a Canon man for a long time, I know my way around the cameras well, totally necessary when in an environment where you (or the others waiting for you) are freezing while you change camera settings. This test of the Leica was not about testing every setting, it was about experience, ease of use and most importantly, image quality. I used settings that I know work well on other cameras, therefore much more of a straight comparison.
Finn
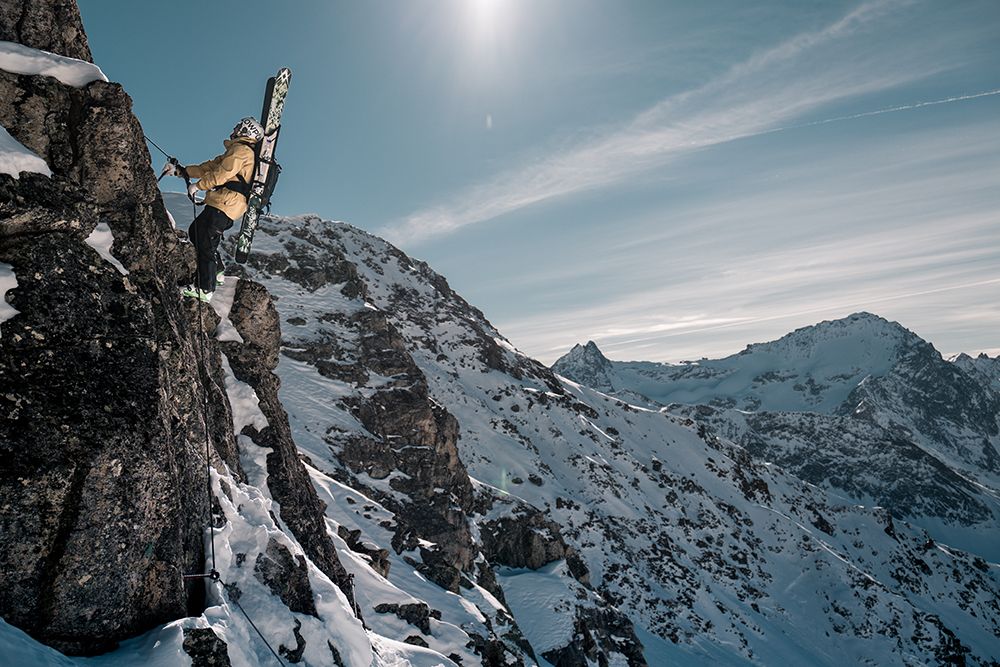
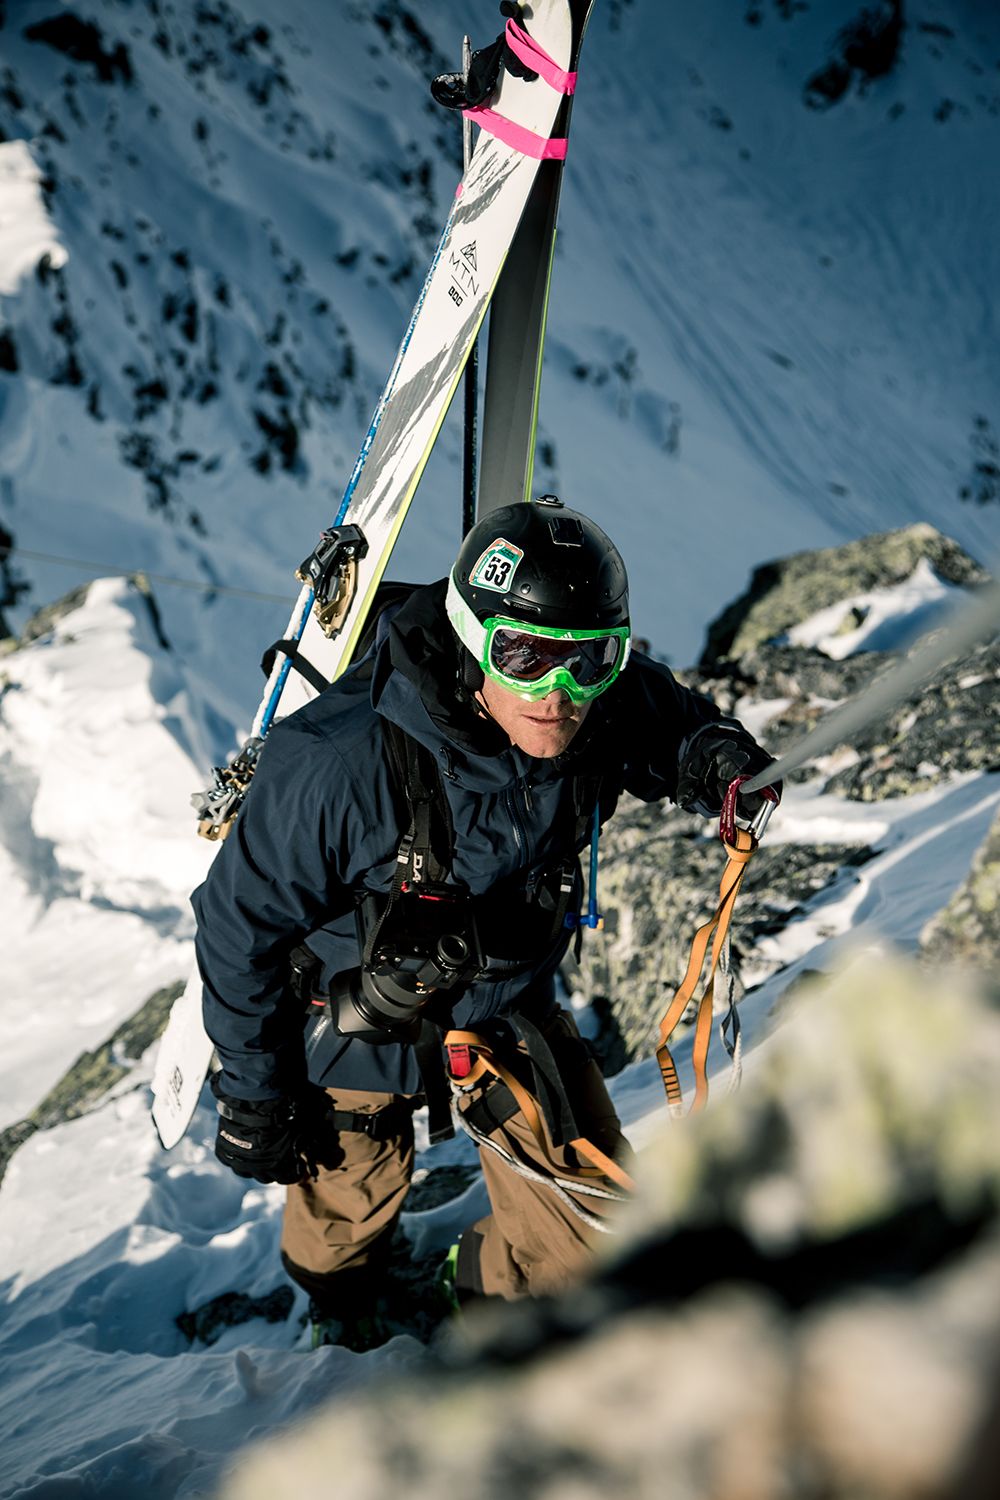
We discussed where best to test the Leica SL as we really wanted to try and show the stunning landscape but also the human exploration element within. We decided after the first day touring that our best bet was to take the camera up on a climb. We could take our time climbing across one of the regions most famous ridges and if we timed it right then the sun would be setting for our descent back into town. We were going on a mission to test the Leica SL but the most key element for everything in the mountains is safety and to ensure we remain as safe as possible. We would be equipped with avalanche transceivers, probes, shovels, first aid kits, food, water and we would be harnessed on with leashes. All the kit goes on our back along with skis and poles and then we have to work out how best to carry our camera equipment. I had my Canon 5D Mk III in my bag alongside my kit whilst Hugo carried the Leica SL on a peak design clip attached to his chest. Both have advantages and disadvantages, my aim was to lead the way and push forward to be able to stop set up shots of Hugo using the SL whereas Hugo was going to be shooting from the hip continuously when a shot presented itself.
 © Hugo Pettit
Hugo
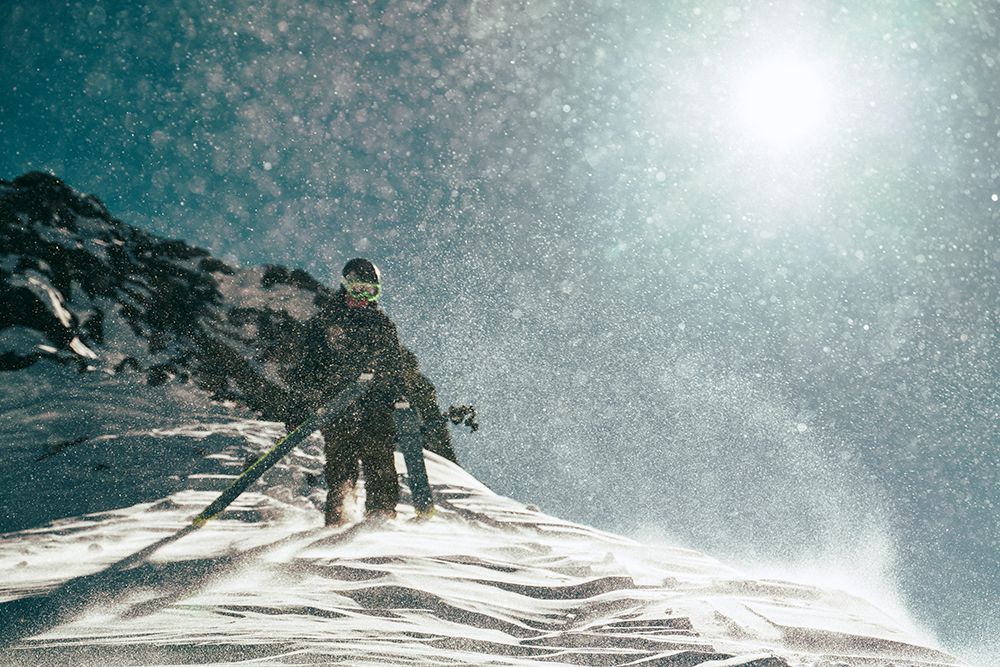
We had about 30 minutes the night before shooting to have a play with the camera; while the aesthetics are beautiful, I did at first feel a little confused looking at the minimalist buttons and lack of instruction. However, I got to grips with the basics quickly and set the camera up on Manual exposure and flicked the ISO to auto, setting the maximum to 3,200 and minimum to 50. On photo shoots where timing is key, (unless you’re well versed with changing these while looking through the viewfinder and shooting!) it’s very handy not only to be able to set the min and max ISO but to do this and trust the camera’s dynamic range and image quality is fundamental.
We shot with 2 x 64GB cards inserted in the camera to reduce faff having to carry extra cards and carried a full battery in a jacket pocket, close to my body heat! Batteries in cold environments don’t generally perform very well, so from the outset, with an electronic viewfinder and every part of the camera being electronic, battery life was certainly a worry.
 © Finn Pomeroy
Finn
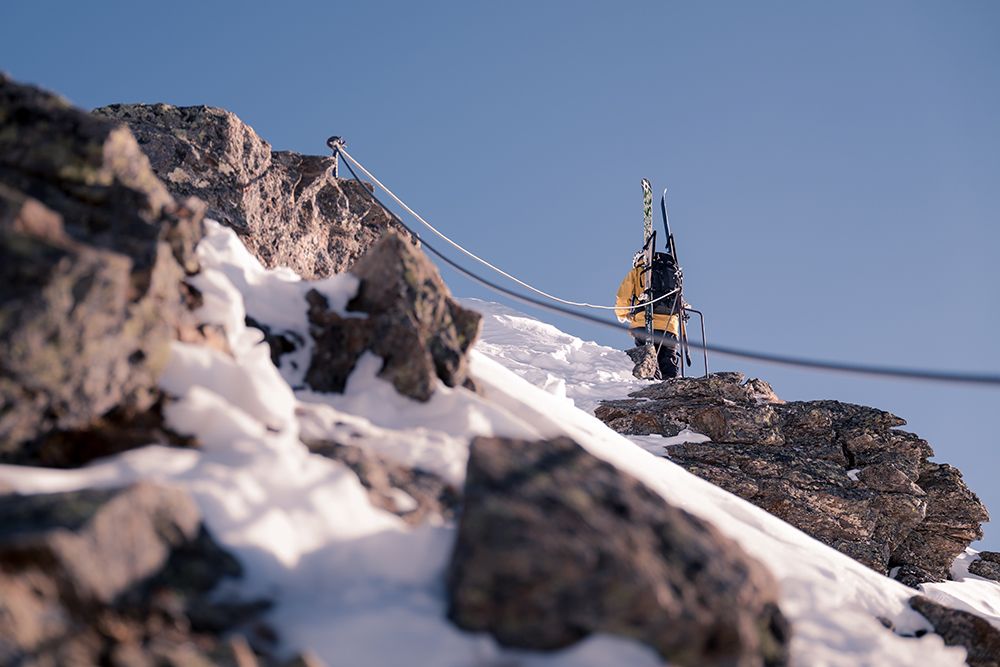
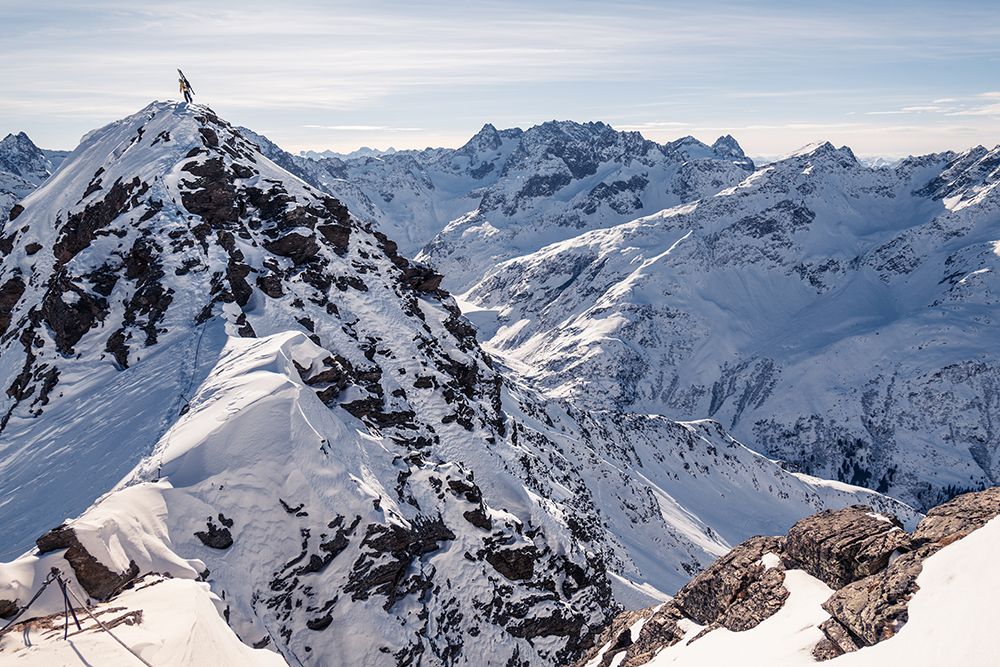
We wanted to leave toward midday as then the ridge we were climbing would sit in the sun nearly continuously. It worked out well and, apart from the initial ascent, we had some beautiful light to use and work in all day. It’s quite an undulating climb varying between vertical sections, down climbs and meandering ridges with sheer drops either side. I pushed forward and allowed Hugo to shoot in as much space as he needed. He would radio through to me when a shot appeared and we would work together with his direction where I needed to be. Unsurprisingly he would normally find the most precarious positions to shoot in. I normally work directly with athletes as does Hugo, so to work together on shots was really refreshing and be able to describe from a photographic point of view the direction we both wanted sped the whole process up.
 © Hugo Pettit
Hugo
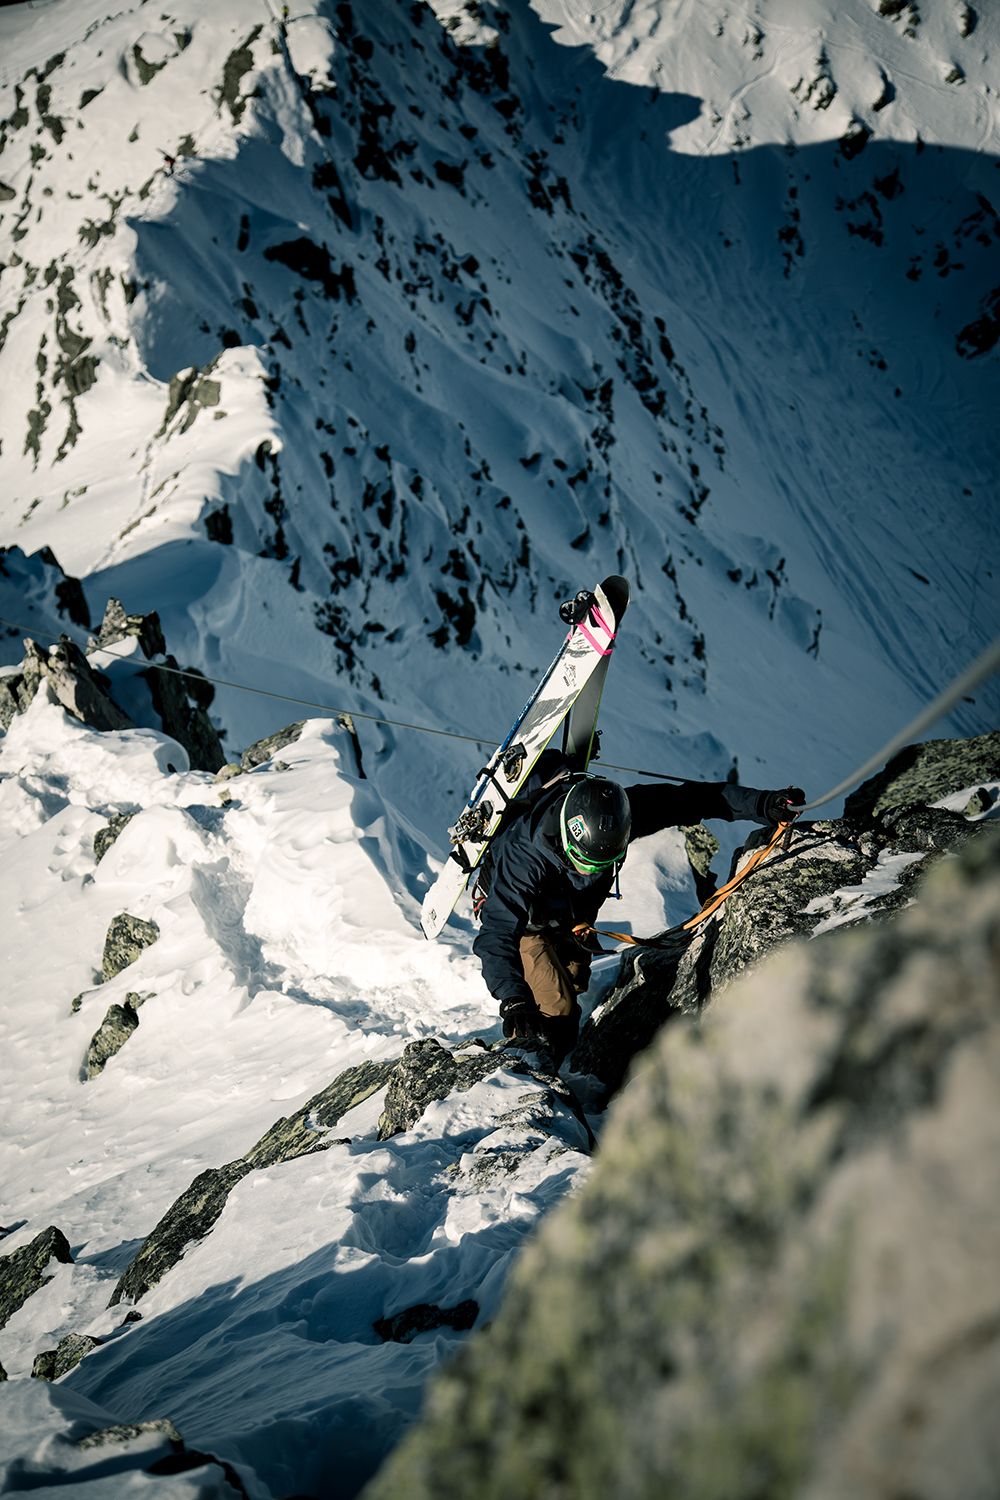
We got as high up the Rendl side of Sankt Anton as we could by lifts before started our climb along the Klettersteig from there. I used Peak Design’s Capture Pro to attach the Leica to my rucksack strap on my chest. The potential risks of climbing rock faces with over £10,000 worth of equipment round your neck are lessened somewhat with this handy piece of kit that I’ve used numerous times and trust implicitly. It was a beautifully sunny day with minimal wind and we had the mountain to ourselves. With skis and poles on my back, a climbing harness and two leashes and carabinas, I was clipped (where possible) onto a cable that ran up the spine of Klettersteig. Where I (not necessarily Finn) had a steady footing or where I felt it was a particularly beautiful setting, I had the opportunity to use the Leica, unclipping it from the Peak Design unit while still having the Leica strapped around my neck.
 © Finn Pomeroy
Finn
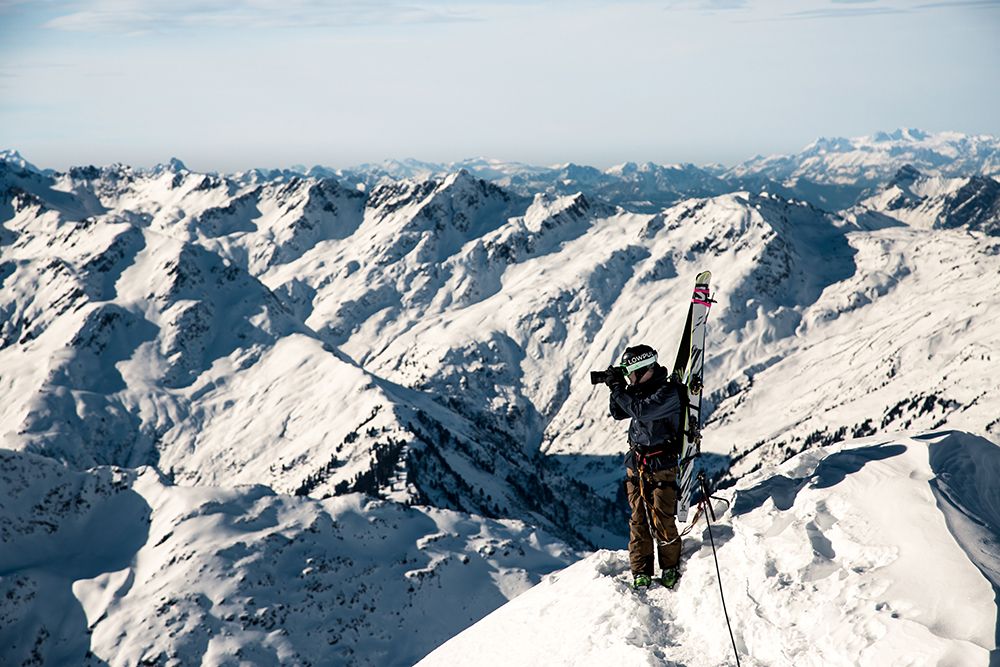
It took us a few hours to reach the main peak from where we would start our down climb and to drop in for the skis. The Leica had been producing some stunning images and we took a few moments on the top to review what had and hadn’t been working. I’m used to being in the mountains with my Canon throwing it around, relying on it fully and knowing it inside out. It was really invigorating to be shooting on the Leica and seeing how it held up in the more than adverse conditions. The images seemed to be coming out as we’d hoped and my behind-the-scenes shots of Hugo had been working in a similar fashion.
 © Hugo Pettit
Hugo
Having spent some time arranging kit so that unnecessary movement was minimised, I was still worried about the ‘inevitable’ battery change. Leica have removed this with two simple solutions: Having a very simple and intuitive battery removal 2-step-system, and more importantly, creating a battery that I didn’t have to change all-day… unheard of! I climbed with lens cap and lens hood on to protect the lens, and despite watching the hood roll off a cliff, it was with just 100 metres of climbing left, so I felt secure that the kit was safe. Having said that, I would certainly tape the hood on and certain parts of the camera up to reduce potential scuffing of the beautifully design aluminium body.
 © Hugo Pettit
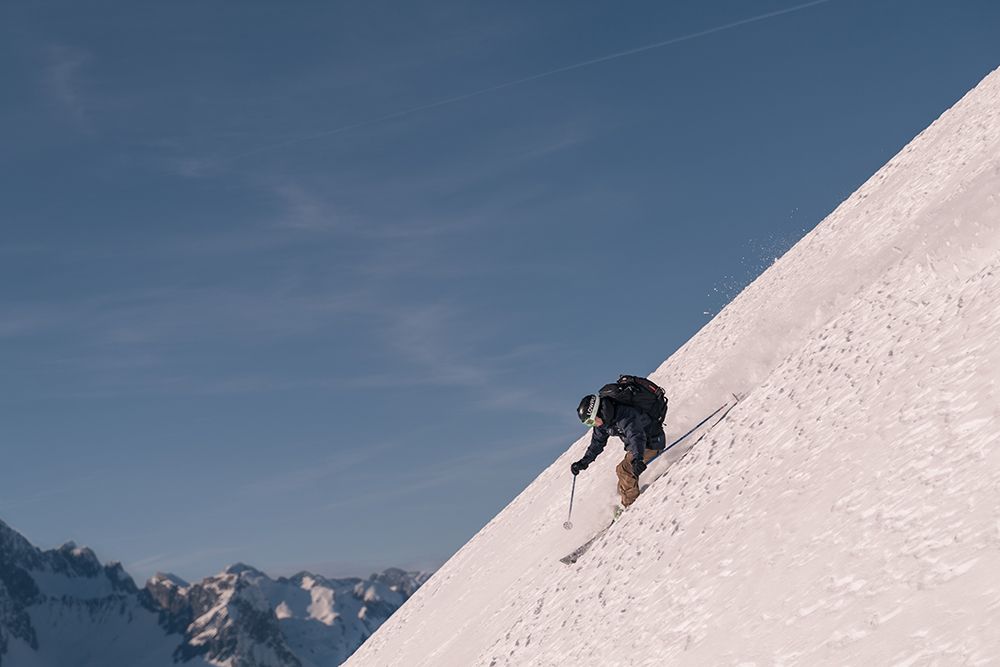
What I look for in a camera, aside from ease of use in the more extreme environments, is simply image quality. There is obviously a price difference between the Leica and my Canon 5D Mk III, but I am incredibly impressed with the image quality and I definitely feel it’s worth the difference. We shoot in a huge variety of locations, our most natural of which are in the sea and the mountains. These environments offer incredible beauty but sometimes tricky lighting conditions. The contrast between the highlights and shadows is always extreme and unappreciated. What the Leica does beautifully is pull light and definition from the shadows. At low ISO’s (below 2,000) it has an incredible dynamic range. Added to the general image quality, this camera excels in these environments, allowing you to pull the shadows and crop very effectively when editing images.
 © Finn Pomeroy
I would love to spend more time with the camera, fully get to grips with the various settings and ability to change the functionality of the various buttons. Not only this, but the video and amazing image stabilisation looks tasty, I have some film projects upcoming which I’d love to shoot with the Leica.
Overview
Pros
- Amazing dynamic range
- Clarity and image quality
- Camera aesthetics and solid build (with just two pieces of aluminium)
- Easy to use with gloves on (as long as you don’t have to go into the menu)
- Easy buttons and dials (once you know what they do!)
- Easy focus point adjustment while shooting
- Easy battery lock system and card slots
- Great battery life
- ISO 50 with 1/8000 sec shutter allows for large aperture
- Dual card use (with addition of UHS-II for extra speed)
- Floating ISO – changes in ISO when changing zoom (and thus maximum aperture)
Cons
- Electronic viewfinder in bright light is hard to see (extra hand sometimes needed to cover incoming light)
- Takes a while to familiarise yourself with the menu and controls; less buttons means more time spent in the menu sorting the personal controls. Good in the long run, not great if you’re picking it up for the first time
- Weight (heavy)
- Controlling focus point shooting from a long distance or picking a small point at 24mm
 © Hugo Pettit
Verdict
In a studio or in any environment where playing with settings is more appropriate than the sea or on a sheer rock face, this camera is in it’s natural home off the shelf. However, despite the seemingly unintuitive menu and minimalist buttons, with some time spent creating the perfect menu setup, this is also a camera I’d love to spend more time with in the mountains and the sea. With extra preparation, I can envisage this camera actually becoming easier to use than the more standard DSLR, with many more buttons on the back.
With image quality being paramount, this is where this camera excels. While finding some focus points a little tricky to control, the images I got out of this camera were noticeably better than my Canon 5D Mk III. With the huge contrast in light and dark in the mountains, it proved a great test of it’s dynamic range and image quality and has passed with flying colours.
Weight is always an issue with the choice of camera and despite it being comparatively heavy and seemingly cumbersome, the hardwearing aluminium shell offers great protection to a fantastic piece of kit. It’s important to continue to learn and finding my way around this camera in time is something I look forward to. It’s nice to be sure that it’ll be worth the time through the quality of images.