Gumball 3000: A mass collection of supercars, taking on a 3,000 mile journey from Riga to Mykonos in the summer of 2017.
The entrants have 6 days to complete the drive which is segregated nightly by parties and dinners full of glitz and grandeur. Crowds fill every city that the moving circus pulls into, with fans desperate to get a glimpse of the cars they have swooned over on Instagram. It’s a level of euphoria that is hard to explain without witnessing first hand with tens of thousands of people filling streets, squares, climbing trees and attempting to clamber over security barriers. Through past work with Gumball, Finn, Hugo and 8 Seconds Media were granted AAA for the entire event, so had free roam to shoot as they pleased, enabling them to cover the rally from a unique and embedded angle, with the help of Fixation.
 © Hugo Pettit
In Hugo’s own words:
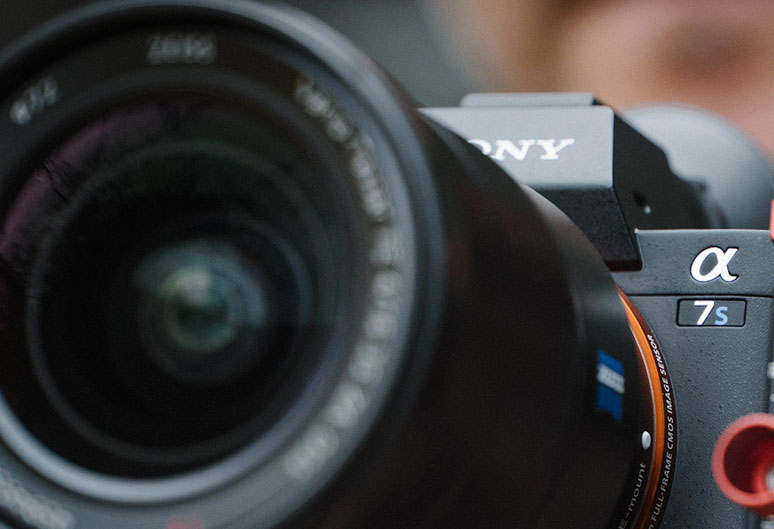
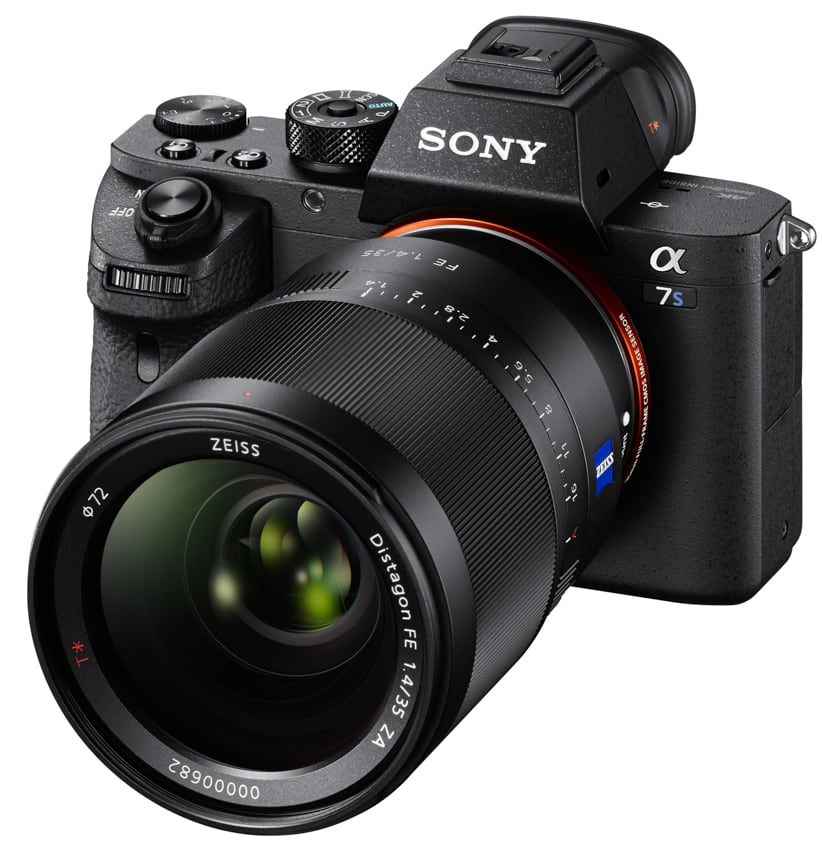
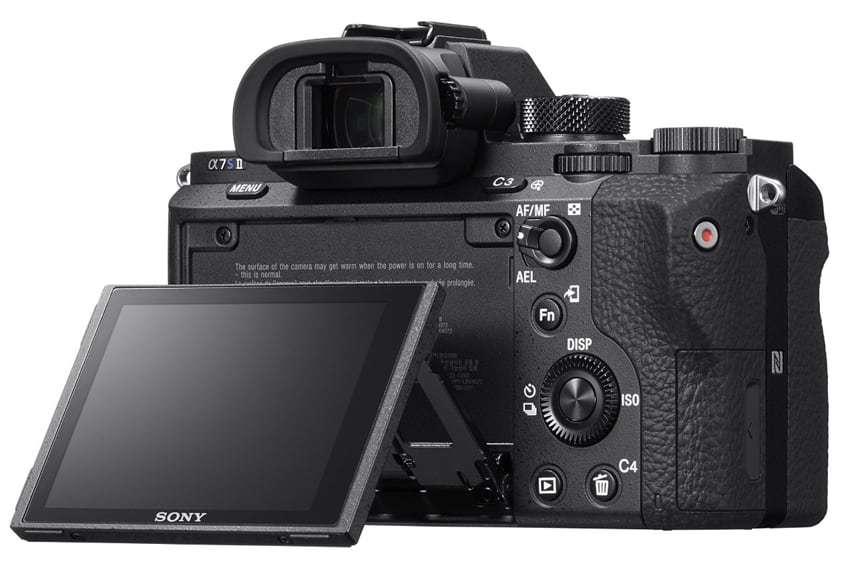
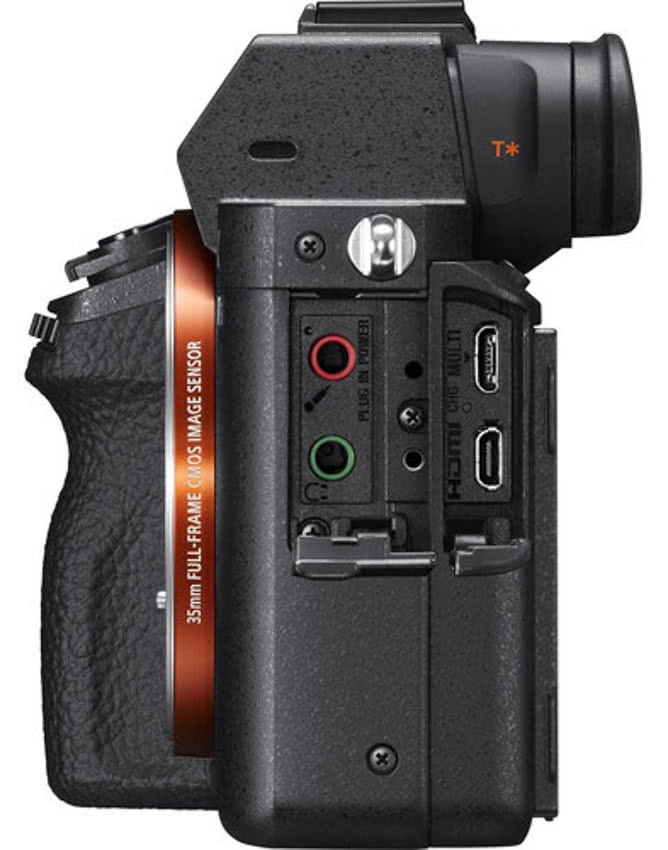
Organising the logistics for the trip ourselves, we planned a 3 week route with Gumball sandwiched in the middle and the first stop in Thirsk to see long standing partners Twisted. Having picked up our beautifully re-engineered Land Rover defender, we boarded the ferry to Europe, the start of a huge triangular trip around Europe. Commissioned to shoot both film and stills, we used the Leica SL and M 240 and for film we used our own Sony A7S II and bolstered it with another A7S II and the Sony FS7 II with a couple of Sony 24-70mm ƒ/2.8 lenses. These were rented from Fixation and were chosen for the A7’s ‘run-and-gun’ abilities and ease to mount on the DJI Ronin-M, and the FS7 II for the higher frame rate and image quality.
Arriving in Riga, we planned our route through the 10 countries that comprised the rally. It was a surreal trip; it’s rare to be able to have the time to travel through each of these countries by car and actually explore them. Although driving circa 500 miles per day, the route dissected some of each countries most beautiful roads. Mountains, coastlines, plains and stunning rivers, it was amazing to watch the scenery change the further south we travelled. Staying each night in generally the capital city of whichever country we were in, we also had the job to capture the other side to the Gumball price tag; the wild and decadent parties that occur each night, laid on for the Gumballers. While only a certain amount can be disclosed and captured on film, safe to say it was an eye-opening and amazing experience.
 © Hugo Pettit
A particular highlight was arriving at the Albanian border. Met by a huge convoy of police men and cars, one for every 10 Gumball super cars, we were under the assumption that it was going to be one of the more boring legs of the journey. Not only is Albania absolutely stunning but it seemed the the ‘creme-de-la-creme’ of police cars and drivers and been chosen for the role, while what felt like the rest of the Albanian police lined the road into Tirana (our stop for the night) to keep other traffic and people off the roads. There was not one point along the route in Albania that there were not fans in sight, desperate to see the cars. Back to the police cars, it seemed they had been instructed to drive at 110mph through the whole country, regardless of the then unimportant speed restrictions lining the roads, corners and other cars. There were moments that were effectively 170 super cars in a line/group speeding legally through some of the most beautiful countryside we’d driven through. To then be met by the crowds that awaited us in Tirana and the night that followed topped it off. A true Gumball experience, one that could not have been replicated in any way shape or form.
 © Hugo Pettit
We spent the trip effectively moving from hotel to hotel and otherwise living out of the back of the Twisted, only just about enough space for the 4 of us, our kit and the ability to work and edit continuously while driving. With power inverters for the car, we also had all of our kit charging, definitely pushing the limits of what car fuses can usually handle.
Living out of a bag and shooting is something we’re used to but to do so while working the hours that were required each day was taking, not only for us but the kit too.
Our daily routine would see us up at 5.30am and we worked straight through until around 2.00am when we could finally hit the sack.
We finished up a laptop screen and a Sony RX100v down at the end, but the Sony A7S II’s (kept in Tilta cages or on the DJI Ronin-M) and the FS7 II kept in it’s supported bag were safe from the enduring amount of use they saw. Sony have an amazing range of cameras, of which the FS7 II and A7S II were perfect for this job. While the superior image quality and higher frame rate of the FS7 II were key for certain shots, we used the A7S II for the majority of the work, especially as we had one mounted constantly on the DJI Ronin-M. With our very-much run-and-gun approach to the job and lack of specific structure to the edit afterwards, the key for this project was to shoot as much as we could and build the edit’s story afterwards. This suited the A7S II hugely. It’s light, holds an SD card (great for quickly dumping footage onto an Macbook Pro) and is easily small enough to have sat with me while editing in the back of the car. I had it set up to shoot at 100fps continuously, giving me the ability in the edit afterwards to be able to slow footage down appropriately.
 © Hugo Pettit
The FS7 II however, although providing beautiful footage and amazing dynamic range, was much harder to have as a run-and-gun camera. Almost too bulky to have out the window of the car while moving and definitely not the space to have it next to me while editing, the FS7 II lived in its case in the boot when not being used for setup shots at specific locations. Once on location however, it performed beautifully. With its built-in stabiliser function, the camera lived on my shoulder and even at 25fps shoots a very steady image with functions easy to manage without putting it down (once you had the menu system memorised!). With the FS7 II, we shot mainly in 150fps and had the camera set up (through a customised S&Q button at easy reach) so it took just one button to switch between 25fps and 150 fps, a very handy function to have.
Having grown up as a photographer, I’ve got used to constantly and manually managing light through ISO, aperture and shutter speed, dependant on the point of the shot. The A7S II works well for those that have evolved from stills photographers, apart from the added necessity of a variable ND. If you shoot in S-Log3, which has the best dynamic range, your minimum ISO is 3200, which therefore immediately requires a variable ND, even if you were to dare shooting at ƒ/22 and a shutter far too fast for the fps (to match the speed of you eye, your shutter speed should be double that of your fps e.g shooting 100fps, your frame rate should be 1/200 and similarly, if you’re shooting 25fps, your shutter speed should be 1/50). One of the beauties of the FS7 II however, is the easy switch between the terms ISO and GAIN and the use of the in-built variable ND, which operates seamlessly, great for variable lighting conditions.
 © Hugo Pettit
Both cameras have well-discussed pros and cons that I’ve highlighted above and below, but using them in conjunction with one another was the perfect combination on such an event. Where the image quality and higher frame rate were needed, the FS7 II was the camera of choice, while the A7S II had the huge ‘run-and-gun’ advantages that were required more often the not shooting in night clubs, out of cars and in areas where bulkier cameras are less welcome/easy to operate. One of the beauties of having what looks effectively just like a stills camera is people don’t immediately react. The FS7 II doesn’t go unnoticed!
A7S II advantages:
- Light and Easy to use
- Great for night life with the low light capabilities
- Great continuous autofocus capabilities with native Sony lenses attached
- Great handheld image stability when not on the DJI Ronin M
A7S II disadvantages:
- Complicated menu if it is not your own camera and difficult to quickly setup custom buttons
- Noticeably lower image quality than the FS7 due to it’s 8Bit limit
- Poor battery life
FS7 II Advantages:
- Beautiful dynamic range and footage quality
- Easy and smooth variable ND built into camera
- With correct setup, easy to switch between S&Q Motion (High frame rate) and continuous 25fps 4k shooting
- Good battery life
FS7 II Disadvantages:
- Difficult to setup
- Can only use constant high frame rate settings with specific software updates and v lock power pack
- Bulky and therefore cannot use on the Ronin M or have it in a small rucksack or sitting on lap
- Small monitor and hard to view in bright sunlight, imperative to use the eye-cup
Gumball 3000 from 8 Seconds on Vimeo.