
Image stabilisation is a common feature on modern lenses, giving up to 4 stops advantage, and we’ve all enjoyed the benefits in those tricky low light situations where we don’t want to push the ISO too far.
The principle behind the technology is similar, regardless of manufacturer. A group of floating elements positioned near the rear of the lens are held in place by a series of electro-magnetic coils. Two gyroscopic sensors detect horizontal and vertical movements, and corrective adjustments are relayed to the electro-magnets which in turn steady the floating elements, resulting in a much sharper and steadier image.
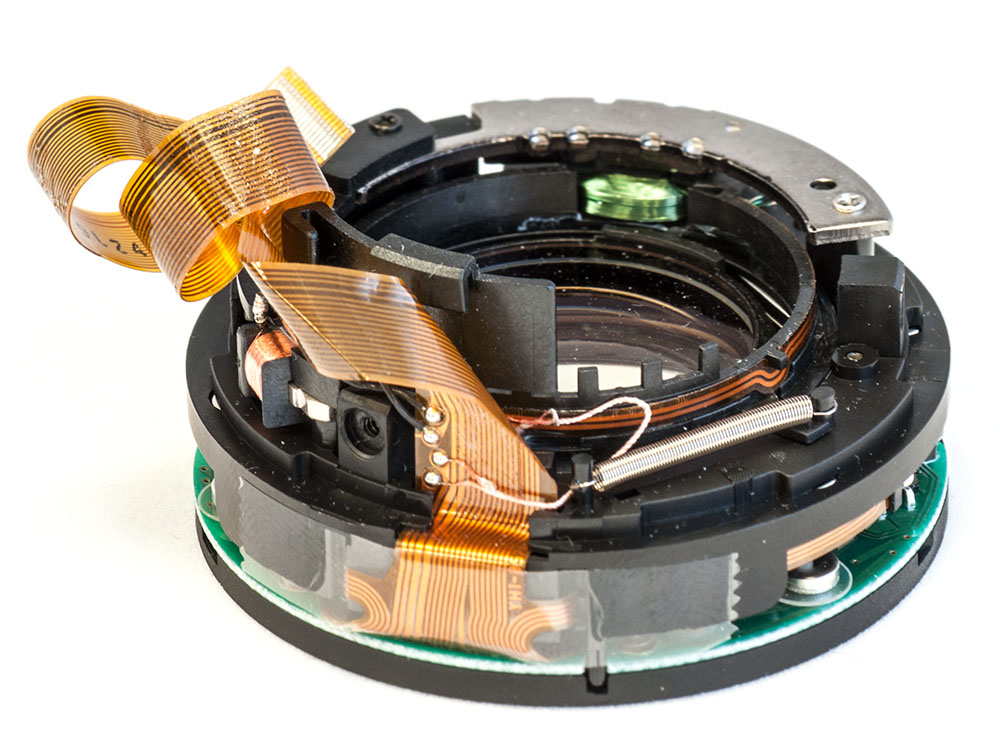 The IS unit from a Canon 100-400mm ƒ/4.5-5.6L IS lens.
Now with all this electronic technology sitting in the lens – effectively a mini computer – it goes without saying that care should be taken with your glass, especially as the stabilisation systems can be easily damaged if care isn’t taken when removing the lens.
When the lens is attached to the camera and powered on, the electro-magnets release the elements, ready to stabilise the shot once the AF is activated. But when the camera is turned off, the power to the electro-magnets is deactivated and the elements lock in place to minimise any damage if the lens is knocked.
However, if the lens is removed before the elements have a chance to lock, they can float around freely and are susceptible to damage. The golden rule here is to ensure the camera is turned off and wait a couple of seconds to allow the elements to lock before removing the lens. On some lenses an audible click can also be heard when locking.
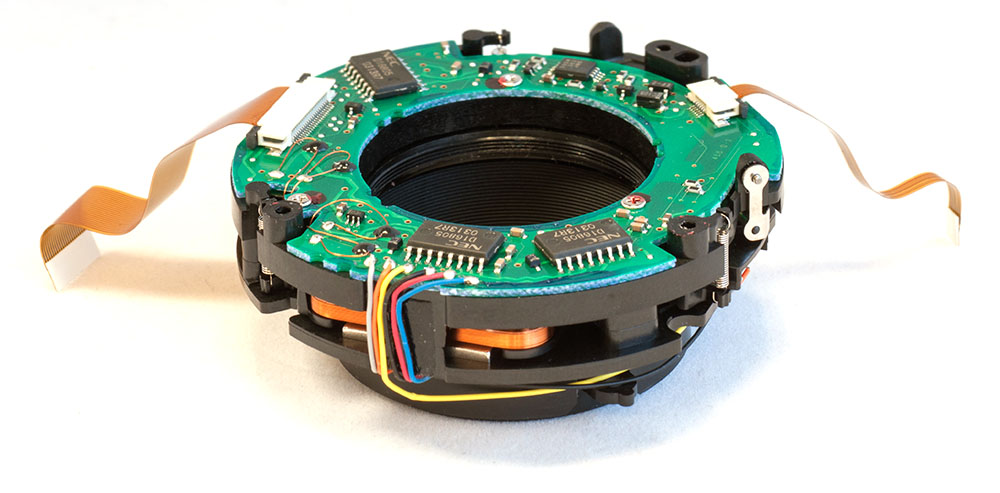 In some Nikkor lenses, the VR unit can be replaced without having to replace the floating element group. This example is from a 70-200mm ƒ/2.8G (1st Gen).
Lenses with damaged stabilisation units are something we see every week in the workshop and replacing these units can run into several hundred pounds, depending on the lens.