Longtime Nikon user Holly Wren pitches the Nikon D850 against her trusted D800.
The announcement of a new camera gives rise to a wave of excitement in me, in a flurry of geeky activity I am researching for leaks and specs.
So when I heard about the D850, I reached a new level of excitement; my heart may have even skipped a beat. Could this be the one?

As a portrait and lifestyle photographer I’ve struggled for a few years with which Nikon I want to use. I started way back 6 years ago with the D800, then added a D4.
The D4 is an excellent camera; I bought it for the ISO capabilities and it didn’t disappoint. But for my use (and for my osteopath), it was too heavy and the resolution wasn’t quite what my clients demanded. It had astonishingly great shutter speeds, amazing focusing and is durable but sadly it spent most of it’s life on the sidelines, as I chose my D800 over and over again.
Although, getting into a fully committed relationship with my D800 proved impossible when I found a few issues with focusing – an area that the D4 beat it hands down. The arrival of the D810 was beacon of light and although there were some improvements, I just couldn’t see enough of a difference between that and my D800. So I held fast, waiting for a game changer.
The announcement of the D5 had me tempted, but as my much as I knew how insanely good this camera would be, it didn’t tick all my boxes. My one true wish therefore, was that the D5 and D810 would spawn a love child. And luckily for me, they did. It’s called the D850.
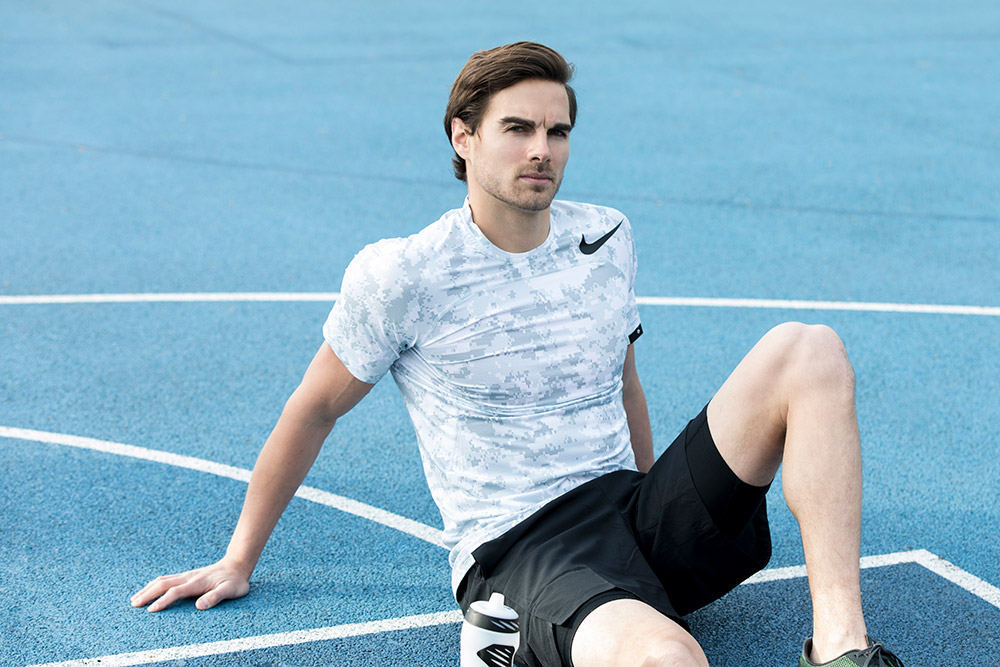
 D850 + 50mm ƒ/1.4G 1/800 @ ƒ/4.0 ISO 2000 | © Holly Wren
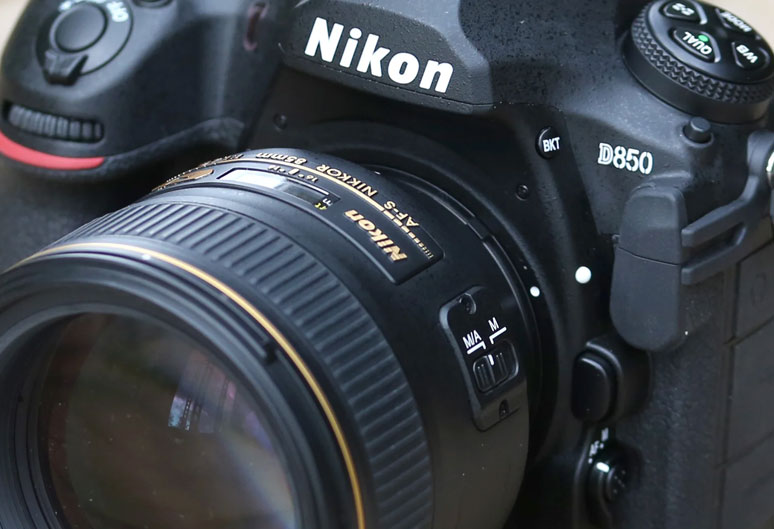
I’ve had this camera since it’s launch, so have had the opportunity to use it a fair few times. I won’t give you a run down of tech specs – although if you want them, you can find them here. I want to tell you why I, a commercial portrait photographer, have started a love affair with the D850.
Firstly, high resolution. A 45.7 MP sensor is no laughing matter – certainly not for your bank manager when he sees the add on costs of shooting on a camera with these capabilities. Yesterday I spanked £239 on an XQD card, then I threw up. Unless you’re a rich amateur, this camera is not for the faint hearted.
But if you have the clients, and the deep pockets, this camera won’t disappoint. The image quality feels distinctly “medium format” and looking at my images, they took a little getting used to. Gone is the softness, this is all about detail, which arguably for portraiture, can sometimes be too much. Remember that bad skin you wanted to hide? No more. But if you can get through that, the camera delivers the ability to create outstanding portraits, with impeccable detail which can be printed large format. I personally love this look, and I’m never worried I can’t deliver large files.
But a word of warning, a large sensor means everything shows, and in order to keep camera shake or blur out of your images you’ll need to compensate with high shutter speeds – I’ve figured out that even 1/250 second may be a little risky….
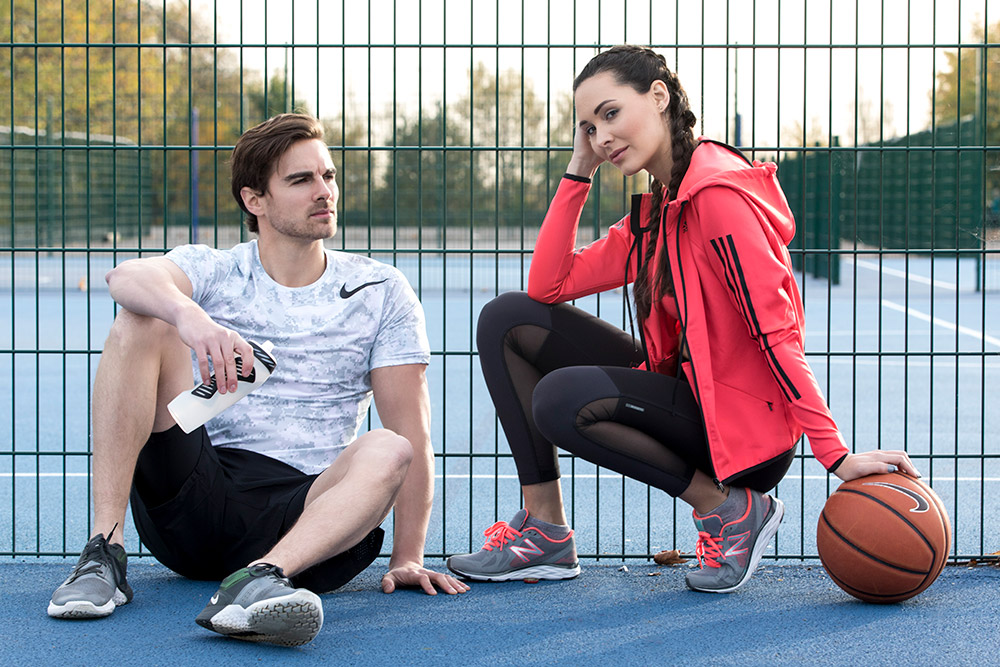
 D850 + 50mm ƒ/1.4G 1/125 @ ƒ/3.5 ISO 1250 | © Holly Wren
Autofocusing – this is the biggest correction point for me. My struggle with the D800 and subsequently the D810 is that, on certain lenses there have, at times, been autofocus issues. The D850, in my testing thus far, hasn’t failed me once. Probably thanks to the fact it’s been blessed with full AF capabilities of Nikon’s flagship sports camera the D5 (which is arguably one of the best AF systems out there).
Of course, I’d always recommend that you calibrate your prime lenses for optimal performance, but knowing you have the AF hardware capabilities of the D5 is a mega helping hand. In my experience, it still struggles a little in lower light, but what camera doesn’t?
ISO capabilities – the official line is that you can shoot from ISO 64 to 25,660 standard (ISO 32 – 102,400 extended). Now let’s be honest, that sounds impressive but mainly it’s completely irrelevant. What I care about is how far can I push it with zero recognition.
I like to balance light, the UK weather demands I use flash, but I love ambient and natural light, and a large part of that relies on my ability to push the ISO. Push it but most importantly, not see it. I don’t like noise, I don’t want grain. And the D850’s improved ISO abilities, this is no problem. I can get to around ISO 5,000 without seeing too much, on my D810 I don’t go beyond 3,200, so I have a few extra points to award here for that improvement.
And they are my 3 key reasons I love the D850, but there are a few more I’d like to sweep up that have impressed and pleased me about this camera, those tweaks that were necessary and timely, but do warm my heart on a cold day.
The new backscreen, larger and brighter its now a touchscreen back, which for added enjoyment and ease also tilts. Battery life is also greatly improved, beyond recognition in fact – it now feels more comparable to that of the D4.
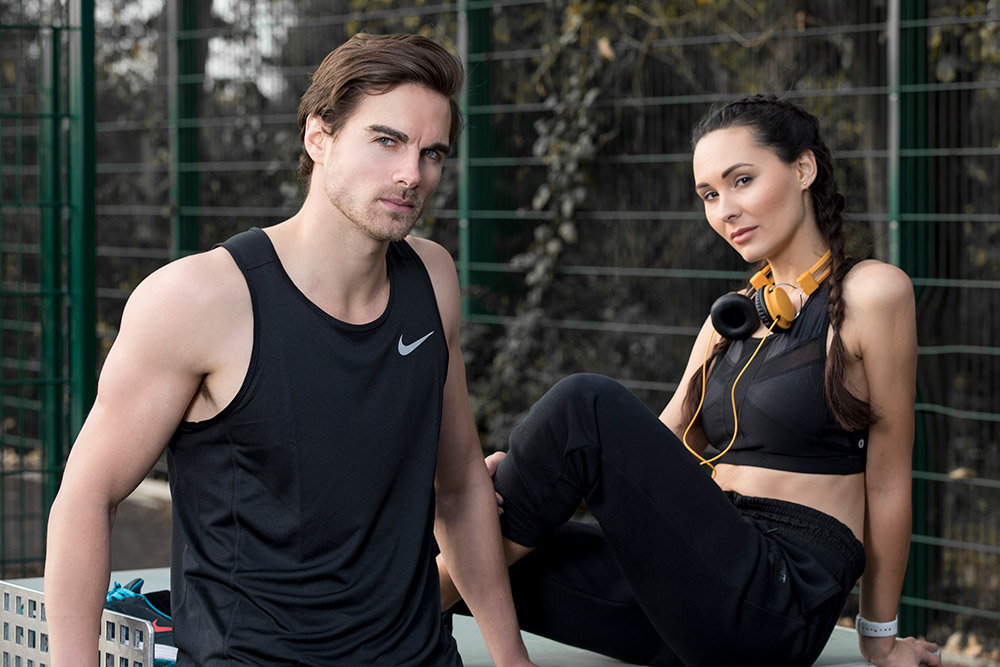
 D850 + 50mm ƒ/1.4G 1/160 @ ƒ/4.0 ISO 1600 | © Holly Wren
And finally, but most importantly, Nikon have ditched the pop up (should I call it compact?) flash – thank the lord. No more looking like an amateur, catching the flip up when using my TTL trigger and most astonishingly, bashing myself in the face. Thank you Nikon. You heroes.
There are rave reviews everywhere about the D850, so I am in no doubt that technically it outperforms it’s predecessors, so I’m happy to announce that, in my experience the reality does not disappoint.
In conclusion, do buy it if:
- You want a “medium format” feel / shoot for large format printing
- Want D5 performance Auto focusing
- Need to push to high ISO’s
- Want a noticeable upgrade to your D800 or D810
- You’re sick of bashing your face on a pop up flash
Don’t buy it if
- You expect the wifi file transferring to work perfectly (aka SnapBridge)
- You don’t have money to burn on cards and hard drives
- You shoot anything fast moving and are likely to work on low shutter speeds
- You want to disguise detail not add it
All in all, this camera has me excited. At last, my problems are solved – I have a camera that I can fall truly, in love with. And I feel like the D850 and I have a real shot at living happily ever after…. (well at least until they D860 struts into my life!)
The Nikon D850 retails at £3,449 but you’ll have to put your name on the list, they’re still few and far between!