Micro Four Thirds | What Are the Advantages and Disadvantages images

Micro Four Thirds | What Are the Advantages and Disadvantages?

In a world of full-frame mirrorless cameras and DSLRs with ever-spiralling megapixel counts, do Micro Four Thirds cameras have a legitimate claim on the professional photographic market? The system that was launched by Olympus and Panasonic in 2008, was an evolution of the original Olympus Four Thirds concept and is still going strong today. New cameras and lenses are continually being released for the system, however, it can be difficult for photographers to get a sense of whether this system is right for their needs.

We’ve put together a quick, contemporary guide to highlight the pros and cons of the Micro Four Thirds system in an attempt to make things a little easier for you.

Like every camera system, Micro Four Thirds has its advantages and disadvantages. Use this guide to figure out how these pros and cons would correspond to your needs as a photographer and/or videographer, and whether that means Micro Four Thirds is right for you…. .

Advantages

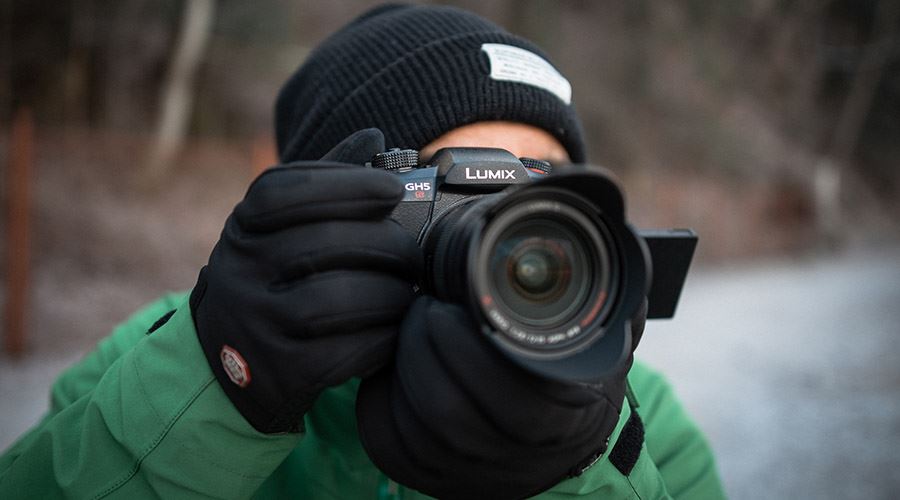
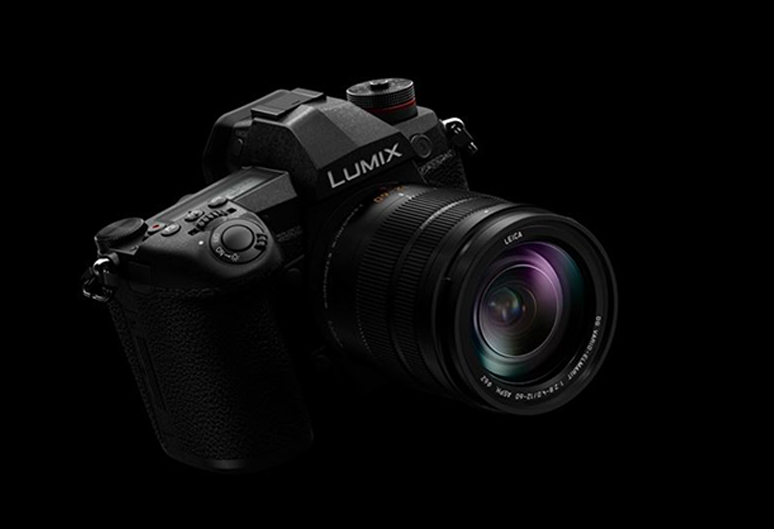
Smaller and lighter – This is something Micro Four Thirds cameras have been known for since their inception, but it does bear repeating. Most Micro Four Thirds cameras are significantly smaller than their DSLR counterparts and smaller than most full-frame and APS-C mirrorless cameras. This also goes for the lenses, a Micro Four Thirds telephoto tends to be noticeably lighter than a telephoto for DSLRs. If you’re the type of roaming photographer who needs to carry their gear around a location, this reduction in weight can really add up over the years. The smaller form factor of the cameras also provides an advantage in situations where you want to be unobtrusive, such as wedding or street photography.

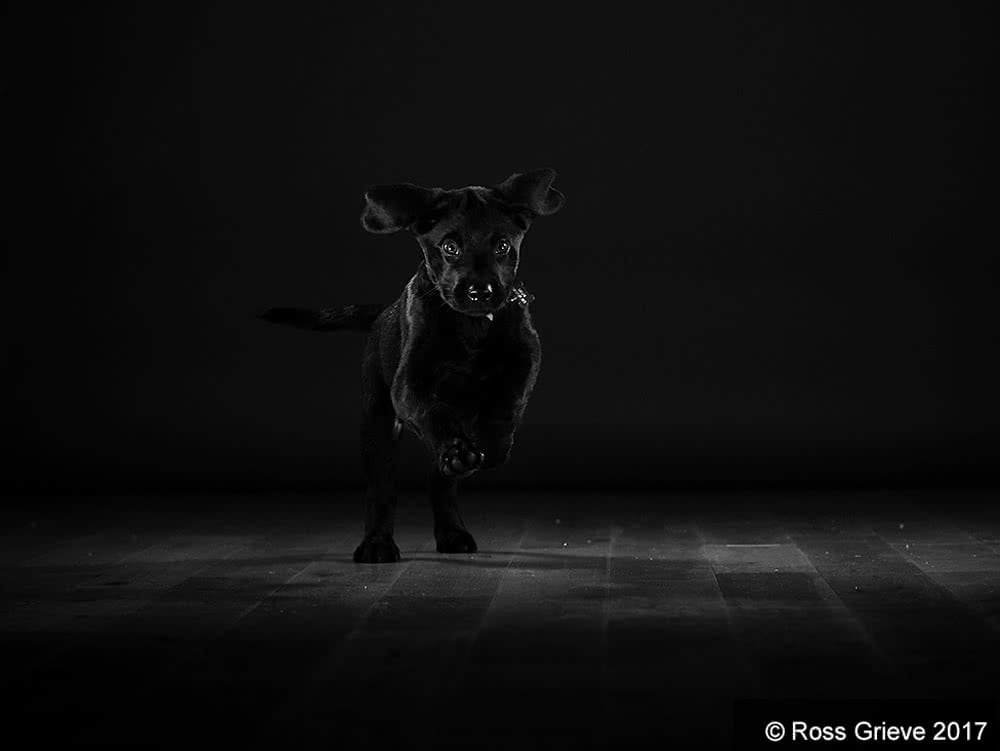
Longer focal lengths – The sensor size of a Micro Four Thirds camera provides an equivalent focal length of 2.0x that of a full-frame camera, providing the same field of view as a full-frame lens with twice the focal length. A 300mm lens acts like a 600mm focal length on a full-frame camera. For shooting distant vistas or easily spooked wildlife, this is a godsend, allowing you to achieve focal lengths that wouldn’t be possible on full-frame cameras without spending massive amounts of cash.

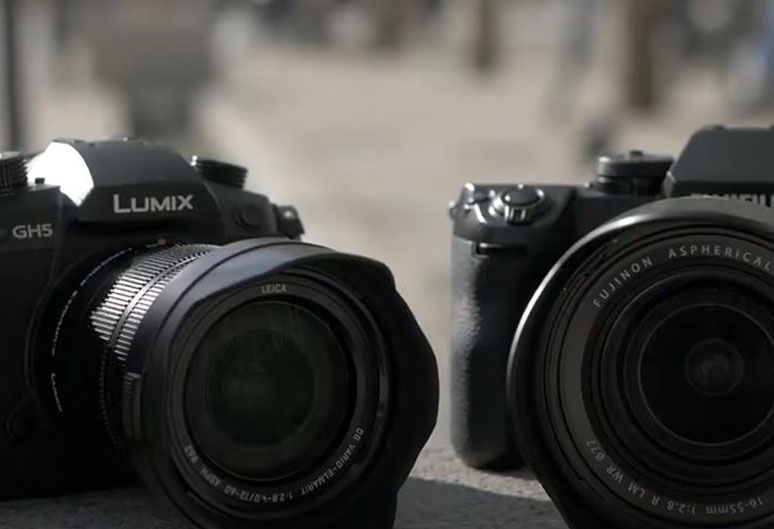
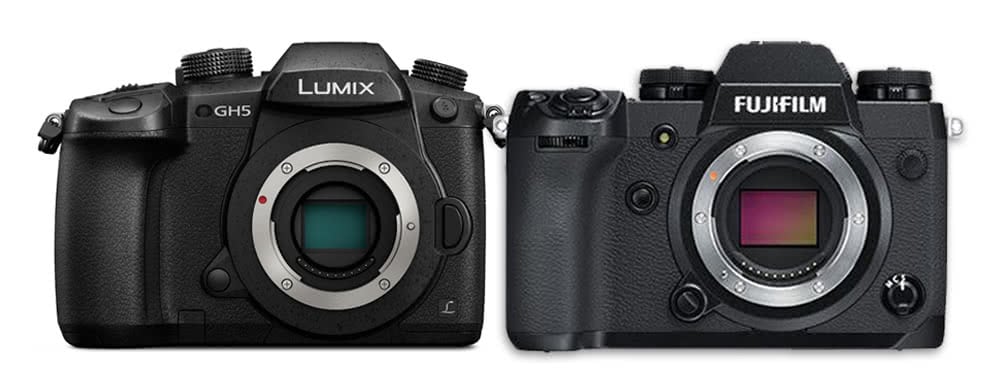
Mix and match lenses – The co-operative, collaborative nature of the Micro Four Thirds system is something we’d like to see more of as it’s so useful for photographers. Panasonic Lumix users can snap up the latest Olympus lens, stick it on their camera and start shooting, and vice versa. No adapters, no fiddling – it just works. How nice would that have been during the great Canon vs Nikon wars of the 1990s, eh?

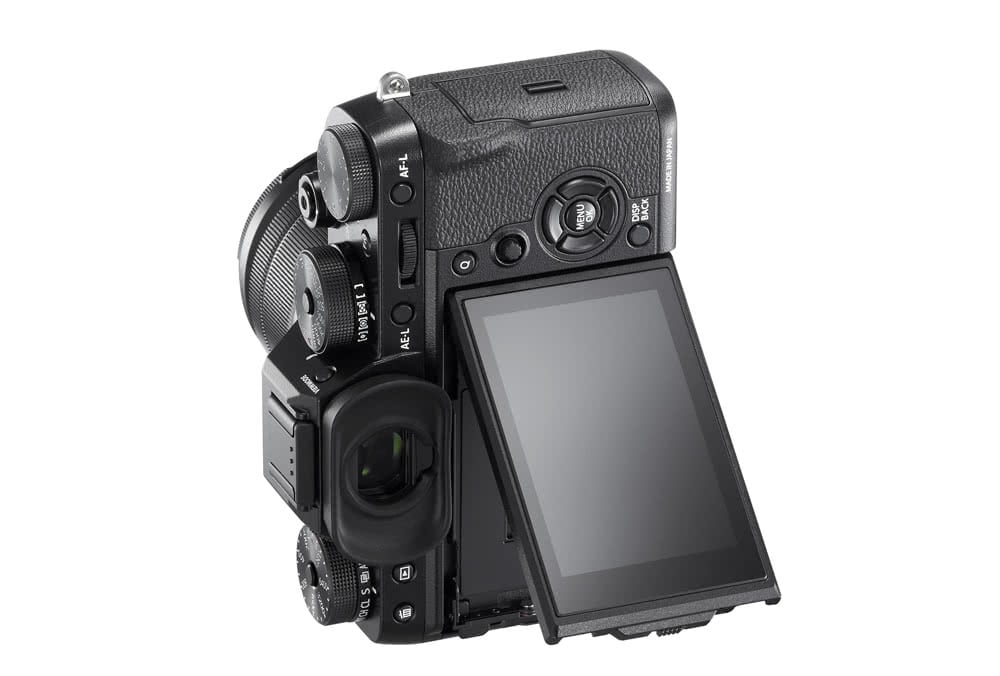
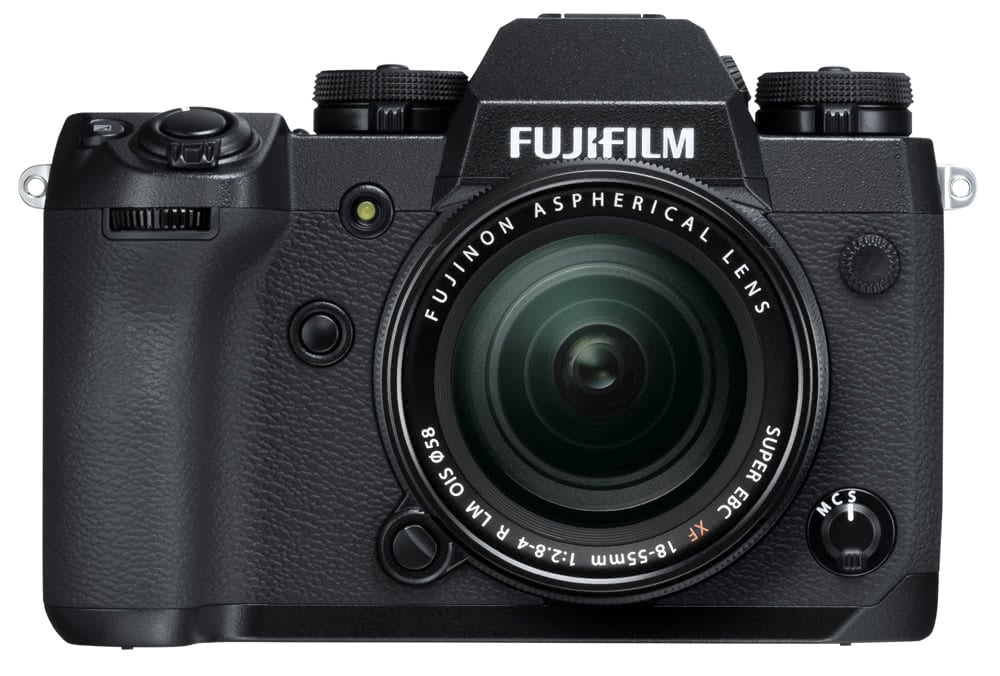
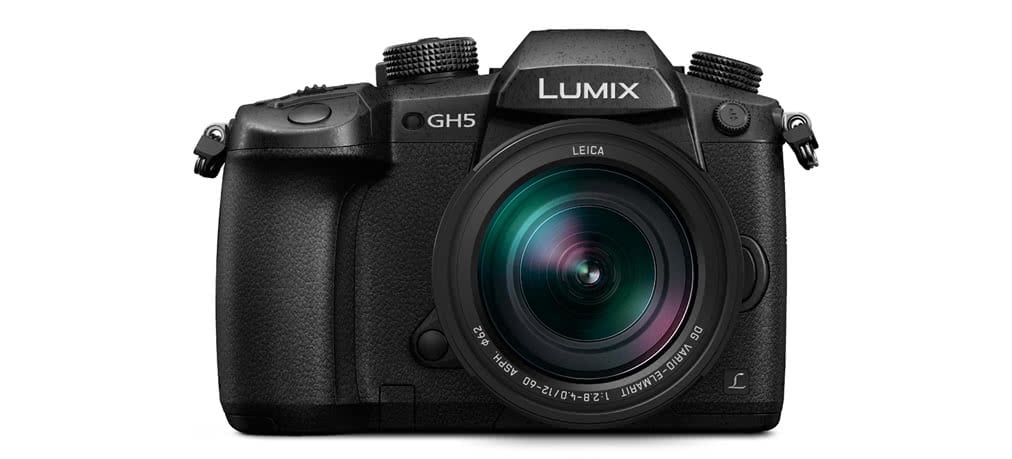
Unique technological innovations – All cameras have their individual quirks, flairs and features that make them worth buying. It’s worth taking a detailed look at Micro Four Thirds cameras to see if they suit your photographic preferences. Panasonic Lumix cameras, for instance, come equipped with 4K Photo modes that allow the user to extract 8MP stills from 4K footage and the flagship GH5 even ups this to 6K Photo. Before deciding on your system, it’s worth looking into whether the camera you’re eyeing up has interesting features that might find their way into your workflow.

Comparatively lower cost – Again, it’s all relative. But in general, you’re shelling out significantly more cash for full-frame DSLRs, large-sensor mirrorless cameras and their paraphernalia than you will for a Micro Four Thirds system. If budget is a concern, this is worth considering.

Disadvantages

Small sensors means inferior low-light performance – The nature of the Micro Four Thirds standard means that its models are wedded to a specific size of sensor, across all of the models which use the system. There’s no getting around the fact that it is a smaller sensor than full-frame or APS-C. This confers some advantages, such as the crop factor mentioned above. However, it also means the cameras are unavoidably poorer in low-light, with inferior dynamic range compared to their larger-sensor counterparts. In most lighting situations the cameras will cope just fine, but if you’re regularly going to be shooting in situations that require the use of high ISOs, this could well be a deal-breaker.

No optical viewfinders – Electronic viewfinders are getting better and better, to the point that many photographers will happily say they prefer them. But, they still cannot quite match the ‘in-the-moment’ immediacy of an optical viewfinder and this is something Micro Four Thirds cameras will not provide.

Weaker autofocus (for stills) – This is a gap that is closing, with Micro Four Thirds manufacturers having done a lot of work on their autofocus systems. However, if this is an important feature for you, autofocus on DSLRs will still be reliably superior when it comes to stills shooting faster and more accurate. This situation may change in a few years, but hasn’t got there yet.

FUJIFILM X-H1 VS. X-T2 FOR VIDEO images

Fujifilm X-H1 vs. X-T2 for video

Mirrorless shooters have been singing the praises of Fujifilm’s flagship X-T2 ever since it arrived on the scene and it’s not hard to see why — it’s a fantastic camera, producing beautiful images not to mention crisp 4K video. However, last year the new X-H1 arrived on the scene, a more overtly video-oriented camera, building on what came before but bringing a whole new bag of tricks.

If you’ve been shooting photos and video with the XT2, you may be wondering whether this more recent model is worth the upgrade. We’re going to take a look at the differences between the two cameras, with a focus on video, to try and determine whether you are better off upgrading to the new Fujifilm X-H1.

What are the differences in video?

At first, things look similar on paper. The X-T2 shoots 4K video, as does the X-H1. However, once you delve into the details, it becomes clear that the X-H1 is a different offering entirely. It’s able to shoot F-Log internally, which is Fujifilm’s flat colour profile designed to retain as much detail in an image as possible to allow for optimal colour grading in the edit (see our guide to Canon’s C-Log for more information on Log profiles [https://www.fixationuk.com/close-up-c-log-on-the-eos-5d-mk-iv/]). It also manages a bit-rate of 200MBps, doubling that of the X-T2.

It also simply shoots for longer — you’ll get 15 minutes of 4K shooting at a time on the X-H1, as opposed to 10 minutes on the X-T2. Fujifilm has also brought its popular Film Simulation modes into the video sphere — the X-H1 has the ‘Eterna’ simulation built in, designed to be a quick and easy way to shoot attractive footage with high dynamic range. You can also apply DR expansion modes to video in the X-H1 as well, allowing you to push your dynamic range further still. According to Fujifilm, combining the Eterna simulation mode with the DR expansion modes can net you up to 12 stops of dynamic range, which by anyone’s standards is pretty impressive.

It also records slow-motion footage in 1080p at up to 120fps, while the X-T2 tops out at 60fps. What’s more, as a nice bonus, the X-H1 squeezes in an extra step of ISO for movie mode, topping out at 25,600 rather than 12,800 on the X-T2.

In some respects the cameras are the same, most notably the sensor crop — when recording video, both the X-H1 and X-T2 crop the sensor by a factor of 1.17x.

Image stabilisation

The Fujifilm X-H1 is the first model in the series to come sporting 5-axis in-body image stabilisation. It works in conjunction with XF and XC lenses, with as much as 5EV of compensation possible when paired with optics like the XF 35mm f1.4. It also uses dual processors to power its stabilisation, which Fuji says should make the effect faster and more responsive.

Electronic viewfinder and LCD screen

The X-H1 gets a decent upgrade in both its viewfinder and its LCD monitor compared to the X-T2. Its viewfinder resolution is now 3.69million dots, a significant bump from the 2.36million on the X-T2, and while its monitor is the same resolution and size (1040k dots, 3 inches), it’s now a touch-sensitive model.

Build and handling

If you’re an outdoorsy, all-weathers kind of shooter then the X-H1 is definitely worth your time. It’s a bigger and heavier beast than the X-T2, weighing 673g compared to the X-T2’s 507g, however all this weight is due to an expanded grip and extensive weather-sealing — a total of 68 seals around key points. Its magnesium-alloy shell is harder and more scratch-resistant too.

Drawbacks of the X-H1

It’s not a totally clean sheet for the X-H1. Both of these cameras use the same battery, and all the extra functionality on the X-H1 means it drains its batteries faster than the X-T2. Its CIPA rating is 310 exposures per charge, compared to 340 for the X-T2. You can expand this with a battery grip, and of course you’ll want to pack spares, but it’s still something to be aware of.

There is also the matter of the aforementioned increase bulk in the camera — if you’re carrying your camera for long distances or extended periods, this extra weight could add up.

Conclusion

While the cameras look very similar on the surface, once you start delving into their feature-sets it becomes clear that the X-H1 represents a significant improvement over the X-T2, especially in video terms. That extra dynamic range really expands your options and is certain to improve the quality of your finished product, while there are also plenty of features that’ll make your stills-shooting life easier as well, most notably the in-body 5-axis image stabilisation. If you’re currently considering the upgrade, our advice to you is, quite simply, go for it!

Feel free to get in touch with the team if you have any more questions about the Fujifilm X-H1 or X-T2!

Fujifilm XH1 vs. Panasonic Lumix GH5 image

Fujifilm XH1 vs. Panasonic Lumix GH5 for video

The Fujifilm X-H1 is a serious attempt by Fuji to start courting pro video shooters and hybrid photo/video content creators. A large APS-C mirrorless camera capable of shooting 4K at a high bit rate, with colour profiles optimised for video, it merits serious consideration if you’re looking to upgrade your CSC video kit or expand your skill set into this area.

A camera of similar dimensions and spec, one that similar users will be considering, is Panasonic’s LUMIX GH5, successor to the GH4 and considered by some to be the gold standard in terms of mirrorless cameras for vloggers and the like. While there are many cameras available for the videographer, mirrorless and otherwise, these two models are very similar in terms of price, physical size and capabilities. Thus, if one is tempting you, the other merits consideration too.

Which of these cameras is the better buy? We’ll take a closer look for you in our Fujifilm X-H1 vs Panasonic LUMIX GH5 comparison guide…


Build

Externally, these two cameras are very similar. There is barely a hair’s difference in their dimensions, with both measuring around 140mm by 86mm. At 673g, the X-H1 is a little lighter than the 725g Panasonic GH5, but this isn’t really enough to make a significant difference. If one of your main concerns is lightness and portability of your kit, both of these cameras will suit you well.

Elsewhere, both cameras have a full complement of features useful to the videographer, such as rear LCD screens – the Panasonic’s is both a little larger at 3.2 inches, compared to 3 inches on the X-H1, and higher resolution, with 1,620k dots compared to 1,040k. The Panasonic also scores an extra hardware point for coming with a headphone port built into the camera – if you want one on the X-H1, you need to spring for a battery grip. Both cameras also boast dual SD card slots, a very handy feature for memory-hungry video work, and high-resolution electronic viewfinders.

Internally, there are significant differences worth highlighting in the sensors of the two cameras. The GH5 uses a Micro Four Thirds Live MOS sensor with 20MP of resolution, while the XH1 houses a larger APS-C CMOS sensor with 24MP to play with. This gives the XH1 an edge in terms of the image it produces – richer and with more detail than the Panasonic’s.

Video quality

Both cameras are capable of shooting DCI 4K video, which comes at a resolution of 4096 x 2160 pixels. The Panasonic GH5, however, has a significantly better bit rate of 400Mbps compared to 200Mbps on the XH1, which improves the quality of the video captured. Both cameras also have their own bespoke flat Log profile, used to capture the maximum amount of colour data possible in order to make the grade easier when it comes to editing. The Panasonic Log profile is known as V-Log L, while Fuji’s is F-Log. The Panasonic profile is 10-bit (when used in the GH5) while Fuji’s is 8-bit, so that means you’ll get richer colour depth out of the Lumix model.

Shooting experience

You’ll have a great experience shooting with either of these cameras – both are superbly designed by firms with decades of experience in the field. There are some differences worth noting however.

First, let’s look at low-light performance. The Panasonic Lumix GH5 comes sporting an ISO range of 200-25,600, while the Fujifilm XH1 manages 200-12,800. This might lead you to assume the Panasonic will have the edge in low-light shooting, however, the GH5 is not particularly rated in video circles for its low-light performance, with many users agreeing that footage only really stays usable up to about ISO 6400. Thanks in no small part to its larger sensor, the Fujifilm XH1 produces better low-light footage and copes better at high ISO levels. If low-light shooting is a priority for you, this is worth keeping in mind.

(Of course, it is worth mentioning that in this arena, both of these cameras are comprehensively walloped by Sony’s A7S II, the undisputed king of low-light shooting in the mirrorless realm, with a price to match. That’s out of the purview of this particular blog for now, but is worth mentioning.)

If you’re a run-and-gun type of filmmaker you may find yourself wanting to rely on your camera’s autofocus system, and both of these models deliver pretty well on that front. The XH1 has the edge though, with 325 focus points compared to 225 on the GH5, and a hybrid system that makes use of both contrast-detect and phase-detect AF, rather than just phase-detect on the GH5.

Incorporating slow-motion footage into your video work? Both cameras will allow you to do so, however the GH5 will do it better, shooting at a super-slow 180fps, compared to the still-respectable 120fps on the XH1.

Finally, the GH5 has an edge in terms of battery life, shooting for longer than the XH1. Both cameras can take battery grips, which you’ll want for shooting video.

Lenses

The Fujifilm XH1 is of course X-mount, and this gives it access to the full roster of X lenses. Many of these are absolutely gorgeous – tack-sharp, with generous maximum apertures and smooth zooming action in the models that offer that functionality. However, the Micro Four Thirds mount of the GH5 makes it a comprehensive winner here. The user just has so much glass to choose from at first instance, without needing to get any adapters involved. That’s tough to beat.

Verdict

It’s a tough one, for definite, and the important thing to remember is that both of these cameras are fantastic achievements in technology that will serve you well for your videography needs. For now though, the Panasonic Lumix GH5 has a slight edge thanks to superior video features such as its higher bit rate and better Log profile, as well as the superior lens selection. This, of course, does depend on your situation – if you think you’ll be relying on autofocus and/or shooting a lot in low light, the XH1 may well be your best bet. Feel free to get in touch with us if you’d like to chat about the strengths and weaknesses of these cameras in greater detail – someone on the team will be happy to help!

NIKON D850 | LOVE AT LAST image

Nikon D850 | Love at last?

Longtime Nikon user Holly Wren pitches the Nikon D850 against her trusted D800.

The announcement of a new camera gives rise to a wave of excitement in me, in a flurry of geeky activity I am researching for leaks and specs.

So when I heard about the D850, I reached a new level of excitement; my heart may have even skipped a beat. Could this be the one?

As a portrait and lifestyle photographer I’ve struggled for a few years with which Nikon I want to use. I started way back 6 years ago with the D800, then added a D4.

The D4 is an excellent camera; I bought it for the ISO capabilities and it didn’t disappoint. But for my use (and for my osteopath), it was too heavy and the resolution wasn’t quite what my clients demanded. It had astonishingly great shutter speeds, amazing focusing and is durable but sadly it spent most of it’s life on the sidelines, as I chose my D800 over and over again.

Although, getting into a fully committed relationship with my D800 proved impossible when I found a few issues with focusing – an area that the D4 beat it hands down. The arrival of the D810 was beacon of light and although there were some improvements, I just couldn’t see enough of a difference between that and my D800. So I held fast, waiting for a game changer.

The announcement of the D5 had me tempted, but as my much as I knew how insanely good this camera would be, it didn’t tick all my boxes. My one true wish therefore, was that the D5 and D810 would spawn a love child. And luckily for me, they did. It’s called the D850.

D850 + 50mm ƒ/1.4G 1/800 @ ƒ/4.0 ISO 2000 | © Holly WrenD850 + 50mm ƒ/1.4G 1/800 @ ƒ/4.0 ISO 2000 | © Holly Wren

I’ve had this camera since it’s launch, so have had the opportunity to use it a fair few times. I won’t give you a run down of tech specs – although if you want them, you can find them here. I want to tell you why I, a commercial portrait photographer, have started a love affair with the D850.

Firstly, high resolution. A 45.7 MP sensor is no laughing matter – certainly not for your bank manager when he sees the add on costs of shooting on a camera with these capabilities. Yesterday I spanked £239 on an XQD card, then I threw up. Unless you’re a rich amateur, this camera is not for the faint hearted.

But if you have the clients, and the deep pockets, this camera won’t disappoint. The image quality feels distinctly “medium format” and looking at my images, they took a little getting used to. Gone is the softness, this is all about detail, which arguably for portraiture, can sometimes be too much. Remember that bad skin you wanted to hide? No more. But if you can get through that, the camera delivers the ability to create outstanding portraits, with impeccable detail which can be printed large format. I personally love this look, and I’m never worried I can’t deliver large files.

But a word of warning, a large sensor means everything shows, and in order to keep camera shake or blur out of your images you’ll need to compensate with high shutter speeds – I’ve figured out that even 1/250 second may be a little risky….

D850 + 50mm ƒ/1.4G 1/125 @ ƒ/3.5 ISO 1250 | © Holly Wren

Autofocusing – this is the biggest correction point for me. My struggle with the D800 and subsequently the D810 is that, on certain lenses there have, at times, been autofocus issues. The D850, in my testing thus far, hasn’t failed me once. Probably thanks to the fact it’s been blessed with full AF capabilities of Nikon’s flagship sports camera the D5 (which is arguably one of the best AF systems out there).

Of course, I’d always recommend that you calibrate your prime lenses for optimal performance, but knowing you have the AF hardware capabilities of the D5 is a mega helping hand. In my experience, it still struggles a little in lower light, but what camera doesn’t?

ISO capabilities – the official line is that you can shoot from ISO 64 to 25,660 standard (ISO 32 – 102,400 extended). Now let’s be honest, that sounds impressive but mainly it’s completely irrelevant. What I care about is how far can I push it with zero recognition.

I like to balance light, the UK weather demands I use flash, but I love ambient and natural light, and a large part of that relies on my ability to push the ISO. Push it but most importantly, not see it. I don’t like noise, I don’t want grain. And the D850’s improved ISO abilities, this is no problem. I can get to around ISO 5,000 without seeing too much, on my D810 I don’t go beyond 3,200, so I have a few extra points to award here for that improvement.

And they are my 3 key reasons I love the D850, but there are a few more I’d like to sweep up that have impressed and pleased me about this camera, those tweaks that were necessary and timely, but do warm my heart on a cold day.

The new backscreen, larger and brighter its now a touchscreen back, which for added enjoyment and ease also tilts. Battery life is also greatly improved, beyond recognition in fact – it now feels more comparable to that of the D4.

D850 + 50mm ƒ/1.4G 1/160 @ ƒ/4.0 ISO 1600 | © Holly Wren

And finally, but most importantly, Nikon have ditched the pop up (should I call it compact?) flash – thank the lord. No more looking like an amateur, catching the flip up when using my TTL trigger and most astonishingly, bashing myself in the face. Thank you Nikon. You heroes.

There are rave reviews everywhere about the D850, so I am in no doubt that technically it outperforms it’s predecessors, so I’m happy to announce that, in my experience the reality does not disappoint.

In conclusion, do buy it if:

  • You want a “medium format” feel / shoot for large format printing
  • Want D5 performance Auto focusing
  • Need to push to high ISO’s
  • Want a noticeable upgrade to your D800 or D810
  • You’re sick of bashing your face on a pop up flash

Don’t buy it if

  • You expect the wifi file transferring to work perfectly (aka SnapBridge)
  • You don’t have money to burn on cards and hard drives
  • You shoot anything fast moving and are likely to work on low shutter speeds
  • You want to disguise detail not add it

All in all, this camera has me excited. At last, my problems are solved – I have a camera that I can fall truly, in love with. And I feel like the D850 and I have a real shot at living happily ever after…. (well at least until they D860 struts into my life!)

The Nikon D850 retails at £3,449 but you’ll have to put your name on the list, they’re still few and far between!

CAMRANGER REVIEW | THE BEST KEPT SECRET IN WIRELESS TRIGGERING image

CamRanger review | The best kept secret in Wireless triggering?

You’d be forgiven for thinking that CamRanger are not that bothered whether you buy their products or not – they have zero presence on Instagram, and haven’t tweeted since 2015, updated their blog since 2016, or been reviewed since 2013. 

Perhaps you haven’t even heard of them. But then, how would you? Unless of course you’ve been looking to remote trigger your camera from a distance, because that seems to be the sell point on the CamRanger – it’s a wireless control trigger for photographers who want to control their Nikon or Canon from an iOS device. You can view and edit camera settings, record movies, set up timelapse, and capture images all from a remote device. Neat. But the thing they don’t sell you on is the CamRanger’s ability to work as a wireless tethering device.  A simple function in many ways, tethering is an incredibly usable function for photographers, and one environmental photographers worldwide, would prefer to be wireless.

Wireless tethering seems to be hard to do well – reliability, connectivity and speed seem to be the hardest functions to excel in and there doesn’t seem to be the perfect solution.

Firstly, let me say what I fan I am of the theory of tethering, the idea is great. Images sent to a large screen where you, your assistant and your clients can woo and wow at your excellent skills OR pick apart every part of your image and make endless suggestions of ways to tweak the shot. But still. Great. Myself and my assistant can check focus, and clients can be assured you’re getting what they want, how they want.

My experience with EyeFi mobiPRO cards has been tenuous. Even wired tethering leaves me short, as Nikon users will know, you can’t view both on screen and camera back when tethering, and camera back is not something I’m willing to sacrifice. Plus, the impracticality of being attached to a computer whilst I’m moving around a location, manoeuvring myself into small corners and standing on furniture makes being connected almost impossible (you want to see more of that, follow me on instagram @holly_wren). And my biggest fear of wired tethering – the potential loss of files, given that if you lose the wire you risk losing all the images – as the files are not being written to the card in your camera whilst attached to the computer. And losing the wire is easy, even jerk stoppers and alike don’t really help.

When most people think tethering, they think Tether Tools. A competitor to CamRanger, who do actually have their shit together – fancy website, nice branding, good product range and a social media presence to the tune of 90,000 Instagram followers. So why pick the very undersold CamRanger? I haven’t used Tether Tools “Air Case” wireless, so I can’t compare these products directly, but I have been told by reliable sources (clears throat, ahem, Fixation team) that the CamRanger is a tried and tested recommendation with other photographers. And looking at their website they seem to have a surprisingly good range of reviews and fans, perhaps CamRanger are just the best kept secret in professional photography?

Picking up the CamRanger, you’ll likely be completely underwhelmed. You’ll wonder what your £200 is paying for – not product marketing (as we established) and certainly not packaging or branding; the sticker looks like a 12-year-old designed it on word and printed it on their home computer. But should you care? No. Because the CamRanger to date provides the best wireless tethering I’ve tried.

It’s a little white box with some simple slide switches and reassuring green lights, that flash similarly to those on a wifi box. It’s relatively compact and feels sleek (ignore the sticker).


The connection is good, not perfect but almost. The CamRanger works by creating an ad hoc wifi network that your iOS device connects too. Once you get it turned on and connected via wifi (I use my iPad Pro), it’s a simple as firing and waiting for the image to appear – which happens quickly, seemingly only a fraction slower than when physically tethered.  You can shoot RAW files + jpeg in camera, and the CamRanger receives only the jpeg. And you can view on your iOS device, but also, thankfully, still on the back of the camera. So no walking to and from the ipad unless you choose. I give the ipad to my assistant, or client, so they can see what I see. Occasionally I just place it in front of me, as an extra check, or show my model to feedback and adjust poses and framing.

The app is free, and you can share to multiple devices by downloading a secondary app – CamRanger Share, which is especially handy if you have multiple parties wanting to see the shots simultaneously – no more huddling around the one computer screen, or fighting with the client to see your own image. It also means you can select the images to share (or not) and use my favourite function “compare” which allows you to show two images side by side, especially useful when doing demonstrations or giving options on shots. By switching into Client Mode in app, you take away the camera controls, and like magic, it then works purely as a tether view tool.

You’re going to want to leave the CamRanger and your camera switched on where you can – otherwise you risk breaking the wifi connection and having to re-establish via settings on your device. A habit I have to get used to, turning my camera off when I’m not shooting is second nature to me in an effort to conserve battery.

Buffering seems to be minimal if you shoot at a steady pace, for my lifestyle work where I sometimes go slightly pap on myself, there is some lag. But there’s lag when I shoot like that tethered by wire. So I’ll take that on the chin.

I also like that nothing is stored on your device, and the session you are shooting on is wiped after a few hours, if you don’t re connect by opening the app. Meaning you don’t take up precious storage space, or have to see libraries of previous shoots when working with different clients (because I never remembered to wipe the last session on my eyefi app when I finished).

The bummer is, that the CamRanger connects via a USB cable that leaves the problem of where to put it whilst shooting. Others have suggested a longer cable giving you the option to put the small (phone sized) device in your pocket. But for me, that gives too much opportunity for the wire to be disconnected (at least with no risk of losing your images!). So my solution is to tape it to the bottom of my camera, and use the TetherTools Jerk Stopper to add an extra level of protection to the wire. That way, the CamRanger stays held by me alongside my camera. Despite my best efforts to make it look sexy using pink tape, it does not. And it’s not entirely practical – the tape can make it more challenging to change batteries and memory cards. But it’s workable.

What’s that you say? TetherTools have the solution with their AirCase? Well, sort of. There Air Case actually fits in the hot shoe, or dangles from the camera on a string OR sits on an extension bar next to a flash units – but for those of us using Triggers to fire flash, that isn’t even an option. And also puts a bar across your line of view, or a unit dangling in the way of where you grip your camera. So I’m afraid the not-so-sexy solution of taping to camera is the best I’ve found thus far.

The unit runs off a battery, and if you feel the need, you can buy a spare for £30. But it charges fast, and in my experience of using it all day, hasn’t run out. But then I’m generally near-ish to some sort of power socket, and could get it charged quickly and easily. If you’re more paranoid and a little less frugal than me, and extra battery is probably worth the investment.

The CamRanger isn’t perfect, in my experience it can sometimes struggle with speed of connection in some locations, and I can’t tell you why – perhaps something to do with other Wi-Fi networks and connections? Plus, the inability to keep it near the camera without going guerilla style with camera tape doesn’t scream sophistication. But, as far as your choices go for now, it’s the best I’ve found! It’s easy to use, set up, the app is simple, the connection works and it’s portable. I can view back of camera and keep my clients happy. For me, it’s a no brainer. If you’re looking for a wireless tethering solution, this is it.

You can hire the CamRanger from Wex rental – and handily it’s provided with an iPad. Or you can spend your hard earned cash buying one. But don’t even think about getting one direct – they’re not shipping at the moment. As I said, it’s almost like they don’t want you to buy one!

You can download the full user manual here

Hi, how can we help?