Panasonic Lumix 4K/6K Photo Modes Explained image

Panasonic Lumix 4K/6K Photo Modes Explained

It’s been a truth universally acknowledged for quite some time now that if you buy a Panasonic Lumix camera, you get the capacity to shoot 4K video — all the firm’s latest models come sporting this functionality. Which is all to the good, but is worth your attention even if you have no desire to produce video content, thanks to something called 4K Photo mode (and, more recently, 6K Photo mode, which we’ll get to).

What is 4K Photo mode? It’s something that allows you to ensure you never miss even the most fleeting of moments, using the camera’s video-shooting capabilities to capture split-second stills. How does it work? Read on as we explain…

What is 4K Photo mode?

Put simply, 4K Photo mode allows for the extraction of 8.3MP stills from 4K footage shot on Panasonic Lumix cameras. Though this is significantly lower resolution than the camera will produce in normal shooting modes, it is perfectly adequate for many purposes and will result in perfectly good prints of a reasonable size. 

It basically uses the video mode as a form of burst shooting, and this means that the camera is effectively capturing action at 30fps, which is significantly faster than most stills cameras’ burst modes. Point your camera at the action, and it’ll fire and fire and fire, and at the end you’ll be left with a selection of stills at the 4K resolution of 3840 x 2160 pixels. You can also choose your still’s aspect ratio if you so desire — choose from 16:9, 4:3, 3:2 and 1:1 

It gets better too — there are plenty of different mode options for customising how you want 4K Photo to work. Which modes are available will depend on which exact camera model you have, so always double check, but here are the options available across the range:

4K Burst: 

This is the straightforward mode — hold down the shutter button, and the camera burst shoots 4K images at 30fps. Lovely! 

4K Pre-Burst: 

This is a useful mode if you are in a situation where the action is unpredictable. When 4K Pre-Burst is active, the camera will continually record 4K footage, and when you press the shutter button it will allow you to select from the thirty frames recorded both before and after you pressed the shutter button (a second either side). Miss the moment by an inch? This mode means it isn’t a problem.

4K Burst Start/Stop (S/S): 

This mode allows you trigger the 30fps burst shooting to start with one press of the shutter button, then stop it with another. Useful if you need to move away from your camera while it’s recording. 

Post Focus: 

This is something you’ll only find on newer Panasonic Lumix models such as the Lumix G80. It uses 4K shooting in conjunction with Panasonic’s Depth from Defocus technology to allow the user to pick the focus point in an image after they’ve shot it. You can completely alter the perspective in your images to focus on a different subject, as well as zoom right in up to 5x on a shot and make use of focus peaking in order to determine exactly where you want the focus to sit. It’s undeniably impressive technology, and makes capturing those key moments all the more easy.

The Lumix GH5 and 6K Photo

Users of the new Panasonic Lumix GH5, the firm’s flagship, also have even more to play with in the form of 6K Photo Modes. These are, in essence, exactly what they sound like — using 6K video technology to allow the user to extract 18MP stills, rather than 8. Good news is too that 6K Photo users also get access to all of the same modes as 4K Photo, with 6K Burst, 6K Burst S/S and 6K Pre-Burst all present and correct.

We hope this has given you a more thorough understanding of how 4K and 6K Photo modes can be useful in your own work. If you have any more questions, drop us a line and we’ll be happy to help.


The Best Accessories for Mirrorless Video image

The Best Accessories for Mirrorless Video

If you’re doing video work with your mirrorless camera, it’s worth being aware of the world of accessories at your disposal. We pick some of the best that will play to the strengths of your system and help you get the best possible results.

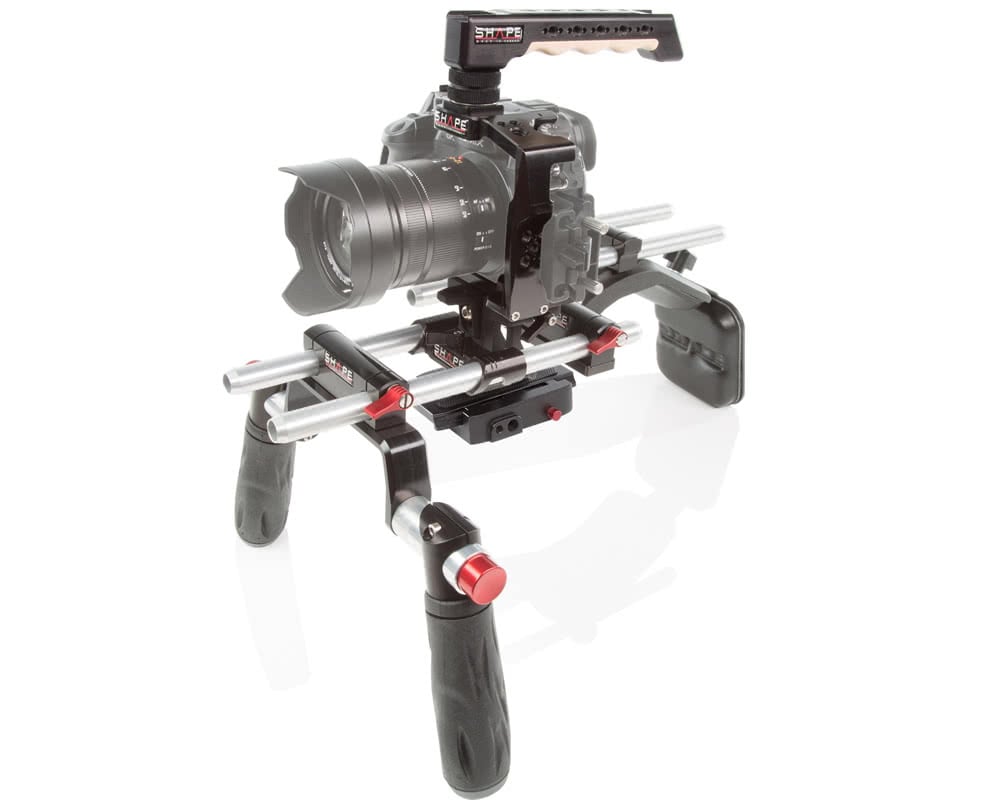
A shoulder rig

The small form-factor of mirrorless cameras makes them perfect candidates for rigs, which can allow you to create complex camera movements while keeping your footage stable and smooth. Building your own rig can be a complex process that varies greatly depending on your needs, so to start with we’d suggest getting hold of something fairly simple like a shoulder rig, which allows you to keep your camera smooth and steady while you run and gun. 

Once you get more confident, your rigs can get more intricate, but this is a good place to start.

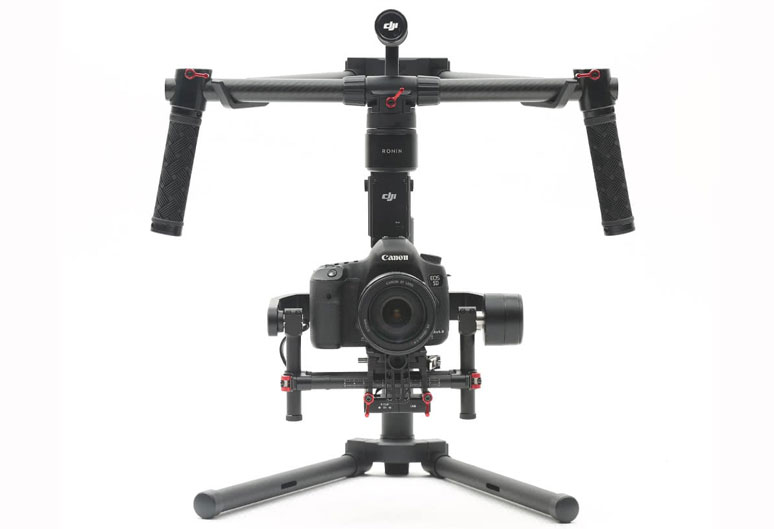
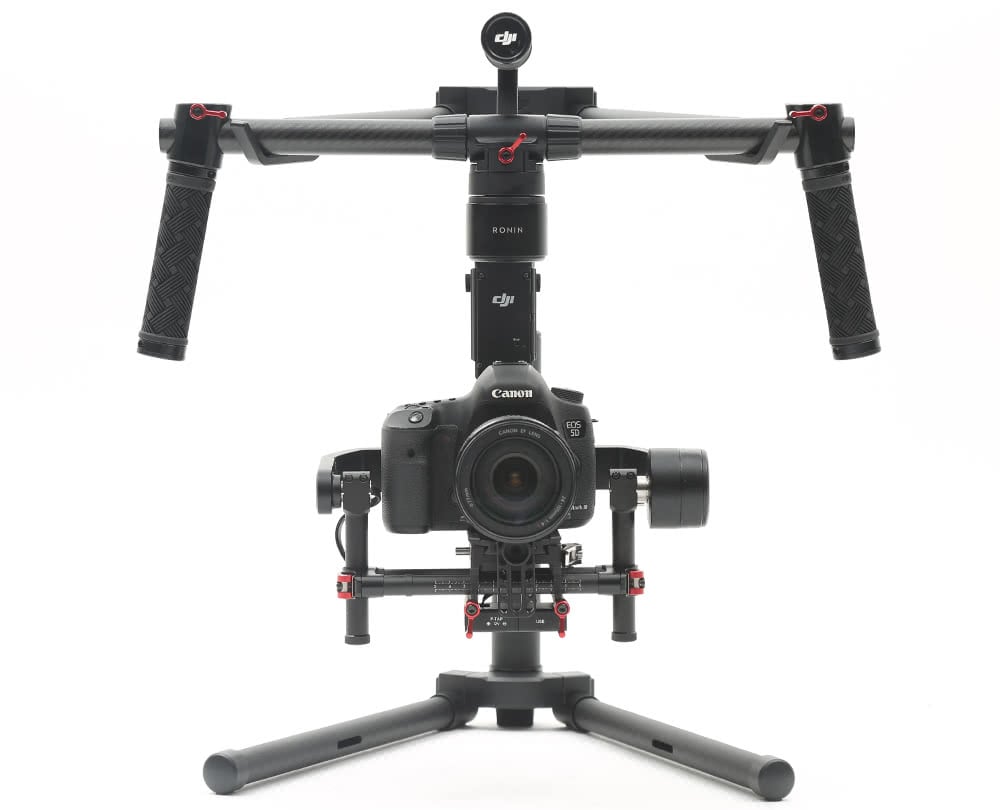
A motorised gimbal

In a similar vein, a handheld gimbal gives you the optimal balance between flexibility and stability, allowing you to keep your shots steady while moving at pace. It’s especially useful if you’re filming in a situation where you aren’t quite sure what to expect, allowing you to react quickly without jeopardising your footage.


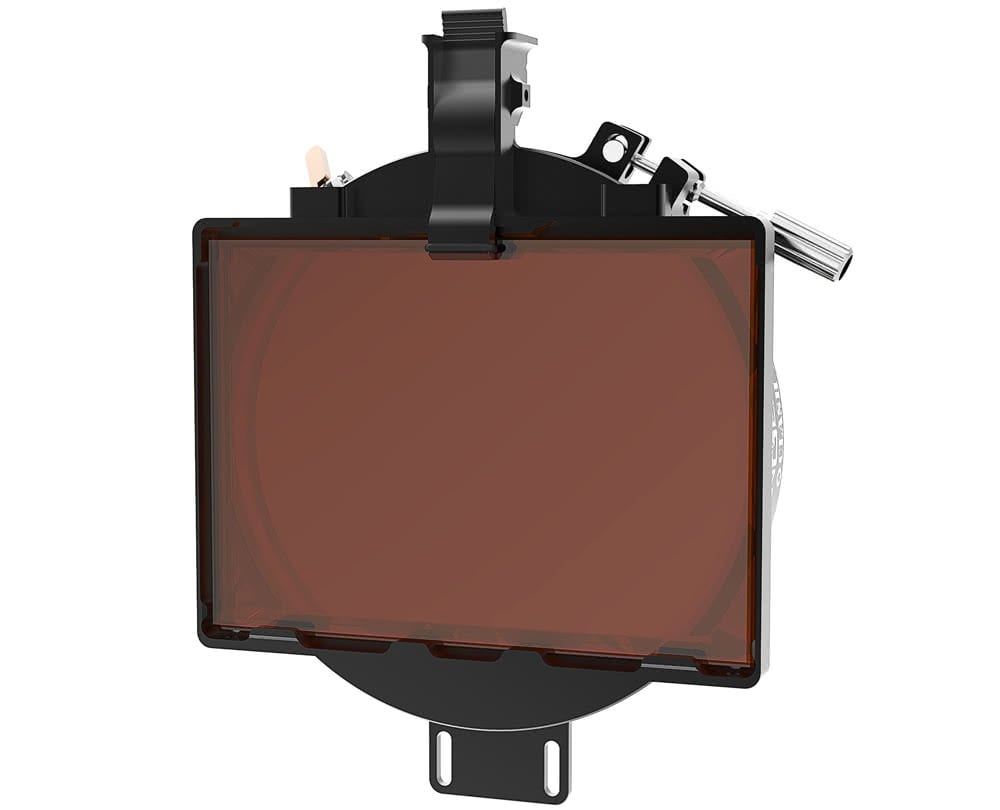
Matte box and filters

The matte box that attaches to the front of a lens serves two distinct purposes — firstly, to cut down on lens flares and unwanted light in your shot. The second, to allow for the easy attachment and swapping of filters that you might need for particular situations, such as ND filters to control light. These are relatively inexpensive accessories that can make your life much, much easier, and it really can’t hurt to pick them up as soon as possible.

Plus, we can admit it: a camera with a matte box on the front just looks the part when it comes to filmmaking. Hey, sometimes it’s nice to go about things with a little style.

Microphone and lighting

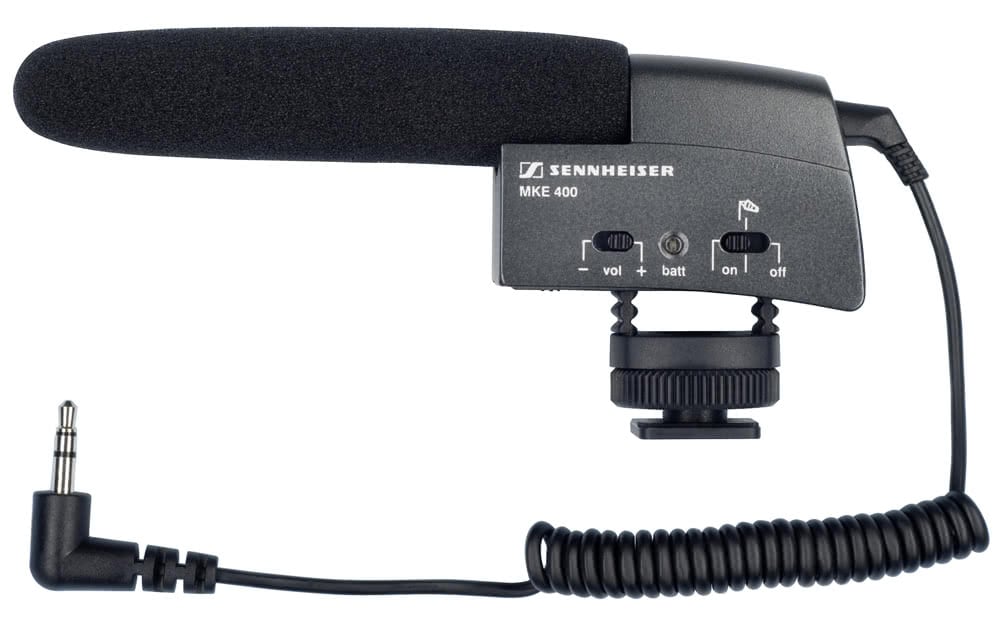
You need to get great audio in your videos, and a hotshoe-mounted microphone is the best way to go about this. In the future you may want all sorts of mics for all sorts of situations, but for now a simple, straightforward camera-mounted model is going to make a world of difference. 

You’re also going to want to be able to control your lighting, and an LED panel is a good bet for this. The best ones will allow you to fine-tune the temperature and power of the light you’re using, ensuring that you have the absolute perfect settings for your shot.


Monitor/recorder

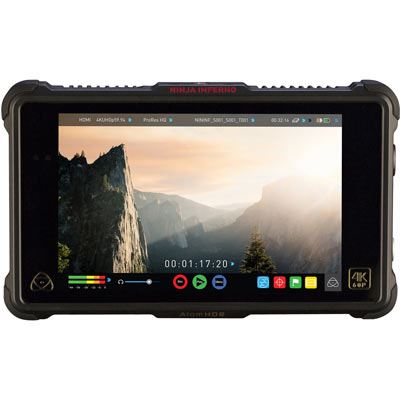
The rear LCD is all well and good, but for best results you want something a little more powerful. A bright, high-quality, high-contrast monitor will allow you to accurately compose and focus your shots even in challenging conditions, and will have a full suite of options allowing you to tweak its settings to just the way you like them. Making use of a more advanced recorder like an Atomos Ninja Inferno will allow you to do things like monitor the dynamic range of a Log image, as well as record video in a wide range of codecs to maintain quality while conserving space.

A robust and comfortable bag

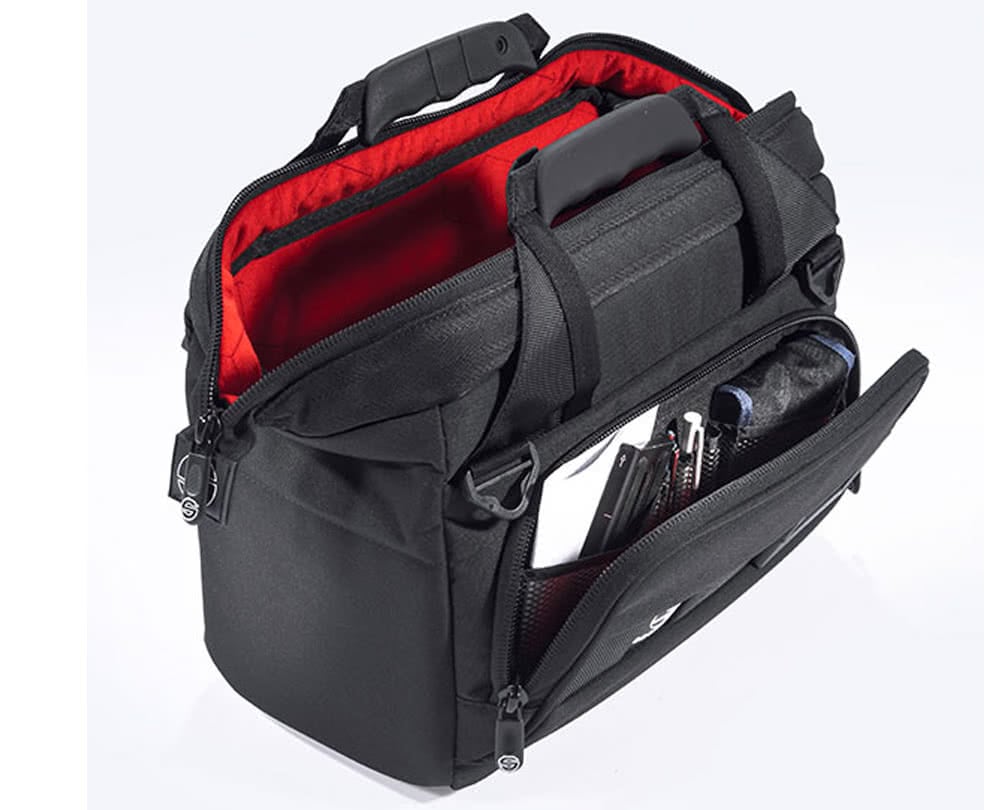
The advantage of a mirrorless system is its portability so lean into this and get a bag that can house and protect all of your gear while being comfortable to carry around. You may favour backpacks, rolling bags, doctor-style bags or something else entirely, but the good news is that the selection of photo/video bags on the market is exceedingly broad, and it’s very likely indeed there will be something to suit your needs.


Backups

Backup batteries, backup cards — basically, if it breaking would ruin your day, then chances are you need a backup of it. If you’ve only got one shot at capturing your subject — an event, a race, a news story, a wedding — then you need to make sure you won’t be undone by gear failure (or the more human failure of an incompletely packed bag). If you can’t afford to double up on the big stuff, hiring can be a good solution.

A good selection of lenses

Make sure you’re prepared. Whether you prefer the quality of primes or the flexibility of zooms, having the focal lengths in your bag to cover all distances you might need is essential.

There’s more to it of course, but this should give you a basic idea as to where to start with equipping your mirrorless camera for video. If you need any more advice, don’t hesitate to get in touch with the team!

FUJIFILM X-H1 VS. X-T2 FOR VIDEO images

Fujifilm X-H1 vs. X-T2 for video

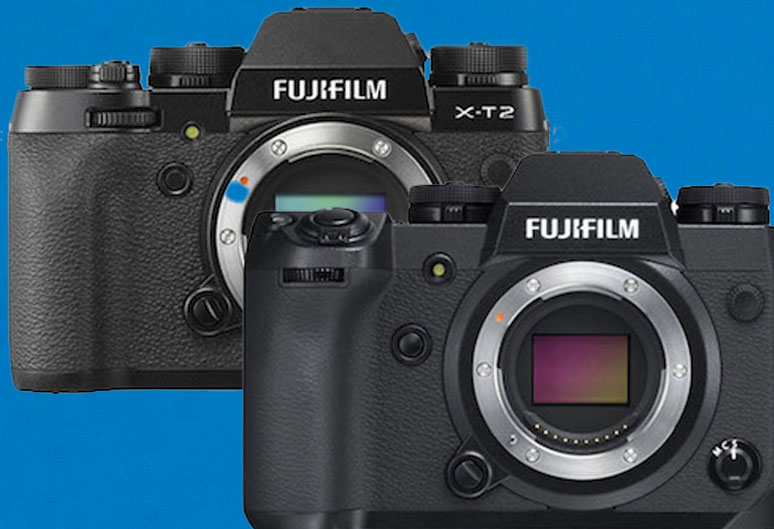
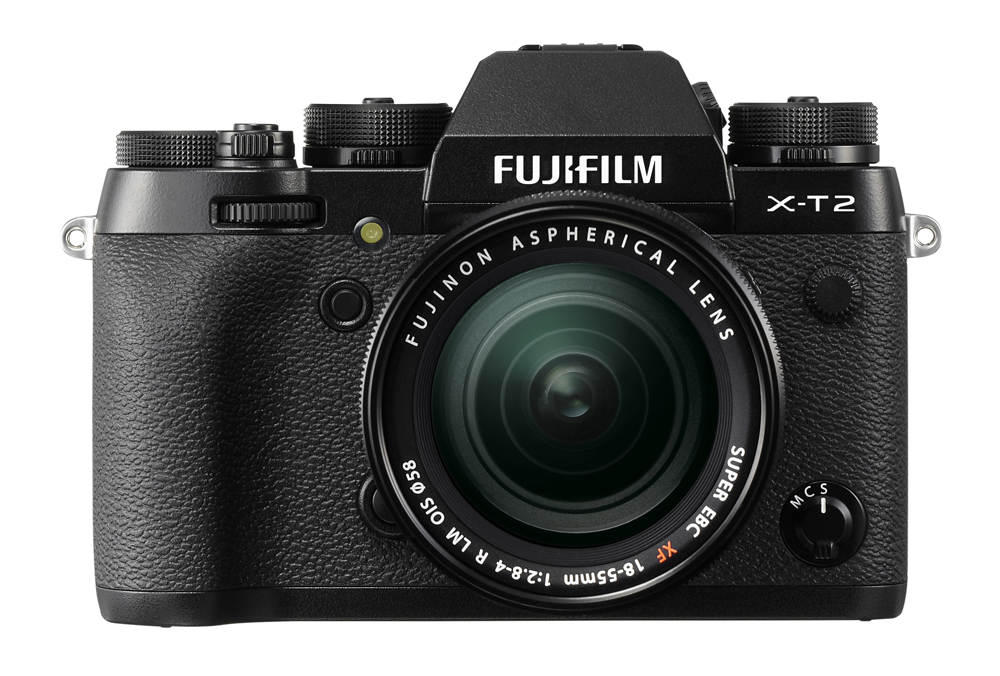
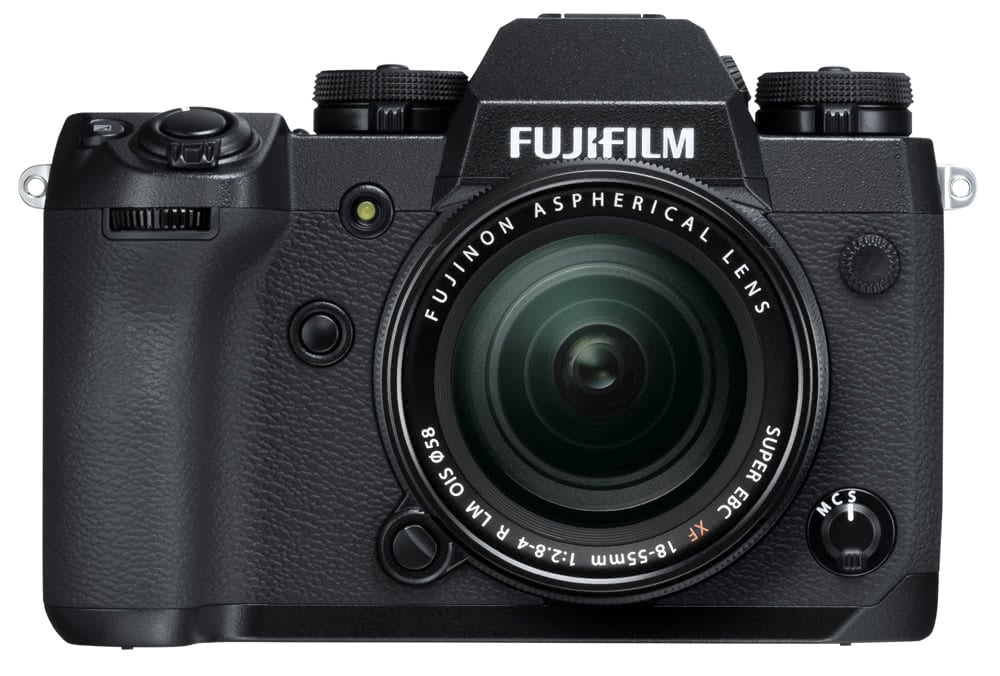
Mirrorless shooters have been singing the praises of Fujifilm’s flagship X-T2 ever since it arrived on the scene and it’s not hard to see why — it’s a fantastic camera, producing beautiful images not to mention crisp 4K video. However, last year the new X-H1 arrived on the scene, a more overtly video-oriented camera, building on what came before but bringing a whole new bag of tricks.

If you’ve been shooting photos and video with the XT2, you may be wondering whether this more recent model is worth the upgrade. We’re going to take a look at the differences between the two cameras, with a focus on video, to try and determine whether you are better off upgrading to the new Fujifilm X-H1.

What are the differences in video?

At first, things look similar on paper. The X-T2 shoots 4K video, as does the X-H1. However, once you delve into the details, it becomes clear that the X-H1 is a different offering entirely. It’s able to shoot F-Log internally, which is Fujifilm’s flat colour profile designed to retain as much detail in an image as possible to allow for optimal colour grading in the edit (see our guide to Canon’s C-Log for more information on Log profiles [https://www.fixationuk.com/close-up-c-log-on-the-eos-5d-mk-iv/]). It also manages a bit-rate of 200MBps, doubling that of the X-T2.

It also simply shoots for longer — you’ll get 15 minutes of 4K shooting at a time on the X-H1, as opposed to 10 minutes on the X-T2. Fujifilm has also brought its popular Film Simulation modes into the video sphere — the X-H1 has the ‘Eterna’ simulation built in, designed to be a quick and easy way to shoot attractive footage with high dynamic range. You can also apply DR expansion modes to video in the X-H1 as well, allowing you to push your dynamic range further still. According to Fujifilm, combining the Eterna simulation mode with the DR expansion modes can net you up to 12 stops of dynamic range, which by anyone’s standards is pretty impressive.

It also records slow-motion footage in 1080p at up to 120fps, while the X-T2 tops out at 60fps. What’s more, as a nice bonus, the X-H1 squeezes in an extra step of ISO for movie mode, topping out at 25,600 rather than 12,800 on the X-T2.

In some respects the cameras are the same, most notably the sensor crop — when recording video, both the X-H1 and X-T2 crop the sensor by a factor of 1.17x.

Image stabilisation

The Fujifilm X-H1 is the first model in the series to come sporting 5-axis in-body image stabilisation. It works in conjunction with XF and XC lenses, with as much as 5EV of compensation possible when paired with optics like the XF 35mm f1.4. It also uses dual processors to power its stabilisation, which Fuji says should make the effect faster and more responsive.

Electronic viewfinder and LCD screen

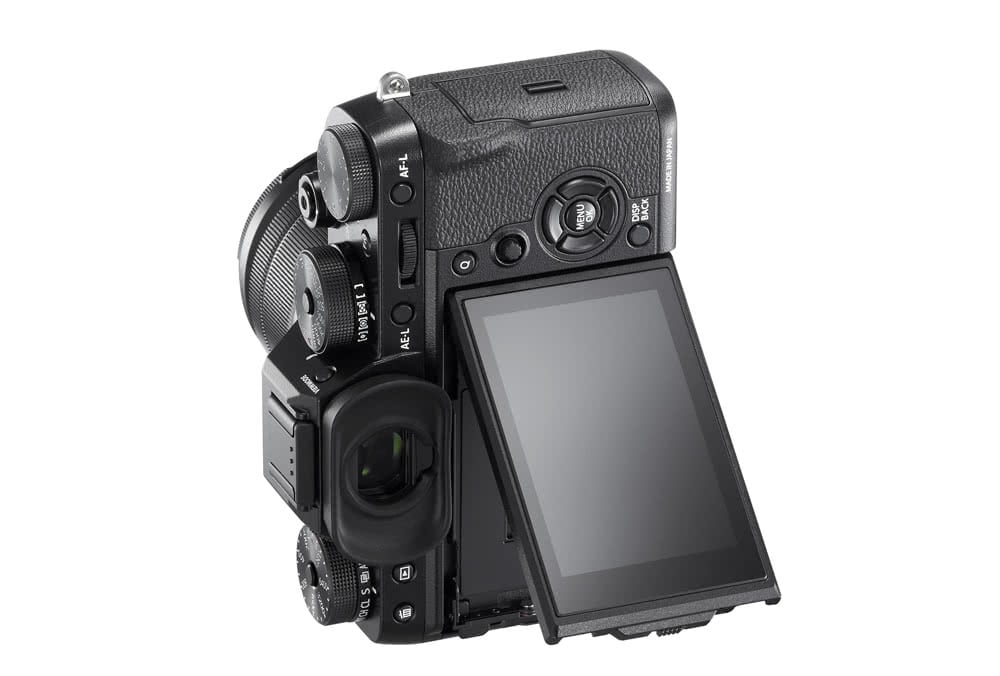
The X-H1 gets a decent upgrade in both its viewfinder and its LCD monitor compared to the X-T2. Its viewfinder resolution is now 3.69million dots, a significant bump from the 2.36million on the X-T2, and while its monitor is the same resolution and size (1040k dots, 3 inches), it’s now a touch-sensitive model.

Build and handling

If you’re an outdoorsy, all-weathers kind of shooter then the X-H1 is definitely worth your time. It’s a bigger and heavier beast than the X-T2, weighing 673g compared to the X-T2’s 507g, however all this weight is due to an expanded grip and extensive weather-sealing — a total of 68 seals around key points. Its magnesium-alloy shell is harder and more scratch-resistant too.

Drawbacks of the X-H1

It’s not a totally clean sheet for the X-H1. Both of these cameras use the same battery, and all the extra functionality on the X-H1 means it drains its batteries faster than the X-T2. Its CIPA rating is 310 exposures per charge, compared to 340 for the X-T2. You can expand this with a battery grip, and of course you’ll want to pack spares, but it’s still something to be aware of.

There is also the matter of the aforementioned increase bulk in the camera — if you’re carrying your camera for long distances or extended periods, this extra weight could add up.

Conclusion

While the cameras look very similar on the surface, once you start delving into their feature-sets it becomes clear that the X-H1 represents a significant improvement over the X-T2, especially in video terms. That extra dynamic range really expands your options and is certain to improve the quality of your finished product, while there are also plenty of features that’ll make your stills-shooting life easier as well, most notably the in-body 5-axis image stabilisation. If you’re currently considering the upgrade, our advice to you is, quite simply, go for it!

Feel free to get in touch with the team if you have any more questions about the Fujifilm X-H1 or X-T2!

Essential accessories to start shooting DSLR video image

Essential accessories to start shooting DSLR video

It is increasingly expected for photographers to be able to offer their clients a complete package when it comes to visual content — not just stills, but video too. The good news is that if you’ve already got a pro DSLR, a tripod and a decent selection of lenses, you’ve already got a large part of what you need to start shooting video clips. The question is, however: what else do you need? Fear not — we’ve put together a quick guide to the kit you need to produce the kind of slick, professional video footage your clients want.

Pan head

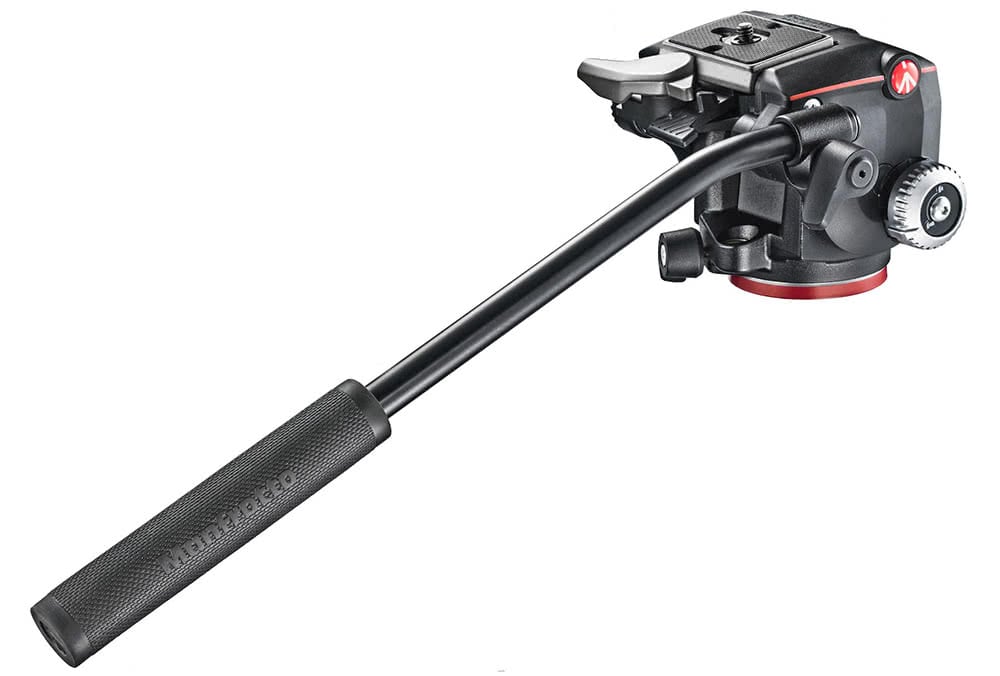
We’re assuming you’ve already got a decent tripod in your arsenal, but you may not have a smooth pan head, and this is a must if you want to introduce movement to your shots and get away from constant statics. A fluid head will allow you to produce smooth panning movements to your videos and make them significantly more visually dynamic as a result. Many companies make dedicated video heads for this exact purpose — Manfrotto is a great place to start. 

External microphones and monitoring headphones

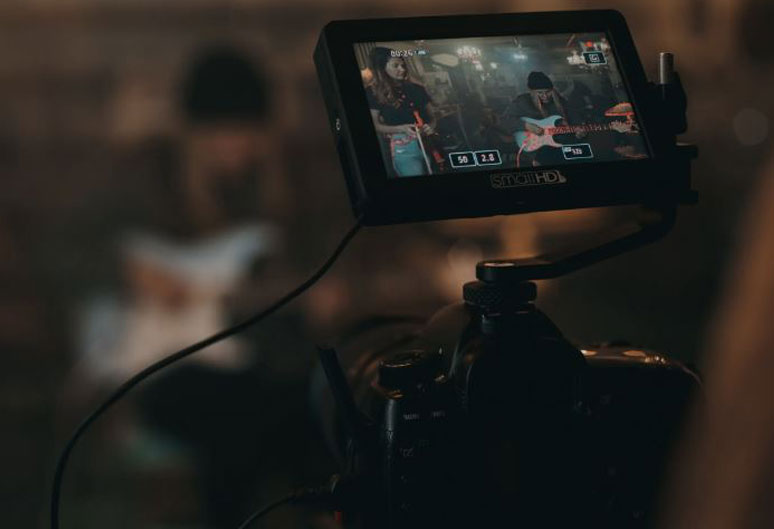
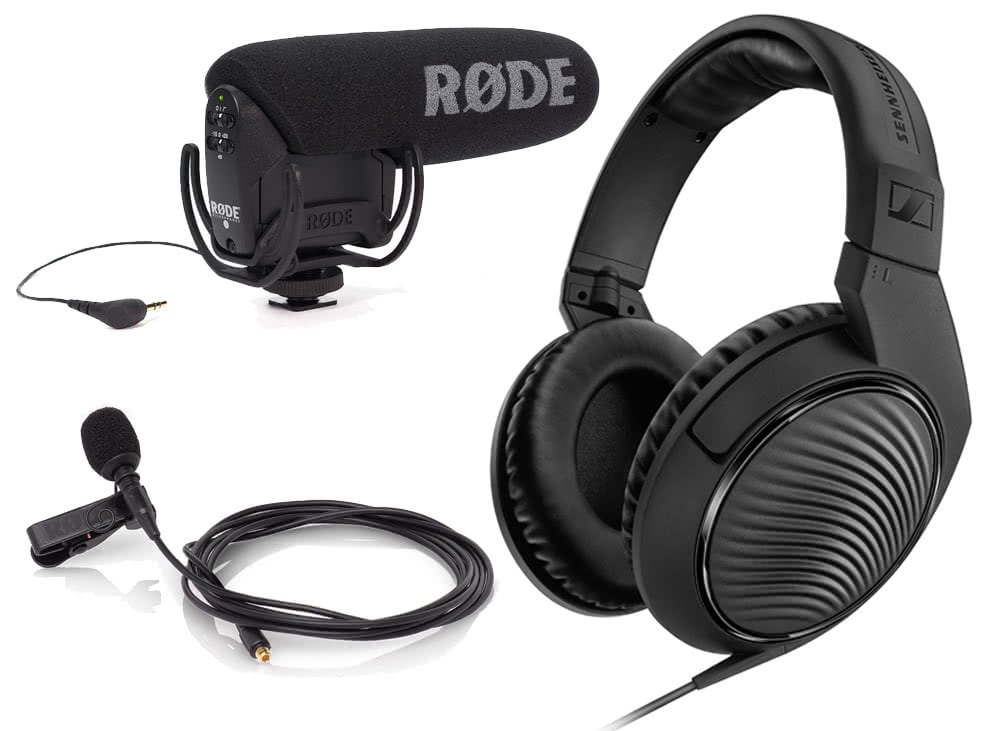
Poor-quality audio is one of the two most glaring hallmarks of amateurish video (we’ll come onto the other one shortly). The built-in microphone on your DSLR is not going to cut it — you need to get hold of some professional audio-recording equipment. Precisely what you want to get does depend a little on what you’re planning to shoot — a hotshoe-mounting shotgun microphone is a good all-purpose tool for recording a scene in the moment, while clip-on lavalier mics are the best bet if you’re planning on shooting talking-head interview footage. The manufacturer Røde is a good bet for both types of microphone — its shotgun mics in particular offer useful extra features such as a safety channel designed to help you record in difficult environments.

 The other essential part of ensuring you have good audio is being able to monitor it — if your DSLR has a headphone jack, then investing in a pair of good-quality headphones is a very good idea. Try Sennheiser.


LED video light

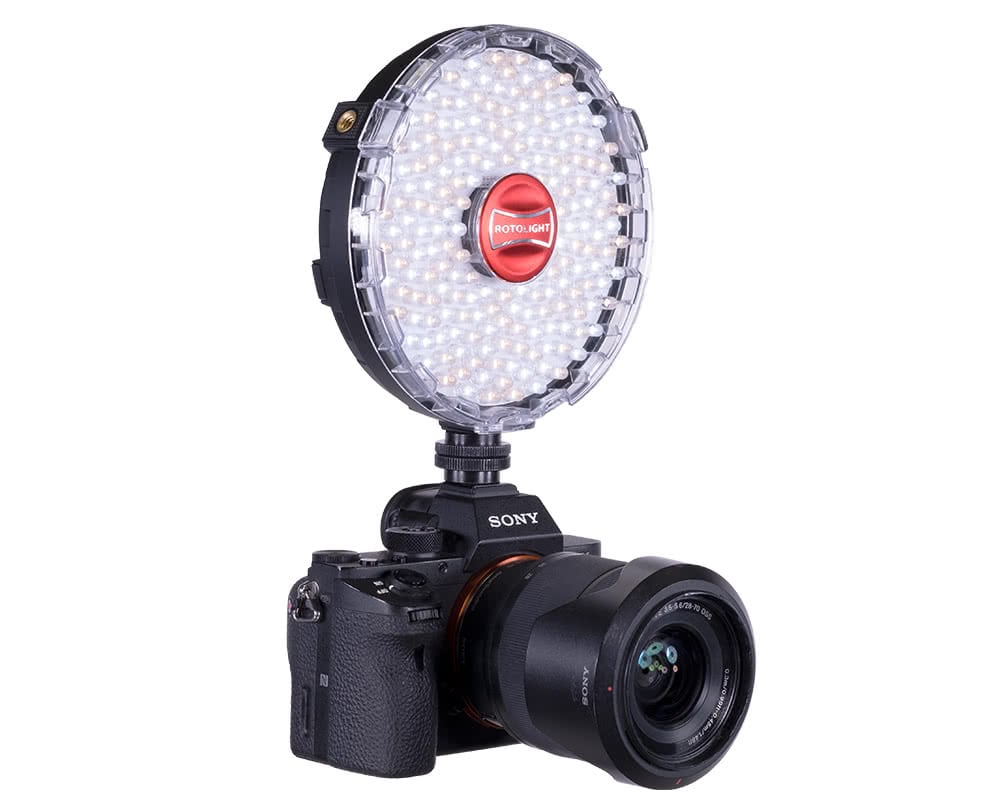
Guess what the other hallmark of amateurish video is? You’re not always going to be able to rely on natural light to get the job done, and a simple portable fill light is a godsend in tough situations when the light isn’t playing ball. It’s worth looking into Rotolight’s LED lights — many of them also have high-speed sync capabilities, meaning they’ll also be useful for your stills work.

 Note that if you’re using multiple different light sources, it’d be worth picking up a set of colour correcting gels to ensure that they all match.


ND filter and polariser

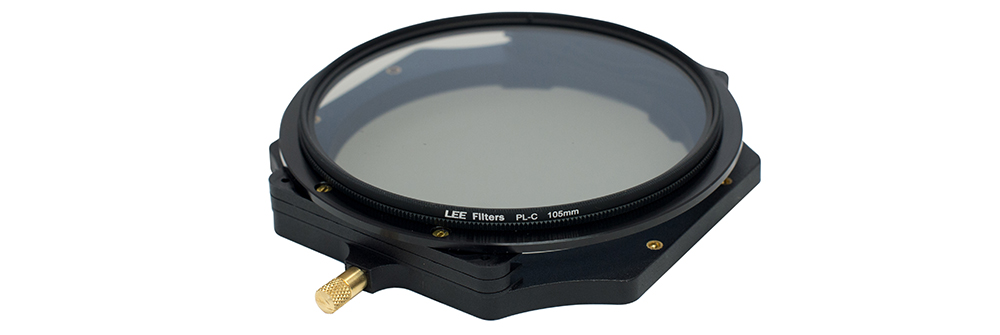
If you’re an outdoor shooter you probably already have these. They’re just as useful for videography as they are for photography, and make a lightweight addition to your kit bag. Lee Filters, Hoya, B+W — all the usual suspects will sort you out just fine.


Fast, high-capacity memory cards

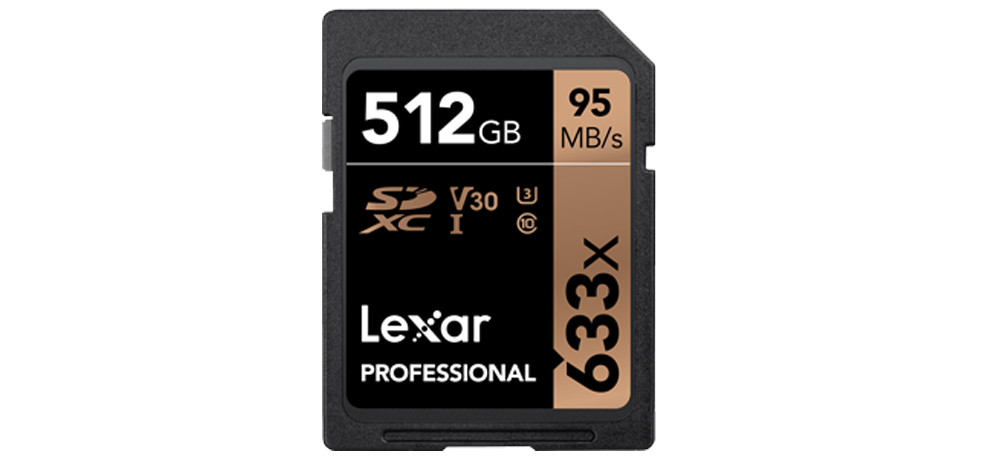
Video is memory-intensive. It uses a lot of it, and uses it quickly. Your camera’s SD card needs to be able to store lots of footage and provide the write-speed necessary to shoot it. The other benefit of a fast card is that it’ll also make uploading the footage to your computer faster once you’re done shooting, which is a nice way of making the edit less laborious. Lexar or SanDisk are good bets, and the more gigabytes the better.


Battery grip (and/or spare batteries)

Running out of battery mid-shoot is just as embarrassing for the videographer as it is for the photographer, and thanks to the power demands of video, it’s also significantly more likely. If your DSLR can take a battery grip then it’s well worth picking one up to boost your power capacity, and either way a good selection of spare batteries and a portable charger are all must-haves.


Handheld gimbal

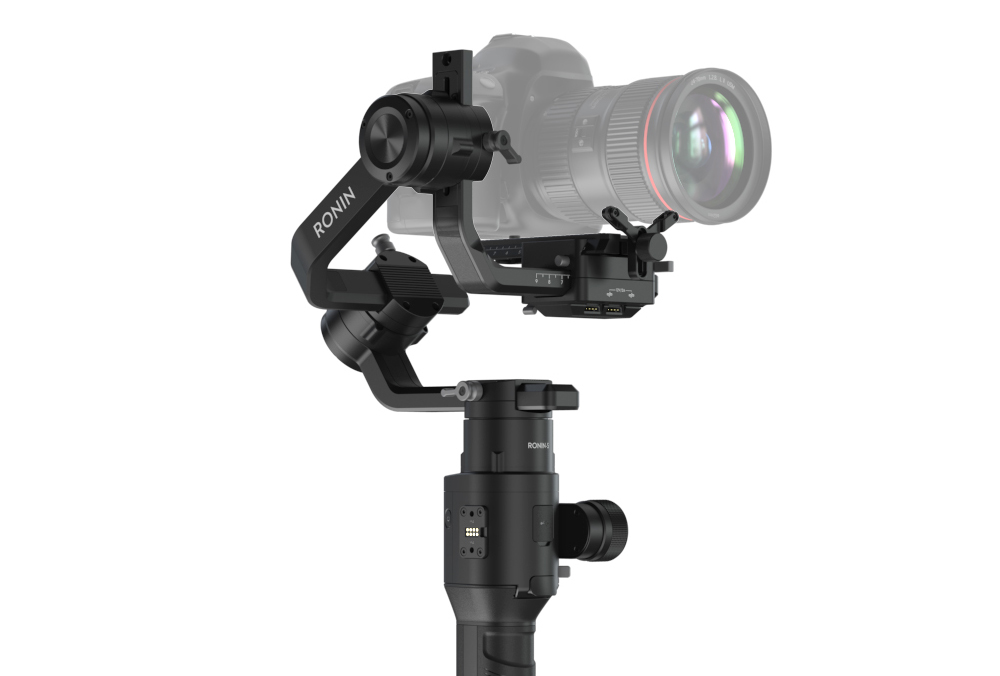
For handheld footage without the wobbles, a stabilising gimbal is a useful and compact tool. With the best ones, you can practically run with your camera without compromising the smoothness of the footage — great if you’re shooting unpredictable action and need to run-and-gun. More advanced stability aids are also available, however a handheld gimbal is the ideal starting point for the DSLR shooter. Something like the DJI Ronin S is a good starting point.


These are the basics you need to get started, but there are plenty more accessories you can use to take your video work further once you’re confident. We’ll cover those in a future blog — in the meantime, good luck!

Fujifilm X-T3 unveiled images

Fujifilm X-T3 unveiled

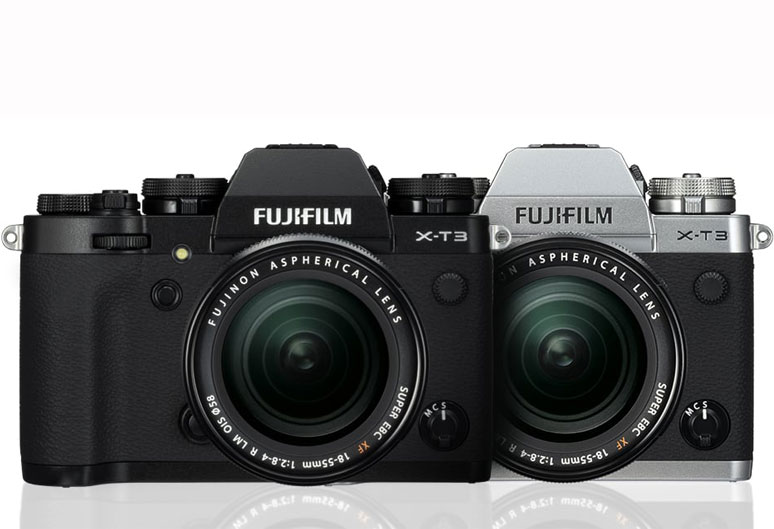
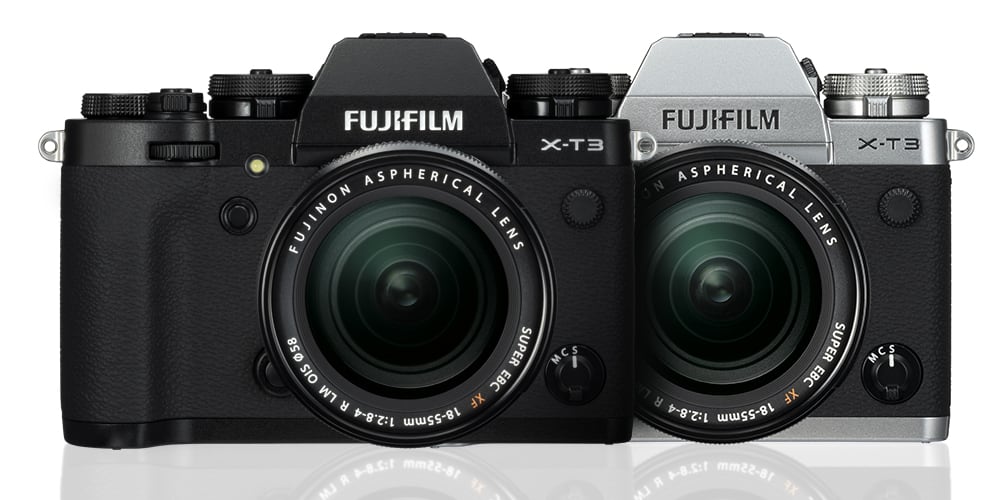
The Fujifilm X-T3 features a new X-Trans CMOS 4 sensor and X-Processor 4 image processing engine for the delivery of outstanding stills and video. Is this the moment to switch to mirrorless?

X-T2_BK_18-55mm_FrontLeft_White


Fujifilm has officially announced the new X-T3. The APS-C mirrorless camera boasts superb image quality and an enhanced ability to track a moving subject – AF performance has been significantly improved and the electronic shutter is capable of up to 30fps blackout-free burst shooting. The X-T3 is also the world’s first APS-C mirrorless camera that can record internal 10-bit 4K video at 60fps.

Main features

– The combined might of the X-T3’s X-Trans CMOS 4 sensor and X-Processor 4 is set to deliver superb image quality and the fastest processing in X-Series history.

– The X-T3’s X-Trans CMOS 4 sensor boasts four times the number of phase detection pixels than the camera’s predecessor (the X-T2). This has increased the phase detection AF area to cover approximately 100% of the frame.

– The X-T3’s electronic shutter is capable of blackout-free continuous shooting at up to 30fps. The mechanical shutter is capable of continuous shooting at 11fps (without the vertical grip).

– Improvements have been made to the mirrorless camera’s low-light performance. The X-T3’s native ISO range is 160-12,800 and its low-light AF limit is -3EV.

– Enhanced viewfinder performance should improve the user’s ability to track a moving subject. The new Sports Finder mode is targeted towards action photographers by capturing a 1.25x crop, marked on the rear LCD or EVF. The larger field of view is intended to aid the manual tracking of a subject, while also decreasing the blackout time.

– The X-T3 can capture 4K at 60fps in 10-bit 4:2:0 internal SD card recording and 4K at 60fps in 10-bit 4:2:2 HDMI output (both can be filmed at the same time). Supported video formats include the widely-used MPEG-4 AVC and HEVC for greater data compression.

*As of September 6, 2018, according to FUJIFILM data

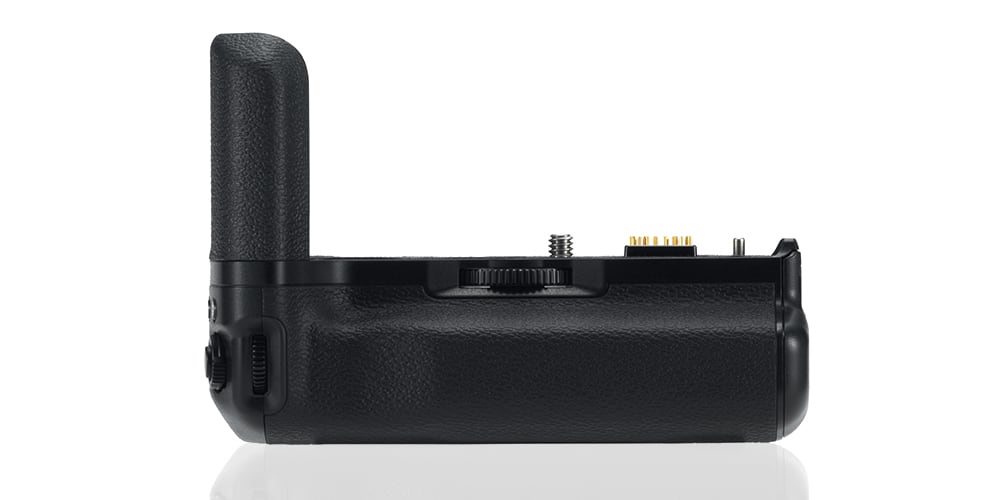
Vertical Power Booster Battery Grip VPB-XT3 (designed specifically for the X-T3)

X-T2_BK_18-55mm_frontTop_white


This Vertical Battery Grip is dust and water resistant, and is capable of operating at temperatures as low as -10°C. It houses two batteries, bringing the total number of batteries to three (including the one in the camera body). This increases the maximum number of frames that can be taken per charge to approximately 1,100 (in Normal mode). The camera does not need to suspend its operation to switch to a new battery, even during continuous shooting or video recording.

Main features

– The grip features a variety of buttons to provide the same level of operability when shooting vertically, as you’d expect when shooting horizontally.

– Charge batteries within the VPB-XT3 by using the supplied AC adapter (AC-9VS). You can fully charge two batteries at the same time in approximately two hours.

Key Features: Fujifilm X-T3 Digital Camera Body – Black

  • New back-illuminated 26.1MP X-Trans CMOS 4 APS-C sensor
  • New X-Processor 4 image processing engine
  • 4K/60P 4:2:0 10bit internal SD card recording
  • Full HD 1080/120p slow motion recording
  • Dramatically improved AF performance (1.5x faster)
  • ISO160-12800 (extendable from ISO 80 to 51200)
  • Features Fujifilm’s Colour Chrome Effect found in the GFX50S
  • 30 fps continuous shooting in 1.25x crop ‘Sports Finder’ mode (electronic shutter)
  • 20 fps continuous shooting at full resolution with AF (electronic shutter); 11 fps mechanical shutter (without grip)
  • 3.69-million-dot high resolution EVF (100% coverage)
  • 3.0″ 1.04 million dot 3-directional tilting touch screen LCD monitor (100% coverage)
  • New Sports Finder mode and New Pre-Shoot function
  • Dual SD card slots
1 2 3 6
Hi, how can we help?