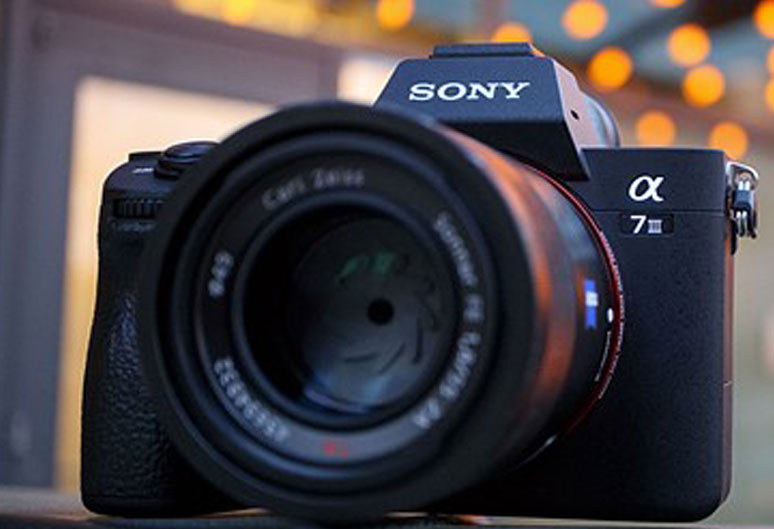
The Sony a7 III, is an update to the popular 24MP a7 II, incorporating many of the tech improvements seen on the a7R III and flagship a9.
The camera features a back illuminated 24.2MP Exmor CMOS sensor boasting a dynamic range of up to 15 stops and an increased ISO range of 100-51,200 (expandable to 50-204,800).
The AF system has been greatly improved over the previous model, now offering 693 phase-detection AF points which cover 93% of the image area, making it ideal for accurately tracking a moving subject. In addition, the 5-axis optical in-body image stabilisation allows for a five stop shutter speed advantage.
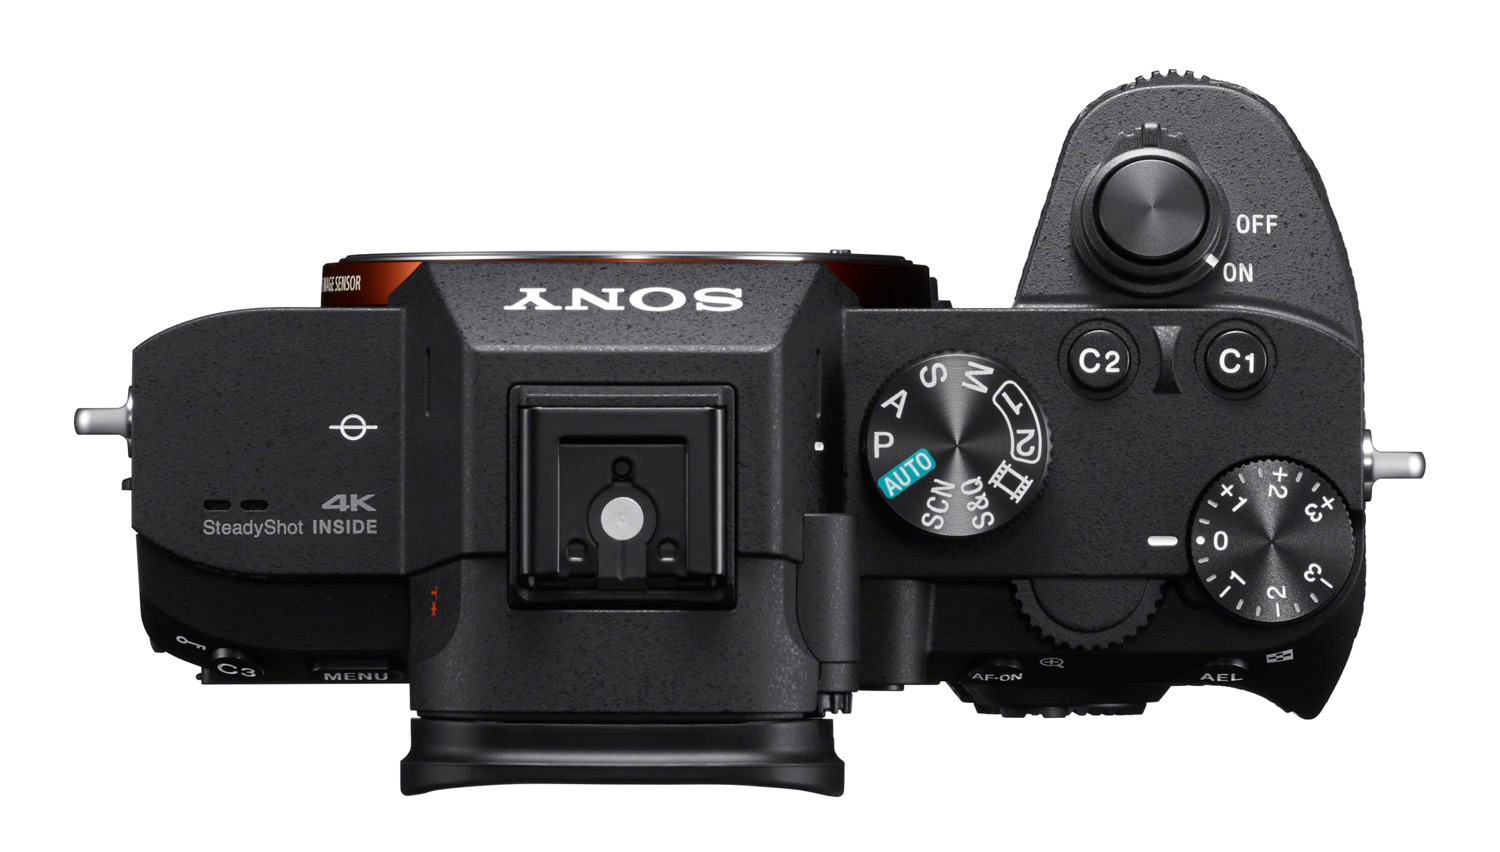
Continuous shooting speed has also been improved over the a7 II’s 5fps, and has now doubled to 10fps, with a buffer capable of shooting 89 RAW/177 JPEG images with full AF & auto exposure.
Video options
For videographers, the A7 Mark III is capable of 4K (3840 x 2160px) video recording across the entire width of its image sensor. Full pixel readout (no pixel binning) can be achieved in video mode, collecting around 2.4x the data needed for 4K movies.
The camera supports S-Log2 and S-Log3, alongside Gamma Display Assist, Proxy Recording and the Zebra pattern function. Full HD video can be recorded at 120 fps (100 Mbps).
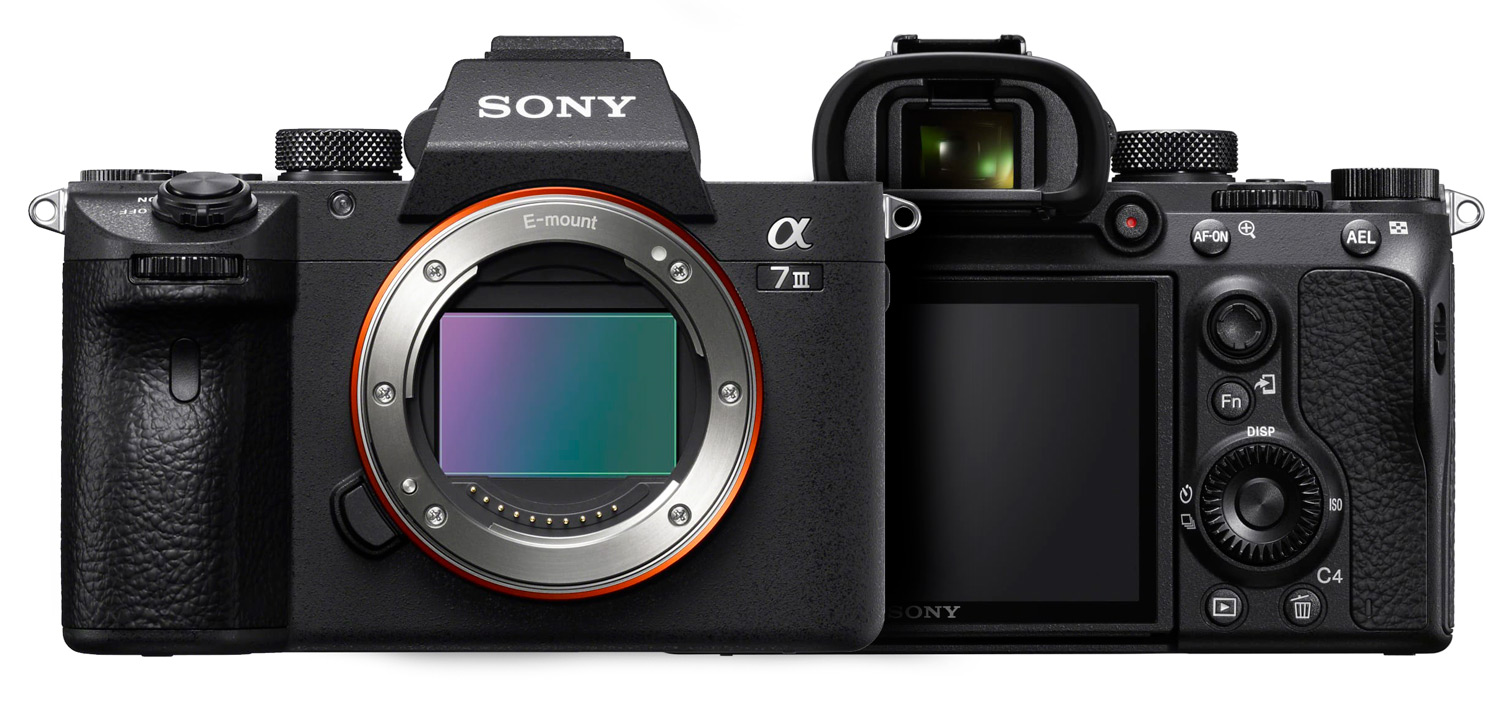
A dual SD card slot provides various storage options including the capture of separate RAW and JPEG files, and one of the slots supports UHS-II type SD cards. Alongside Wi-Fi, the a7 III has a SuperSpeed USB Type-C terminal for faster image transfer during tethered shooting.
For more information, contact sales on 020 7582 3294 or email sales@fixationuk.com
With its Alpha series of mirrorless cameras, Sony is playing a calculated game of wooing different types of DSLR user over to its system. The Alpha 7R cameras, for instance, boast the kind of high megapixel counts favoured by landscape and studio shooters, while the Alpha 7S series are seriously impressive low-light machines designed to appeal to those who work in video (which they have done very successfully).
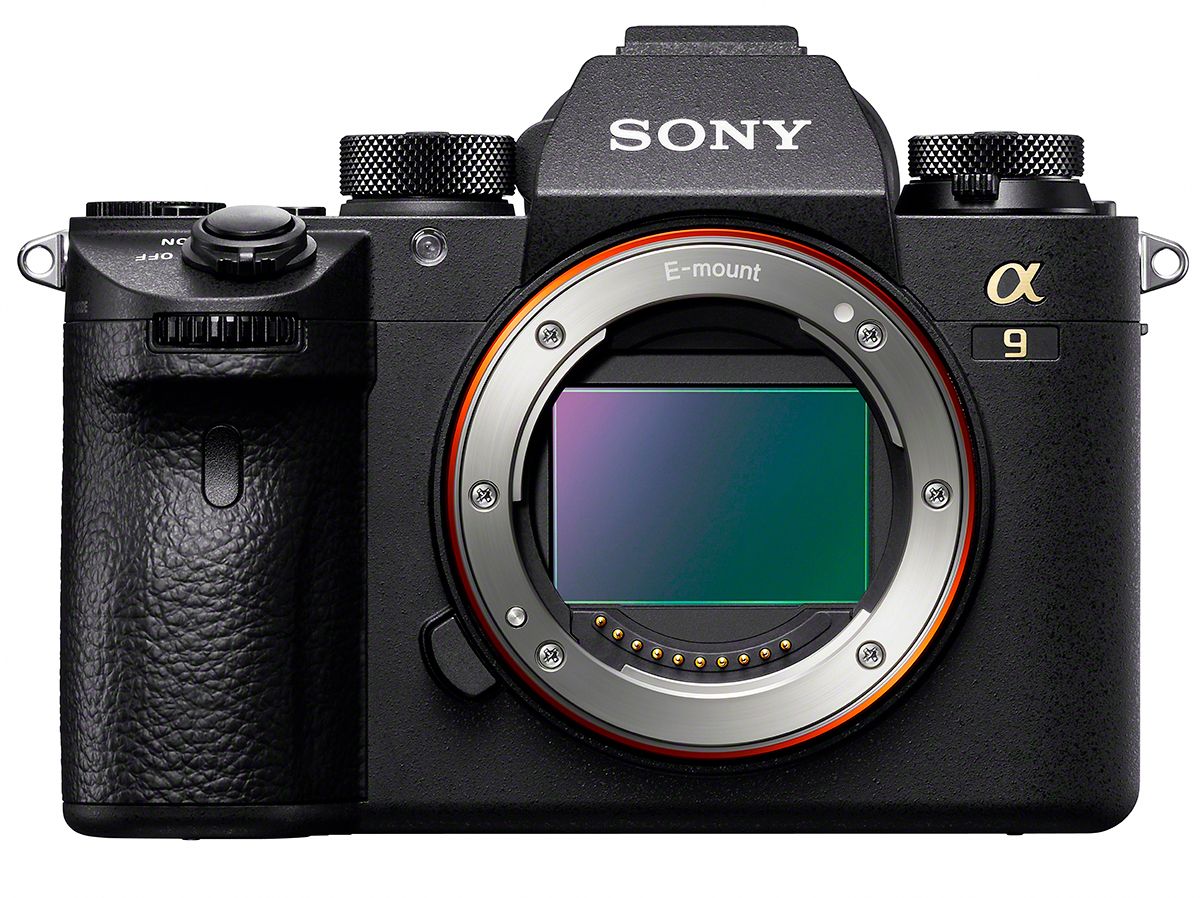
Until last year, there wasn’t much in the Sony stable to seriously tempt sports and action photographers. These are the kind of people who prize speed and accuracy above all else, the vast majority of whom you would find using cameras like the Canon EOS 1D X Mark II or the Nikon D5. That has now all changed with the arrival of the Sony a9.
If you’re reading this, you’re probably at least somewhat familiar, so we’ll keep the recap brief. The Sony a9 is a speed demon, able to shoot continuously at up to 20fps with no viewfinder blackout, a feature complemented by its beast of an autofocus system that comes sporting 693-point focal plane phase detection points and is able to handle up to 60 AF/AE tracking calculations per second. All this is complemented by additional speed-oriented features such as a generous image buffer (241 Raws, 362 JPEGs), maximum shutter speeds of 1/32,000s, dual SD Card slots, and 5-axis in-body image stabilisation that provides a shutter speed advantage of up to 5 stops.
As you can see, the Sony a9 is a fearsome, complex tool for speed shooters. And like any complex tool, in order to get the most out of it, you have to know how to use it. That’s why we’ve put together this helpful guide to its many different focusing modes. We’ll give you an overview of each mode, and suggest some situations in which it could be put to good use.
Basic focus modes
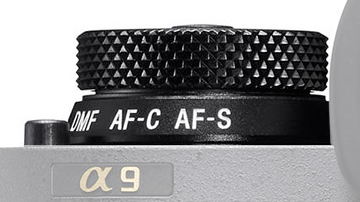
[gdlr_row] [gdlr_column size=”1/3″][/gdlr_column] [gdlr_column size=”2/3″]Let’s quickly get the basics out of the way. The Sony a9 carries four general focusing modes, most of which you’d find on any camera of its class. They can be set using the marked dial at the top, and are as follows:[/gdlr_column] [/gdlr_row]
[gdlr_row] [gdlr_column size=”1/2″]
AF-S (Single-shot AF)
Focus locks in place once acquired. Useful for still subjects.
[/gdlr_column] [gdlr_column size=”1/2″]
AF-C (Continuous AF)
The camera continues to focus when the shutter button is half-depressed. Useful for moving subjects.
[/gdlr_column] [/gdlr_row]
[gdlr_row] [gdlr_column size=”1/2″]
MF (Manual focus)
Focus is set manually by the user. Focus peaking can be turned on or off in the settings menu, providing a graphical representation of the focusing accuracy, and photographers can also make use of MF Assist, which provides a zoomed-in view of a selected focus point on the LCD screen and thus allows for even finer adjustments.
[/gdlr_column] [gdlr_column size=”1/2″]
Direct Manual Focus (DMF)
A combination of auto and manual focus, DMF allows users to acquire focus with the AF system and then fine-tune it manually. No one would be using this on any subject that moves, but it can be very useful for applications like macro shooting, striking a nice balance between expediency and precision for situations where the photographer needs the plane of focus to be incredibly precise.
[/gdlr_column] [/gdlr_row]
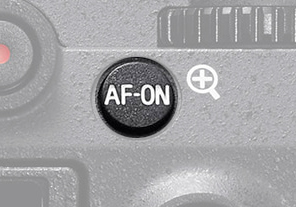
Back Button Focusing
One thing that’s also worth noting before we delve into the autofocus modes is that if you don’t want to set focus with the shutter, you can set up the Sony a9 to perform back button focusing, i.e. using one of the rear buttons as the trigger for acquiring focus. This requires delving into the menus to turn off Shutter AF and then heading to the button customisation options to assign focusing to your button of choice.
While it is a bit of a pain to set up, it can be extremely useful to get to grips with Back Button Focus if you’re going to be photographing moving subjects – which, with your Sony a9, you probably are. It’ll mean your camera won’t automatically attempt to refocus if you accidentally lift your finger a little from the shutter release, and that you can recompose without losing your subject.
Autofocus
Stills shooters using a Sony a9 probably won’t be using its manual focus functions a whole lot. The camera is a speedster first and foremost, best for tracking fast subjects whipping across the frame, and that means that the vast majority of the time a stills photographer will be using autofocus.
To that end, Sony has provided an abundance of autofocus modes that cover the frame in different ways, and if you’re going to use the camera effectively, it’s very important to have a solid grasp of what these different modes do and when it’s most appropriate to use each one.
Let’s run through them.
Wide
This is the standard mode, the broadest focusing mode available. Putting the a9 on this setting tells it to use its autofocus system to search the entire frame to find a subject to focus on.
You’re going to want to use this in situations where you simply don’t know what’s going to happen – you have an unpredictable subject that’s moving erratically. However, you ideally also need this subject to be the only thing in frame, moving against a fairly uniform background. A single runner on a track, a bird in flight – these are good examples of when you might use the Wide mode. In any more complex situation than that, Wide may not hone in on what you want it to.
Zone
This is a more targeted mode. Here, the photographer uses the touchscreen or joystick to specify a rectangular segment of the frame where they want the camera to acquire its focal point. It’s useful for giving the camera a clearer idea of your intentions for a busy scene – say you want to get the player further away from you who’s likely to shoot, not the more prominent but less immediately interesting player who happens to be closer to you.
Centre
The camera uses a small, fixed rectangle in the centre for focusing. This is useful for when you’re firing off shots and simply need to focus and recompose.
This mode can be customised in the settings menu, with the option to switch on Center Lock-on AF. With this switched on, once the system acquires focus on the central point, it’ll continue to track that subject even if it moves to a different part of the frame.
Flexible Spot
This is a versatile, flexible focusing mode, and it’s well worth investing the time into getting comfortable with using it. With this mode, the photographer freely specifies the precise point where it wants the camera to focus. This can be done with the joystick, but is so much more fluid and intuitive when done on the touchscreen – simply tap the point in the frame where you’d like the focusing rectangle to go, and you’re set. Once you get comfortable with it, you can quickly focus, shoot and refocus with incredible precision. The size of the Flexible Spot can also be adjusted, with three settings available: Small (S), Medium (M) and Large (L).
This mode can also work with Lock-on AF, allowing you to track the subject that’s been acquired using the Flexible Spot.
Expand Flexible Spot
This is the same as Flexible Spot, but with a wider target area that’s designed to be a little more forgiving. It’s useful if your subject is difficult to pick out against its background.
Detection modes
The Sony a9 also comes with some focusing modes designed to make it easier to photograph people.
Face Detection
This is the standard face detection mode that comes on most sophisticated cameras (and smartphones) these days, and it can be turned on or off in the settings menu. The Face Detection modes can track faces its detected – once there’s a lock, it’ll follow the face around the frame.
What’s interesting on the Sony a9 is that it comes with a Face Registration system, which allows the user to teach the camera to recognise and prioritise specific faces in crowds. Wedding photographers in particular likely sat up a little straighter upon reading that – simply grab a quick pose from the bride, groom and other key players at the start of the day, and you’ve got some assurance that the camera will hone in on the most important people in every scene.
It’s worth noting, however, that Face Detection will not override other focus modes, so if it detects a face outside of the point you’ve specified with Flexible Spot or whichever mode you’re using, it’ll register that face (and mark it on your LCD), but won’t focus on it unless you move your point to cover it. This is useful for maintaining a degree of control over what the camera is doing. If you’d like the focus point to be entirely governed by Face Detection, you can simply set the autofocus mode to Wide, which as you’ll recall will encompass the whole frame.
Eye Detection
A more precise version of Face Detection, this does exactly what it sounds like – detects eyes in the frame, and focuses on them. It can also track a person’s eyes around the frame, and this function works very, very well [link]
This is a really useful function for portrait photographers, who need to get the eyes dead-on and are also working with very shallow depths of field. The tracking feature also expands the possibilities of a shoot – if you want your subject doing something a little more active than sitting perfectly still, Eye AF means you can track them in motion without sacrificing pin-sharp focus or your shallow depth of field.
Further reading
Sony has provided a useful chart on its website as to the specific sports and situations you might want to use different a9 focus modes for [link], but the best way to find out is of course practice! Use your a9 in different situations, experiment with its focusing modes and find out what works for you.
We hope you found this guide useful. Are there other functions of the a9 you’d like to know about? Let us know in the comments or on social media!
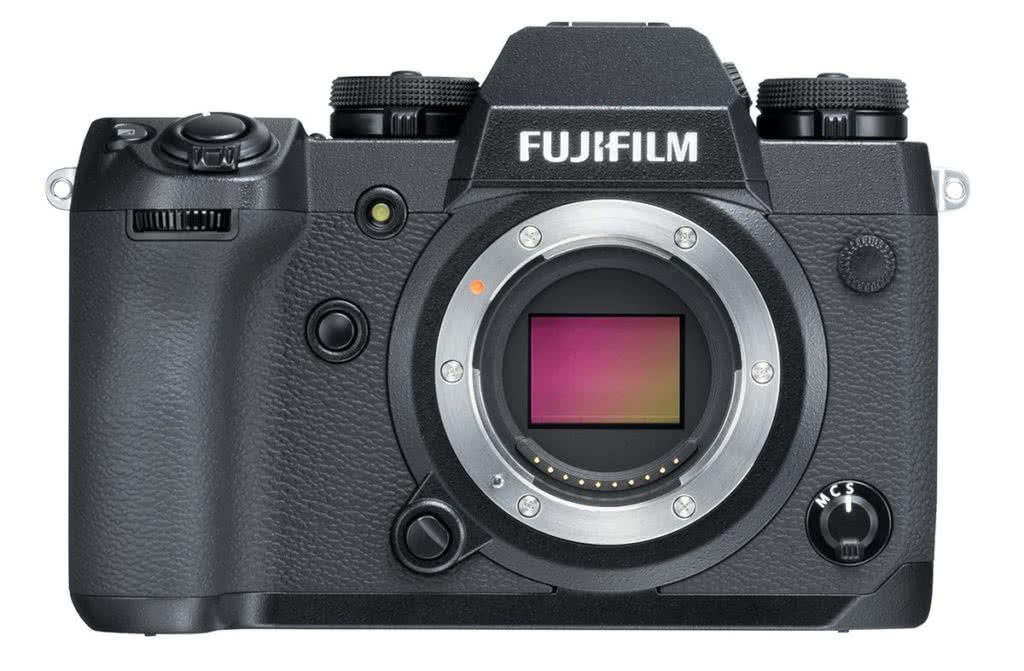
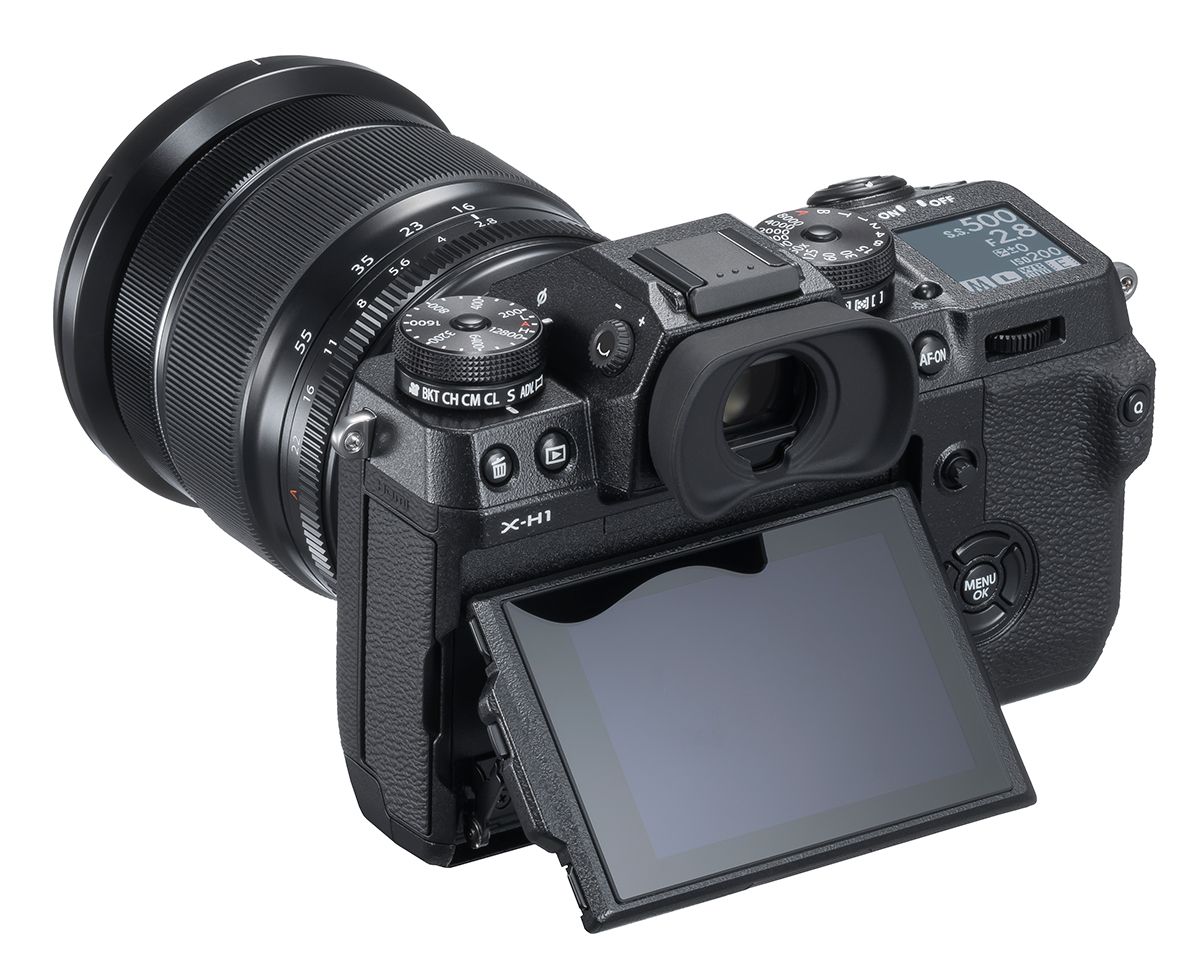
Fujifilm have a new high-performance camera in the X Series range – the flagship X-H1.
It’s the first X Series camera to feature in-body image stabilisation (IBIS). Three accelerometers, along with Gyro sensors and a specially developed dual-processor work seamlessly together to give up to 5.5 stops of stabilisation, even with XF lenses that do not have built-in stabilisation technology.
Sporting a robust magnesium alloy body, the X-H1’s lightweight construction maintains a strong resistance to impact damage, while the external surface provides dust and water resistant properties and a hard scratch-resistant coating.
The X-H1 uses Fujifilm’s tried and tested 24.3MP X-Trans APS-C sensor first seen in the X-Pro2 and X-T2 and delivers high quality images with Fujifilm’s excellent colour reproduction.
The body styling is very reminiscent of the GFX 50S with a crisp LCD on the top panel and the deeper than usual hand grip makes the X-H1 very stable in the hand.
Having listened to feedback from professional photographers, Fujifilm have incorporated many improvements to existing X Series features; a new AF-ON button on the back of the camera makes AF operation accessible with your thumb and a focus lever allows the user to quickly select a focus point. The X-H1 also boasts the quietest shutter sound in the X Series range, making it ideal for wedding, sports and wildlife photographers and a redesigned leaf-spring switch on the shutter release gives a more tactile feel.
Video options
Serious videographers haven’t been forgotten either. The X-H1 is the first X Series camera to feature Fujifilm’s new ETERNA cinematic film simulation mode, which creates subtle colours and rich shadow detail, greatly enhancing the post-production creative process. Other video performance improvements include a 1080/120P high-speed video mode (1/2, 1/4 and 1/5 speed slow motion) for recording spectacular slow-motion footage, F-log SD card recording which aids smooth workflow, a DCI 4K shooting mode (4096 × 2160), a 400% dynamic range setting (approximately 12 stops), 200 Mbps high bit rate recording, a high-sound quality internal microphone (24 bit/48 kHz) and verbal time codes.
A dedicated battery grip, the VPB-XH1 is also available which gives extended frame rates when shooting stills and extended movie recording times for video.
Specification overview
24.3MP (APS-C) X-Trans CMOS III with primary colour filter
Image sensor shift mechanism with 5-axis compensation (up to 5.5 stops)
100-51,200 ISO (extended range)
14.0 fps (with the Electronic Shutter), 8.0 fps (with the Mechanical Shutter) 11.0 fps (with the Mechanical Shutter and when fitted with VPB-XH1)
3.0″ LCD monitor, 1.04 million dots
Movie recording: 4k (4096 x 2160), 2K (1920 x 1080) & HD (1280 x 720)
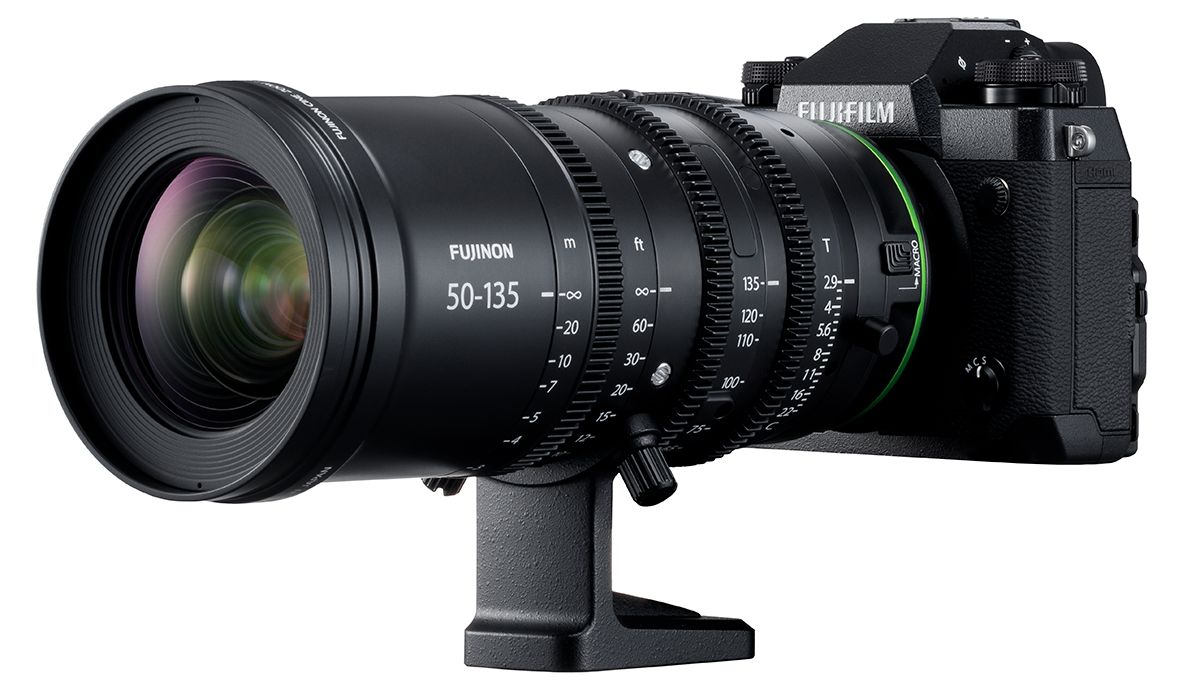
Alongside the new X-H1, Fujifilm have also announced 2 new dedicated high-performance cinema lenses for the X Series cameras, the MKX 18-55mm T2.9 & MKX 50-135mm T2.9
Both lenses comprise an advanced optical design using 22 elements in 17 groups and use ED & Super ED elements to ensure edge-to-edge sharpness and superb colour fidelity. Manually controlled zoom, focus and iris rings make usability extremely comfortable and a long 200º focus travel ensures precise and accurate focus at all focal lengths. Focus-shift while zooming is eliminated thanks to the front focusing group of lens elements and the zooming group of lens elements being driven independently from one another. The constant T2.9 aperture also means that no exposure compensation is required when reframing during a zoom.
We use cookies on our website to give you the most relevant experience by remembering your preferences and repeat visits. By clicking “Accept”, you consent to the use of all the cookies.
This website uses cookies to improve your experience while you navigate through the website. Out of these cookies, the cookies that are categorized as necessary are stored on your browser as they are essential for the working of basic functionalities of the website. We also use third-party cookies that help us analyze and understand how you use this website. These cookies will be stored in your browser only with your consent. You also have the option to opt-out of these cookies. But opting out of some of these cookies may have an effect on your browsing experience. We log visitor IP addresses and cookie preferences for due diligence reporting.
Necessary cookies are absolutely essential for the website to function properly. These cookies ensure basic functionalities and security features of the website, anonymously.
Advertisement cookies are used to provide visitors with relevant ads and marketing campaigns. These cookies track visitors across websites and collect information to provide customized ads.
Performance cookies are used to understand and analyze the key performance indexes of the website which helps in delivering a better user experience for the visitors.
Analytical cookies are used to understand how visitors interact with the website. These cookies help provide information on metrics the number of visitors, bounce rate, traffic source, etc.
Functional cookies help to perform certain functionalities like sharing the content of the website on social media platforms, collect feedbacks, and other third-party features.