Panasonic Lumix 4K/6K Photo Modes Explained image

Panasonic Lumix 4K/6K Photo Modes Explained

It’s been a truth universally acknowledged for quite some time now that if you buy a Panasonic Lumix camera, you get the capacity to shoot 4K video — all the firm’s latest models come sporting this functionality. Which is all to the good, but is worth your attention even if you have no desire to produce video content, thanks to something called 4K Photo mode (and, more recently, 6K Photo mode, which we’ll get to).

What is 4K Photo mode? It’s something that allows you to ensure you never miss even the most fleeting of moments, using the camera’s video-shooting capabilities to capture split-second stills. How does it work? Read on as we explain…

What is 4K Photo mode?

Put simply, 4K Photo mode allows for the extraction of 8.3MP stills from 4K footage shot on Panasonic Lumix cameras. Though this is significantly lower resolution than the camera will produce in normal shooting modes, it is perfectly adequate for many purposes and will result in perfectly good prints of a reasonable size. 

It basically uses the video mode as a form of burst shooting, and this means that the camera is effectively capturing action at 30fps, which is significantly faster than most stills cameras’ burst modes. Point your camera at the action, and it’ll fire and fire and fire, and at the end you’ll be left with a selection of stills at the 4K resolution of 3840 x 2160 pixels. You can also choose your still’s aspect ratio if you so desire — choose from 16:9, 4:3, 3:2 and 1:1 

It gets better too — there are plenty of different mode options for customising how you want 4K Photo to work. Which modes are available will depend on which exact camera model you have, so always double check, but here are the options available across the range:

4K Burst: 

This is the straightforward mode — hold down the shutter button, and the camera burst shoots 4K images at 30fps. Lovely! 

4K Pre-Burst: 

This is a useful mode if you are in a situation where the action is unpredictable. When 4K Pre-Burst is active, the camera will continually record 4K footage, and when you press the shutter button it will allow you to select from the thirty frames recorded both before and after you pressed the shutter button (a second either side). Miss the moment by an inch? This mode means it isn’t a problem.

4K Burst Start/Stop (S/S): 

This mode allows you trigger the 30fps burst shooting to start with one press of the shutter button, then stop it with another. Useful if you need to move away from your camera while it’s recording. 

Post Focus: 

This is something you’ll only find on newer Panasonic Lumix models such as the Lumix G80. It uses 4K shooting in conjunction with Panasonic’s Depth from Defocus technology to allow the user to pick the focus point in an image after they’ve shot it. You can completely alter the perspective in your images to focus on a different subject, as well as zoom right in up to 5x on a shot and make use of focus peaking in order to determine exactly where you want the focus to sit. It’s undeniably impressive technology, and makes capturing those key moments all the more easy.

The Lumix GH5 and 6K Photo

Users of the new Panasonic Lumix GH5, the firm’s flagship, also have even more to play with in the form of 6K Photo Modes. These are, in essence, exactly what they sound like — using 6K video technology to allow the user to extract 18MP stills, rather than 8. Good news is too that 6K Photo users also get access to all of the same modes as 4K Photo, with 6K Burst, 6K Burst S/S and 6K Pre-Burst all present and correct.

We hope this has given you a more thorough understanding of how 4K and 6K Photo modes can be useful in your own work. If you have any more questions, drop us a line and we’ll be happy to help.

The Best Accessories for Mirrorless Video image

The Best Accessories for Mirrorless Video

If you’re doing video work with your mirrorless camera, it’s worth being aware of the world of accessories at your disposal. We pick some of the best that will play to the strengths of your system and help you get the best possible results.

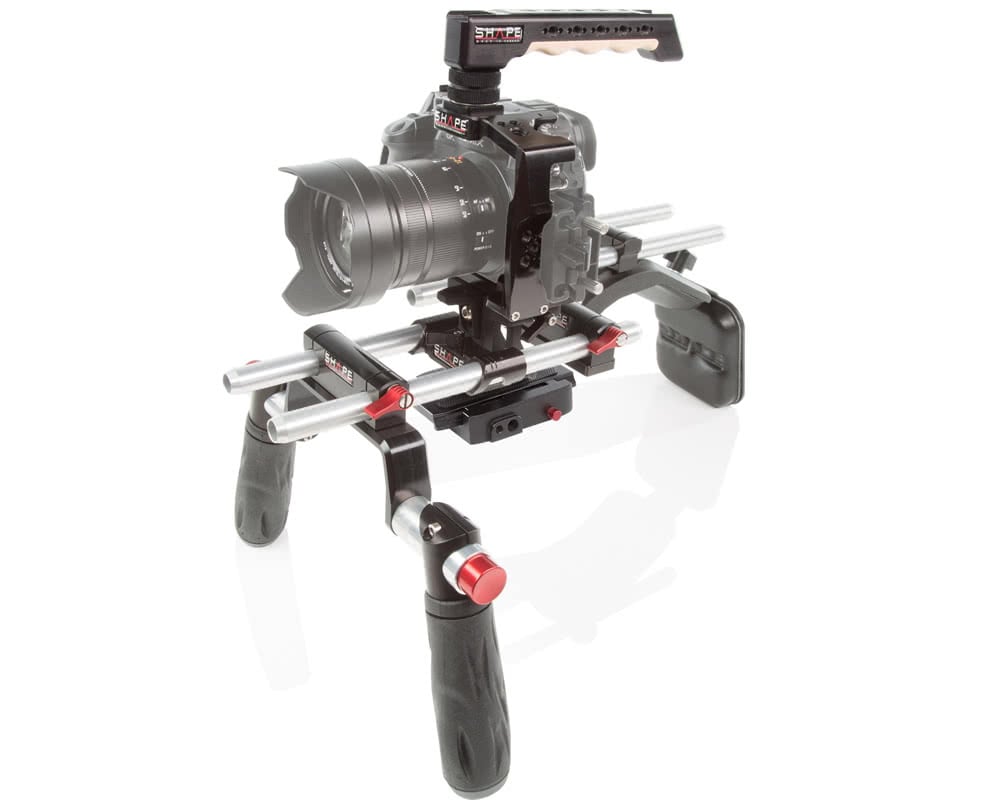
A shoulder rig

The small form-factor of mirrorless cameras makes them perfect candidates for rigs, which can allow you to create complex camera movements while keeping your footage stable and smooth. Building your own rig can be a complex process that varies greatly depending on your needs, so to start with we’d suggest getting hold of something fairly simple like a shoulder rig, which allows you to keep your camera smooth and steady while you run and gun. 

Once you get more confident, your rigs can get more intricate, but this is a good place to start.

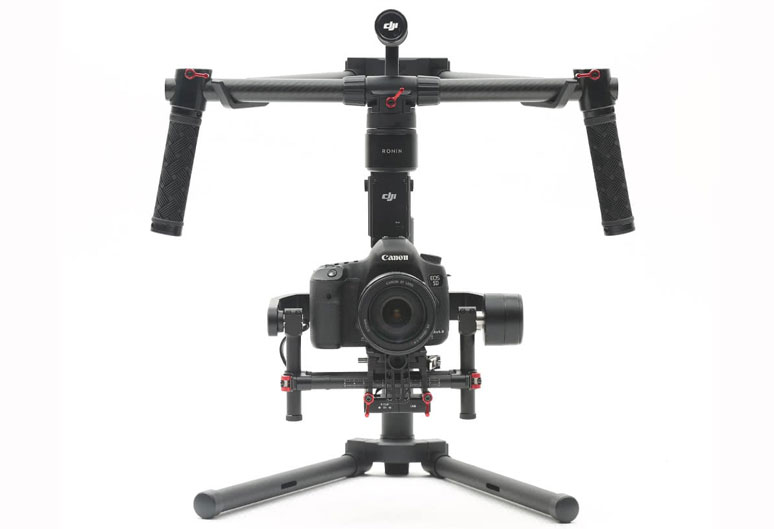
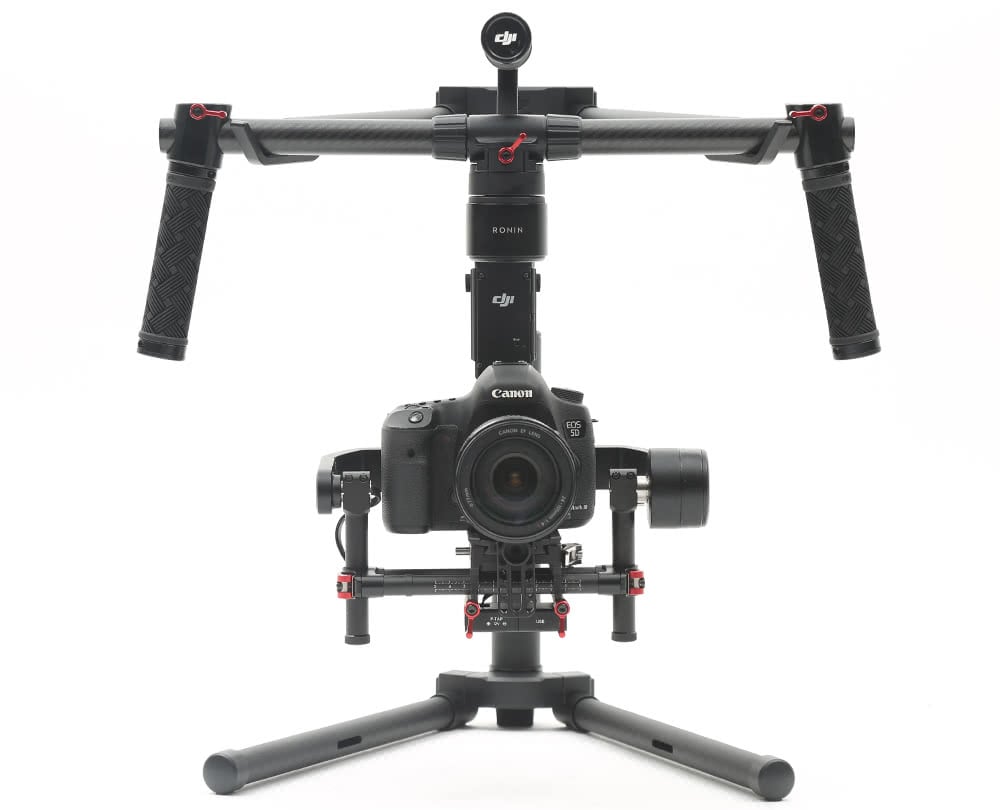
A motorised gimbal

In a similar vein, a handheld gimbal gives you the optimal balance between flexibility and stability, allowing you to keep your shots steady while moving at pace. It’s especially useful if you’re filming in a situation where you aren’t quite sure what to expect, allowing you to react quickly without jeopardising your footage.


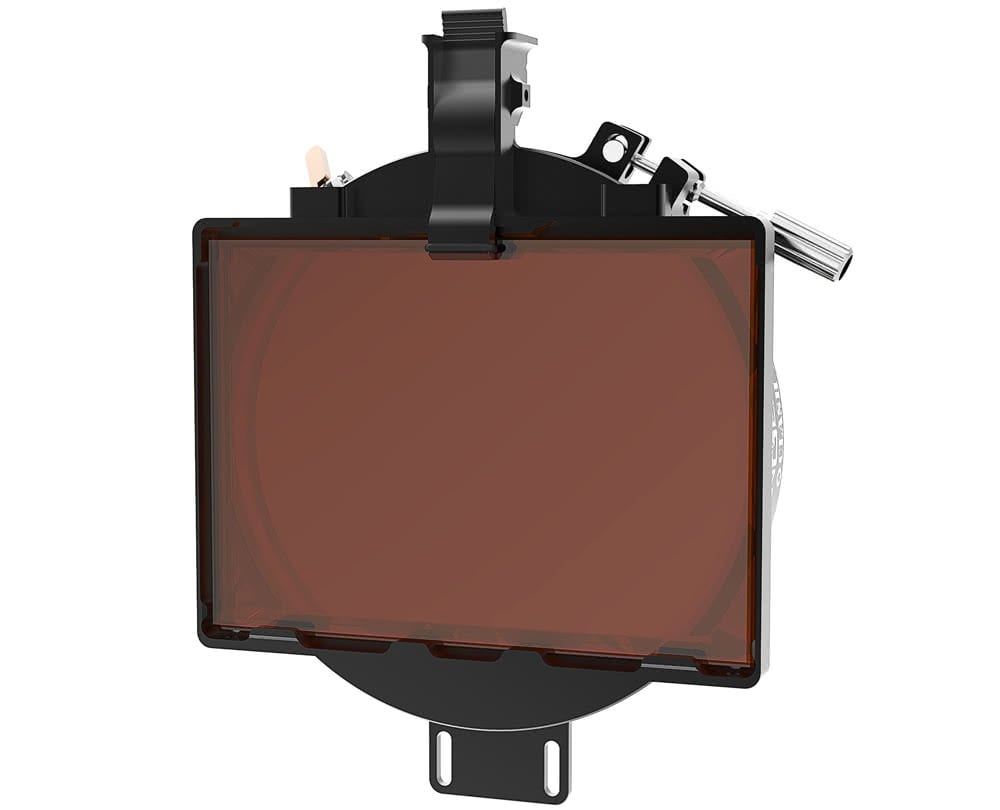
Matte box and filters

The matte box that attaches to the front of a lens serves two distinct purposes — firstly, to cut down on lens flares and unwanted light in your shot. The second, to allow for the easy attachment and swapping of filters that you might need for particular situations, such as ND filters to control light. These are relatively inexpensive accessories that can make your life much, much easier, and it really can’t hurt to pick them up as soon as possible.

Plus, we can admit it: a camera with a matte box on the front just looks the part when it comes to filmmaking. Hey, sometimes it’s nice to go about things with a little style.

Microphone and lighting

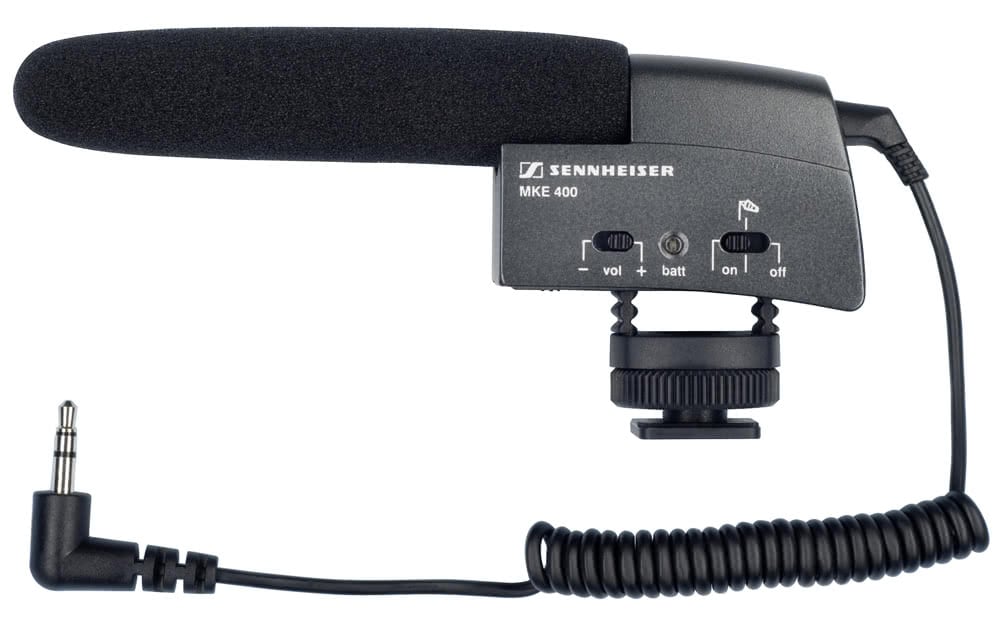
You need to get great audio in your videos, and a hotshoe-mounted microphone is the best way to go about this. In the future you may want all sorts of mics for all sorts of situations, but for now a simple, straightforward camera-mounted model is going to make a world of difference. 

You’re also going to want to be able to control your lighting, and an LED panel is a good bet for this. The best ones will allow you to fine-tune the temperature and power of the light you’re using, ensuring that you have the absolute perfect settings for your shot.


Monitor/recorder

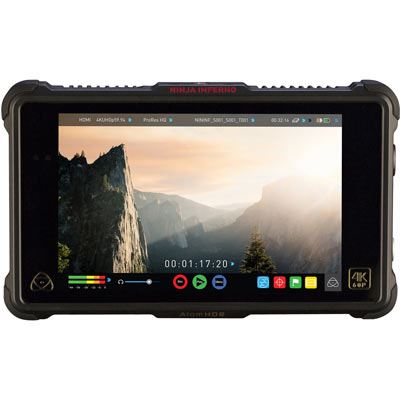
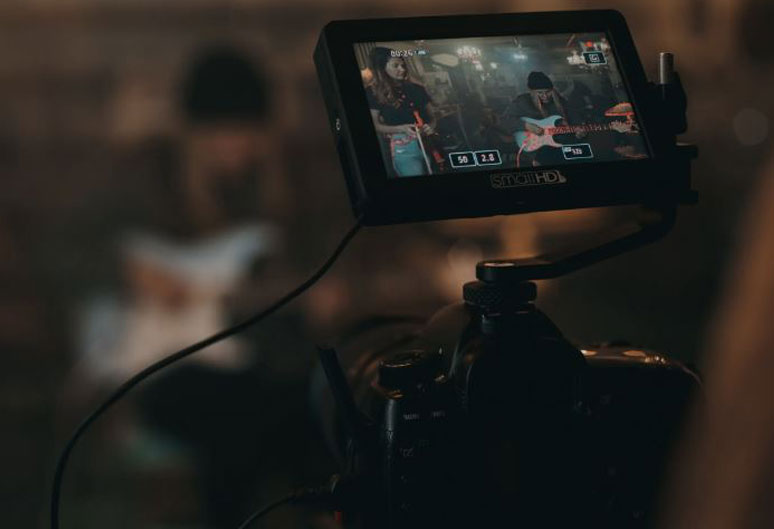
The rear LCD is all well and good, but for best results you want something a little more powerful. A bright, high-quality, high-contrast monitor will allow you to accurately compose and focus your shots even in challenging conditions, and will have a full suite of options allowing you to tweak its settings to just the way you like them. Making use of a more advanced recorder like an Atomos Ninja Inferno will allow you to do things like monitor the dynamic range of a Log image, as well as record video in a wide range of codecs to maintain quality while conserving space.

A robust and comfortable bag

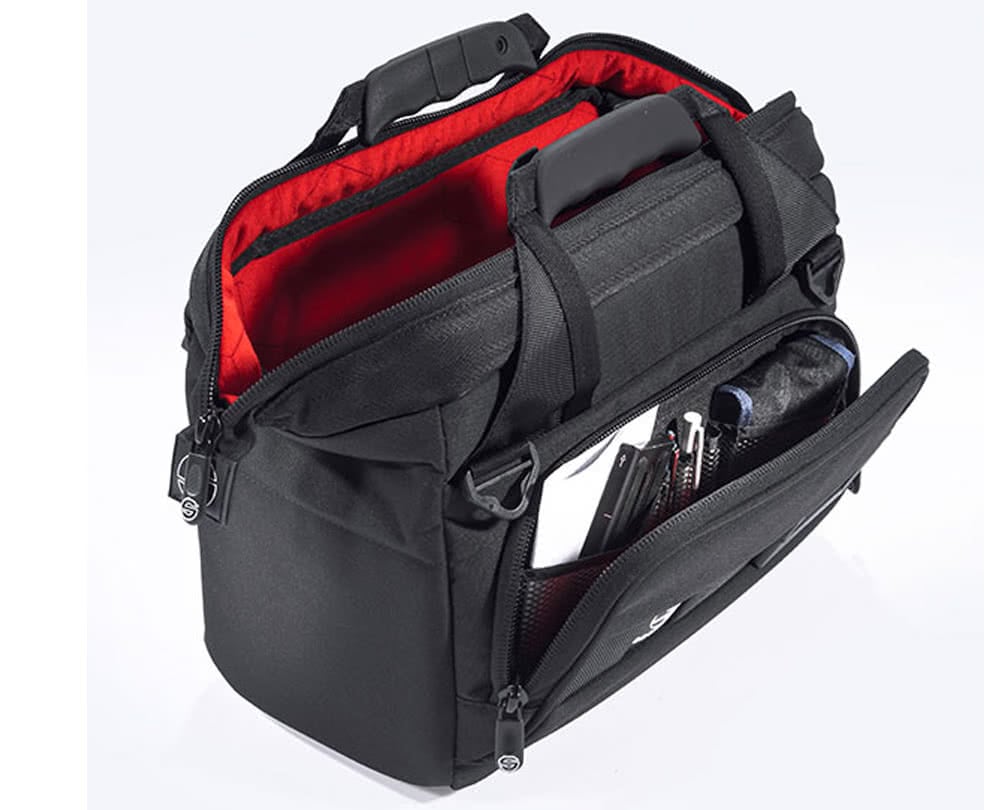
The advantage of a mirrorless system is its portability so lean into this and get a bag that can house and protect all of your gear while being comfortable to carry around. You may favour backpacks, rolling bags, doctor-style bags or something else entirely, but the good news is that the selection of photo/video bags on the market is exceedingly broad, and it’s very likely indeed there will be something to suit your needs.


Backups

Backup batteries, backup cards — basically, if it breaking would ruin your day, then chances are you need a backup of it. If you’ve only got one shot at capturing your subject — an event, a race, a news story, a wedding — then you need to make sure you won’t be undone by gear failure (or the more human failure of an incompletely packed bag). If you can’t afford to double up on the big stuff, hiring can be a good solution.

A good selection of lenses

Make sure you’re prepared. Whether you prefer the quality of primes or the flexibility of zooms, having the focal lengths in your bag to cover all distances you might need is essential.

There’s more to it of course, but this should give you a basic idea as to where to start with equipping your mirrorless camera for video. If you need any more advice, don’t hesitate to get in touch with the team!

Essential accessories to start shooting DSLR video image

Essential accessories to start shooting DSLR video

It is increasingly expected for photographers to be able to offer their clients a complete package when it comes to visual content — not just stills, but video too. The good news is that if you’ve already got a pro DSLR, a tripod and a decent selection of lenses, you’ve already got a large part of what you need to start shooting video clips. The question is, however: what else do you need? Fear not — we’ve put together a quick guide to the kit you need to produce the kind of slick, professional video footage your clients want.

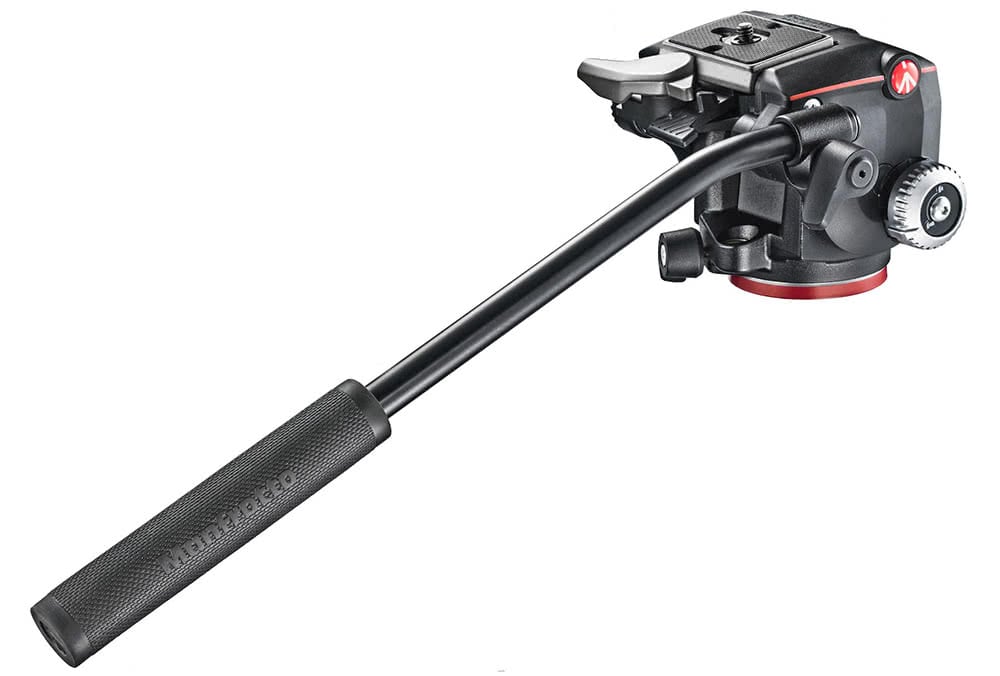
Pan head

We’re assuming you’ve already got a decent tripod in your arsenal, but you may not have a smooth pan head, and this is a must if you want to introduce movement to your shots and get away from constant statics. A fluid head will allow you to produce smooth panning movements to your videos and make them significantly more visually dynamic as a result. Many companies make dedicated video heads for this exact purpose — Manfrotto is a great place to start. 

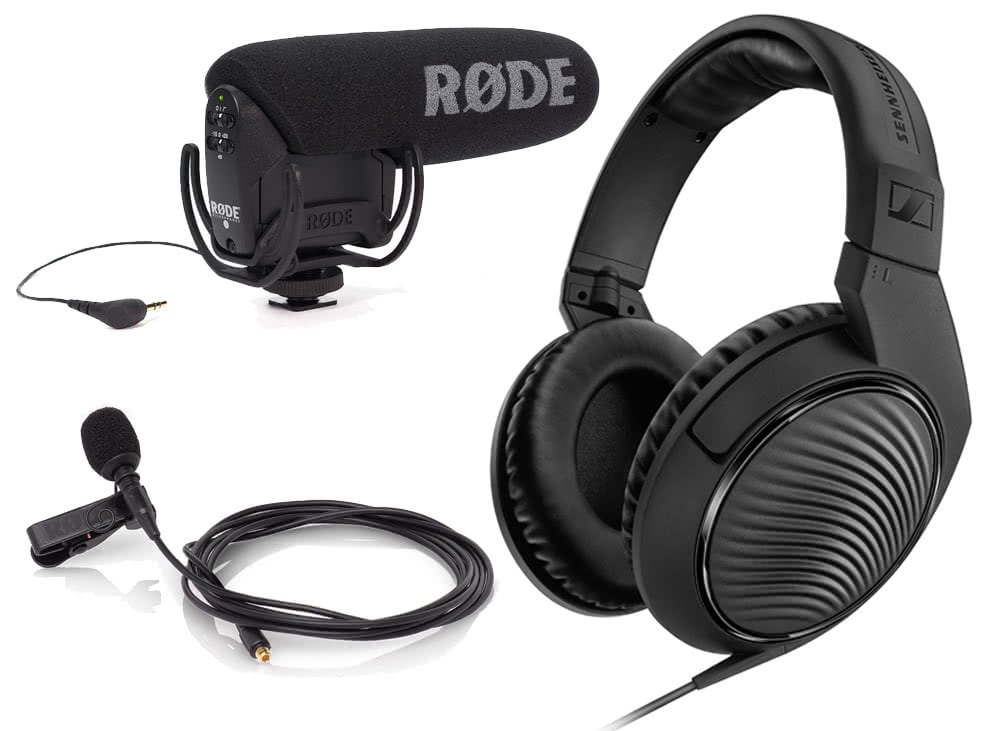
External microphones and monitoring headphones

Poor-quality audio is one of the two most glaring hallmarks of amateurish video (we’ll come onto the other one shortly). The built-in microphone on your DSLR is not going to cut it — you need to get hold of some professional audio-recording equipment. Precisely what you want to get does depend a little on what you’re planning to shoot — a hotshoe-mounting shotgun microphone is a good all-purpose tool for recording a scene in the moment, while clip-on lavalier mics are the best bet if you’re planning on shooting talking-head interview footage. The manufacturer Røde is a good bet for both types of microphone — its shotgun mics in particular offer useful extra features such as a safety channel designed to help you record in difficult environments.

 The other essential part of ensuring you have good audio is being able to monitor it — if your DSLR has a headphone jack, then investing in a pair of good-quality headphones is a very good idea. Try Sennheiser.


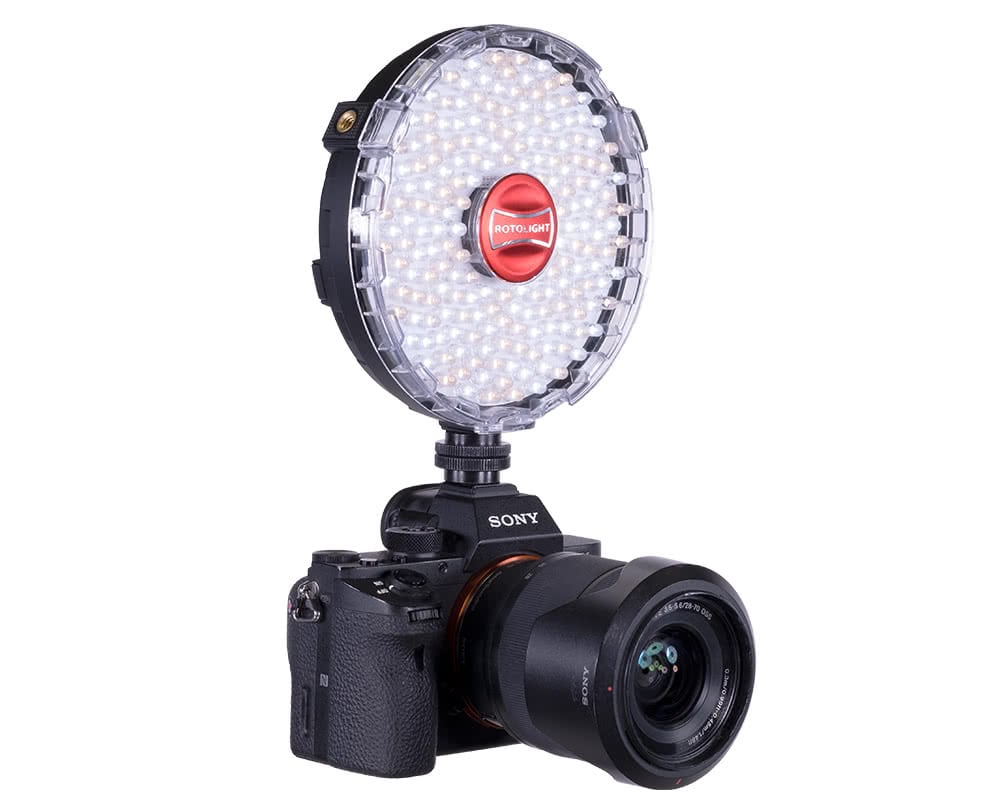
LED video light

Guess what the other hallmark of amateurish video is? You’re not always going to be able to rely on natural light to get the job done, and a simple portable fill light is a godsend in tough situations when the light isn’t playing ball. It’s worth looking into Rotolight’s LED lights — many of them also have high-speed sync capabilities, meaning they’ll also be useful for your stills work.

 Note that if you’re using multiple different light sources, it’d be worth picking up a set of colour correcting gels to ensure that they all match.


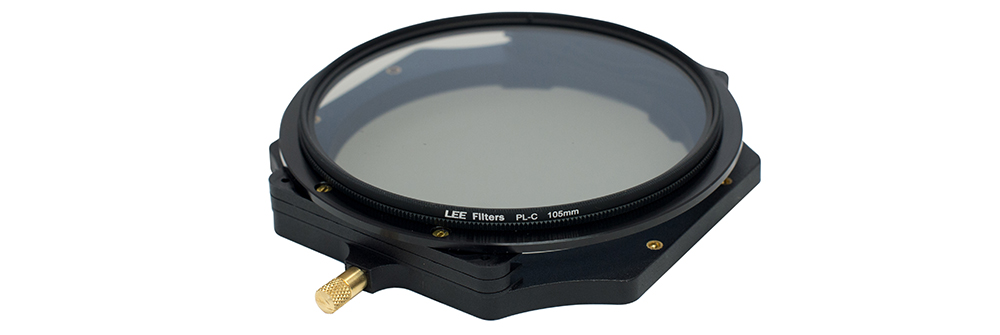
ND filter and polariser

If you’re an outdoor shooter you probably already have these. They’re just as useful for videography as they are for photography, and make a lightweight addition to your kit bag. Lee Filters, Hoya, B+W — all the usual suspects will sort you out just fine.


Fast, high-capacity memory cards

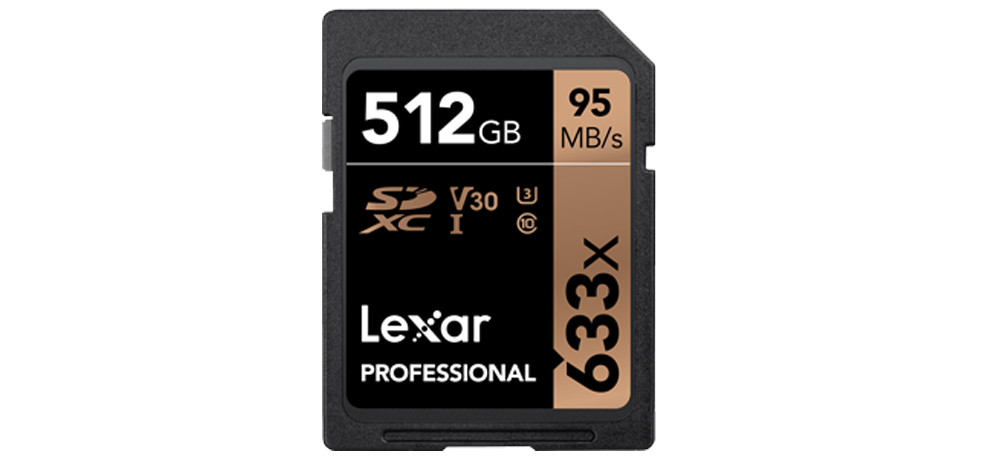
Video is memory-intensive. It uses a lot of it, and uses it quickly. Your camera’s SD card needs to be able to store lots of footage and provide the write-speed necessary to shoot it. The other benefit of a fast card is that it’ll also make uploading the footage to your computer faster once you’re done shooting, which is a nice way of making the edit less laborious. Lexar or SanDisk are good bets, and the more gigabytes the better.


Battery grip (and/or spare batteries)

Running out of battery mid-shoot is just as embarrassing for the videographer as it is for the photographer, and thanks to the power demands of video, it’s also significantly more likely. If your DSLR can take a battery grip then it’s well worth picking one up to boost your power capacity, and either way a good selection of spare batteries and a portable charger are all must-haves.


Handheld gimbal

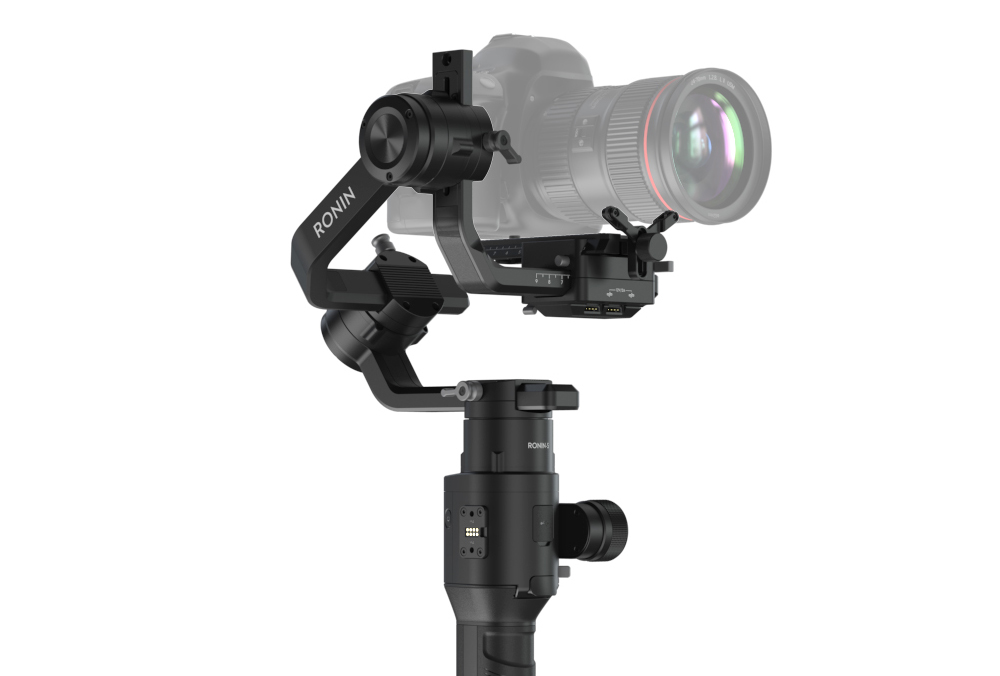
For handheld footage without the wobbles, a stabilising gimbal is a useful and compact tool. With the best ones, you can practically run with your camera without compromising the smoothness of the footage — great if you’re shooting unpredictable action and need to run-and-gun. More advanced stability aids are also available, however a handheld gimbal is the ideal starting point for the DSLR shooter. Something like the DJI Ronin S is a good starting point.


These are the basics you need to get started, but there are plenty more accessories you can use to take your video work further once you’re confident. We’ll cover those in a future blog — in the meantime, good luck!

Feature | Best Second or Backup Cameras image

Feature | Best Second or Backup Cameras

There are plenty of situations in which you might not want to use your big, bulky pro-spec DSLR. Taking photos is fun, whether it’s just grabbing a few street shots on a Sunday, or grabbing some images on holiday, and in these kind of situations, a backup second camera, something pocketable and self-contained, is a tremendous thing to have. It can also have professional uses too, allowing you a quick way to grab behind-the-scenes images or encouraging you to shoot with a different perspective.

Here, we run through some of our recommendations for pocketable second cameras you can carry everywhere with you.

Fujifilm X100 series

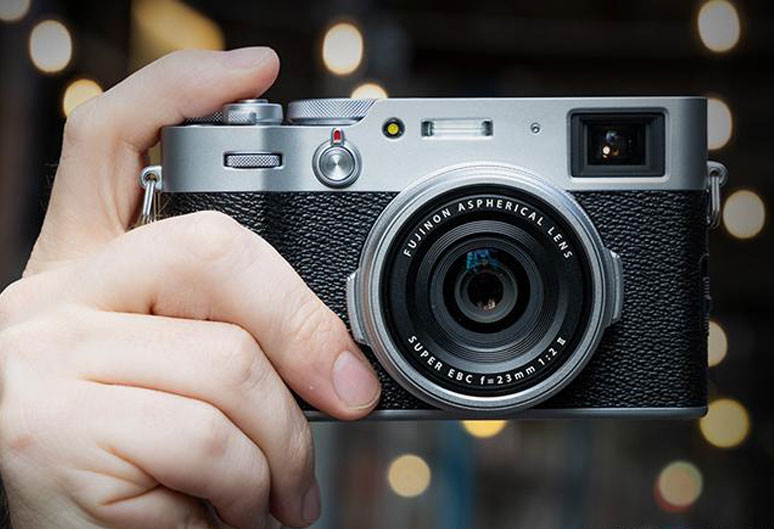
These are arguably the archetypal second cameras on the market right now. The series currently numbers four models — the original X100, the X100S, the X100T and the X100F, which was released at the start of 2017. All share a fixed focal-length 23mm lens (35mm in equivalent terms), and later models have been upgraded with more recent iterations of the X-Trans sensor. The X100F especially was a serious upgrade, using the X-Trans III sensor and the X Processor Pro, resulting in snappy focusing times with significantly better focus tracking.

So what is it about this series that photographers enjoy so much? Our friends at Wex Photo Video interviewed a few pros about why they love this series so much https://www.wexphotovideo.com/blog/features/Why-Photographers-Love-the-Fujifilm-X100-Series/, and the responses were interesting. Photographers praised the tactile, dial-led controls, the pocketability of the cameras, the optical/electronic hybrid viewfinder, the film simulation modes that produce beautiful images straight out of camera. For some of them, the X100 cameras have even found a place in their professional workflow, despite their fixed focal lengths.

Panasonic TZ series

These compacts have established  a well-earned reputation for being useful, all-rounder travel cameras (the TZ denotes ‘travel zoom’), and they make perfect pocketable companions. The series currently comprises the TZ70, TZ80, TZ90, TZ100 and TZ200. The range offers a pleasing variety of configuration, allowing you to pick your model to taste. For example, the triple-digit cameras both come sporting larger 1-inch sensors, compared to the 1/2.3-inch MOS sensors of the others; however, the double-digit models offer a greater zoom range of 30x (24-720mm, 35mm equivalent) compared to 10x (25-250mm) on the larger models. It’s a matter of personal preference.

Elsewhere, these cameras pack a lot into their light bodies. All come with 5-axis image stabilisation, and all save the TZ70 are able to record 4K video, and given that these are Panasonic Lumix models, can also use 4K Photo modes to extract 8MP stills from footage. They’re terrific travel cameras for a multitude of reasons, not least of which is the full Wi-FI connectivity present on every model — perfect for sharing shots.

Sony RX100 series

Since casually redefining the possibilities of the small compact camera with the original RX100 back in 2012, Sony has not rested on its laurel. Six years later and we are on the sixth iteration of the format, with the RX100 VI making its debut in 2018. Unusually, all six cameras are still widely available — the simple reason for this is that any one of them would make a worthy addition to any photographer’s kit bag.

The original RX100 turned the industry on its head by cramming a 20.1MP 1-inch Exmor CMOS sensor into a relatively small body, pairing it with a high-quality 28-100mm lens to make for a versatile, do-everything compact camera that can hold its own with the big boys. Subsequent models have more or less kept to this formula (with a little departure in the VI, which we’ll get to in a moment), and they improve incrementally in the ways you might expect, with higher ISO ranges, wider lens aperture, better processing times etc. The great thing about all the cameras being available (and of superb quality) is that you can balance your budget against the features you want and/or can live without and make a decision accordingly.

Finally, a word on the RX100 VI. Sony took a bit of a departure with this one and managed to get a telephoto lens in there, upping the focal length to 24-200mm, significantly more than the 24-100 and 24-70 ranges of the previous models. If you want the extra reach, it’s a solid bet.

Canon EOS M series

Many photographers enjoy the feel of a DSLR too much to give it up. If you want that DSLR handling to be present and correct even in your second camera, then the Canon EOS M series is worth looking into.

The series started with the original EOS M back in 2012, and has since grown with the EOS M5, M6, M50 and M100. The M5 is the mirrorless flagship, with others in the series offering a more slimmed-down experience, with prices to match. All feature high-quality sensors, and the EOS M50 is capable of shooting 4K video, making them more than a match for other cameras of their class.

Lens-wise, these camera use the EF-M mount, a pleasingly broad range that encompasses slim wide pancakes, longer telephotos and everything in between. If you’ve already got a hefty collection of Canon glass, you can also adapt it to your EOS M camera with the EF-EOS M mount adapter. This versatility and flexibility makes the M series an especially good choice of second camera for Canon users, whether it’s as a smaller camera to pack for a casual day out, or as a second camera on a professional shoot.

Feature | Using Profoto strip softboxes by Nyla Sammons image

Feature | Using Profoto strip softboxes by Nyla Sammons

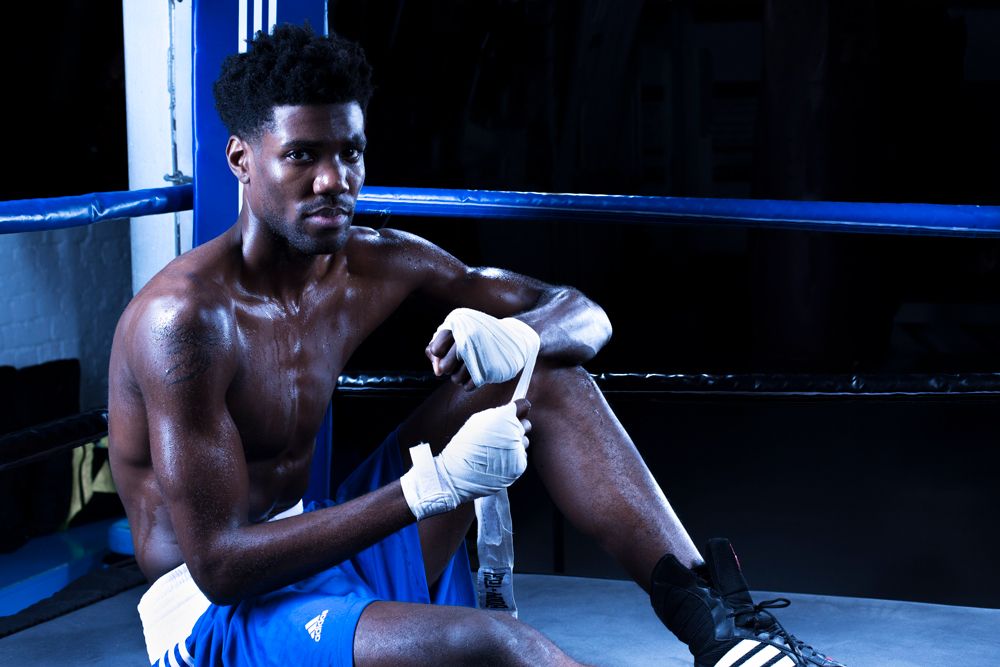
My go to light modifiers in general are a beauty dish or an octabox, which are generally the first types of light modifiers photographers buy after they have experimented with umbrellas and soft boxes, because of the nice quality of light those light modifiers produce. Recently I got to photograph Muay Thai boxer, Lawrence Brown and when I started planning the photoshoot, I knew I would want to light Lawrence with a four point lighting set up, which would include two strip boxes.

Why you may ask… well I knew I wanted to have the side Lawrence’s body illuminated and not lit in a flat way with one big light modifier. So I rented out two Profoto 1 x 6′ strip boxes. The long shape of the strip box, creates a unique light fall-off, which gives a soft, but dramatic light.

In controlling the spread of light and how it falls on the boxer, I created more of a dramatic mood. I did have a grid which I could have used, to control the light fall off even more, but when I did the test shots without the grid earlier on, it seemed to work perfectly. Although I didn’t need to use the grid, I do recommend you bring it on set, just in case you need to contain the spread of light.

When I set up lights for a photoshoot, I always build the lights one by one, so I started off with the right strip box and then the left strip box to get the right exposure for the sides of his body. I had the strip boxes in the boxing ring originally, but found that I didn’t get a nice light fall off, so I moved the strip boxes outside of the boxing ring. Once I was happy with the look of the light on the sides of Lawrence, I then exposed correctly for the back light and then the main light. Below is a photo of just the use of the strip boxes.

© Nyla Sammons 2018

I used a reflector as the light modifier on an Elinchrom light for the back light, to add light to his hair, so it wouldn’t get lot when I made the background darker in photoshop. I flagged the light at the bottom of the reflector, to reduce the light that was spilling onto his shoulders. I used a beauty dish, with silver on the inside, for the main light. I choose this light modifier to give a slightly contrasty look. I didn’t want to use a soft box and make the light too soft. Below is a BTS photo so you can see my lighting set up.

© Nyla Sammons 2018

The result that I was after, are shown in the photos below. A combination of dramatic lighting, but soft and flattering. The 1 x 6 long strip box, was a great choice as it pumped out enough light that reached some of the shadows, this allowed the transition between light and shade, more soft and gentle.

If you have time and access to a venue where you are doing a photoshoot, it’s always a good idea to check what the location looks like before the day of the photoshoot. Unfortunately I was unable to see the gym beforehand due to lack of time. So when I turned up at 7am, I was faced with a busy gym and a lot of boxers training. This then limited me to using one side of the ring away from people but I faced the problem of having the ropes of the ring next to a wall cluttered with posters and signs. At that point I made the conscious decision that I would darken the background in photoshop, to eliminate the distracting wall. Below are the retouched images.

© Nyla Sammons 2018

© Nyla Sammons 2018

For the next set of photos, I wanted Lawrence sitting down in the ring, I moved the lights to the other corner of the ring, because I wanted to get the look and feel of Lawrence in a boxing ring that was in a gym. This was the corner that would have me facing the problem of people walking behind Lawrence. I cut the ambient light quite a bit using high speed sync, but I didn’t want to kill off too much light, so I kept an eye to see when I could photograph safely. For this set up, I changed the colour temperature in camera to give a more cooler tone to the image. Again I used all four lights with the strip boxes working their magic on Lawrence to produce a dramatic and contrasty look.

You can see the retouched photos below.

© Nyla Sammons 2018

© Nyla Sammons 2018

To see more of Nyla’s work, have a look at her website here – www.nylasammons.com


Video: Nick Blackburn | Music: ‘I dunno’ by Grapes 2008 – Licensed under creative Commons Attribution (3.0)


Hi, how can we help?