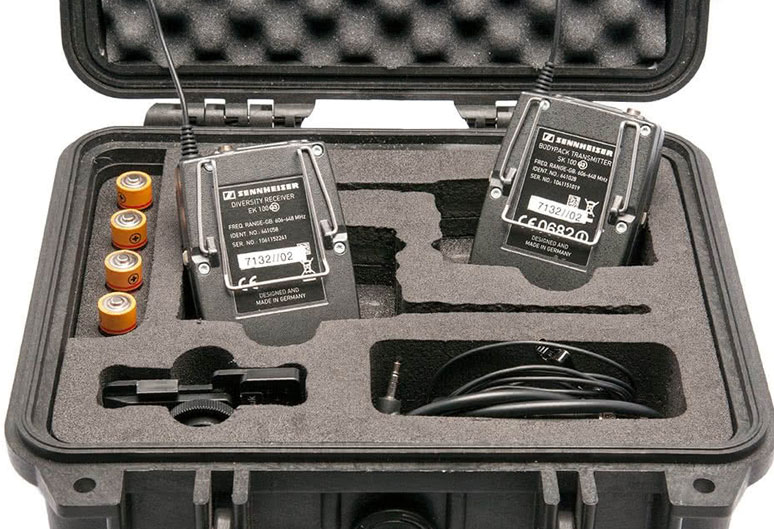
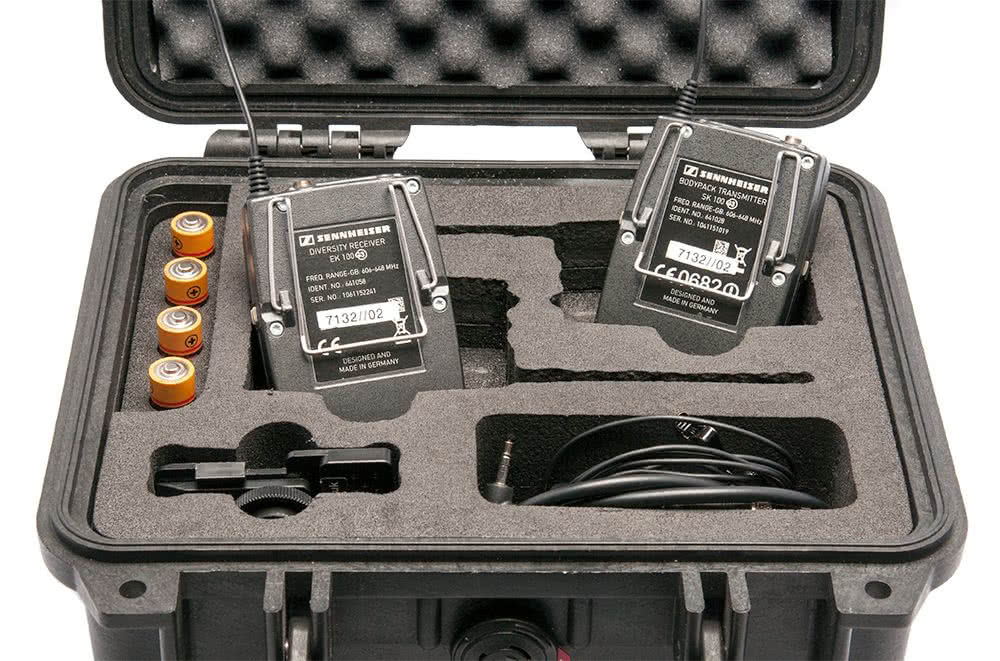
Polypropylene, or ‘Peli’ cases are a great solution for transporting camera gear and offer substantial impact protection along with waterproofing.
However, many of us make the mistake of storing our kit in these boxes when we get back from the shoot and that’s really not a good idea.
Moisture, however slight, will naturally collect on your equipment and once the lid is closed on your protective case, the moisture will have nowhere to evaporate and can cause fungus to grow in lenses and the viewfinder of your DSLR.
Keeping a few sachets of silica gel in the box will certainly help absorb some of this moisture, but these sachets are only effective for around 6 months, and to be fair, do you really know how long you’ve had those tatty packets in your case?
The golden rule then, is to store your kit in camera bags and only use the cases when you’re transporting gear.
Pretty much everything in the photographic world runs on batteries, and they need to be cared for. Battery corrosion can cause serious damage to equipment if left unchecked. In this quick blog we’re going to give you some tips on taking care of your batteries.
Not that long ago, nearly all photographic products were powered either by AA or AAA batteries, also known as alkaline batteries. Everything from Nikon’s old MD-4 film-advancing motor drives to Canon’s T90 cameras and battery packs for the first SLR cameras in the early 1960s would be powered by common, over-the-counter batteries.
Battery leakage has caused photographers problems for years. We’ve seen the issue plenty of times in the Fixation workshop – sometimes just getting the old leaked batteries out of the battery holder or battery box is almost impossible. Battery technology has greatly improved, and modern digital cameras now all mainly use Li-Ion batteries, which are designed to give far better performance. They’re rechargeable and more environmentally friendly. Very rarely do we see any problems with these types of batteries!
An important caveat though is that you should buy Li-Ion batteries from a reputable source. if you are buying online and the price of a third-party battery seems far too good to be true, it probably is. The battery will usually be a fake, and this can cause damage to your camera and void the warranty.
Nowadays most of us don’t buy anywhere near as many batteries as we used to. It’s easy to be shocked at how much a pack of AA or AAA batteries costs! However, most camera producers still sneak in one or two products that rely on common AA or AAA batteries, flashguns being among the most common, and therefore photographers still have to buy them.
We would always advise buying a recognised brand, like Energizer, Duracell or Panasonic. These do tend to be more expensive, but you’ll be better off in the long run. At Fixation, we have a wide selection of batteries, so give us a call if you’re going to need them in bulk, or just want to stock up.
If you’re going to buy third-party rechargeable lithium batteries, then we would recommend still using trusted brands like Ansmann and Hahnel, which rarely leak. Be aware that many third-party Li-Ion batteries have a slightly lower voltage, which can mean that they won`t last as long as conventional types and will need to be charged more often.
If you’re using hot-shoe flash units and flash triggers on a photographic shoot, then you’re going to be using AA or AAA batteries. What often happens in these cases is that when a photographer has finished, they put all their gear away in a hurry and leave the pesky batteries in the devices, sometimes forgetting about them for months on end. And what happens? Sometimes, the batteries leak.
Pulling a flash unit or trigger out of your camera bag only to find that its batteries have leaked is a photographer’s worst nightmare. If you haven’t brought a spare flash unit, you’re looking at a minimum of twenty minutes spent frantically cleaning the flash contacts up, and you’d better hope you brought some more batteries! And try doing all that with a client breathing down your neck. It can be extremely stressful!
We’re not shaming anyone – this can happen to any photographer. But it’s best to leave cleaning battery corrosion to the professionals. If your batteries have leaked, Fixation can help, either by cleaning or replacing the damaged parts and getting the flashgun or other device up and running again. In the best case scenario it’s just a matter of cleaning the contacts and battery li. Sometimes, however, due to the highly corrosive nature of the battery acid, the internal circuitry can be irreparably corroded. If so, we can provide documentation to this effect for your insurance.
All this can be costly, and the prevention is much nicer than the cure. So get in the habit of taking batteries out of your devices when you’re not using them!
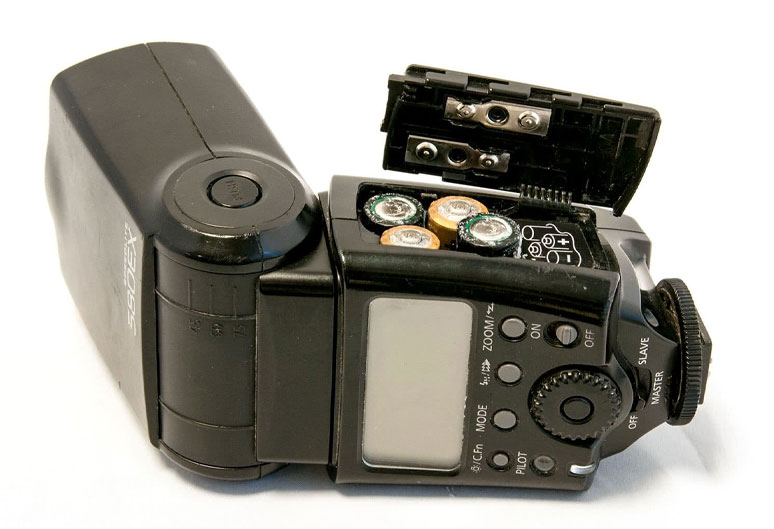
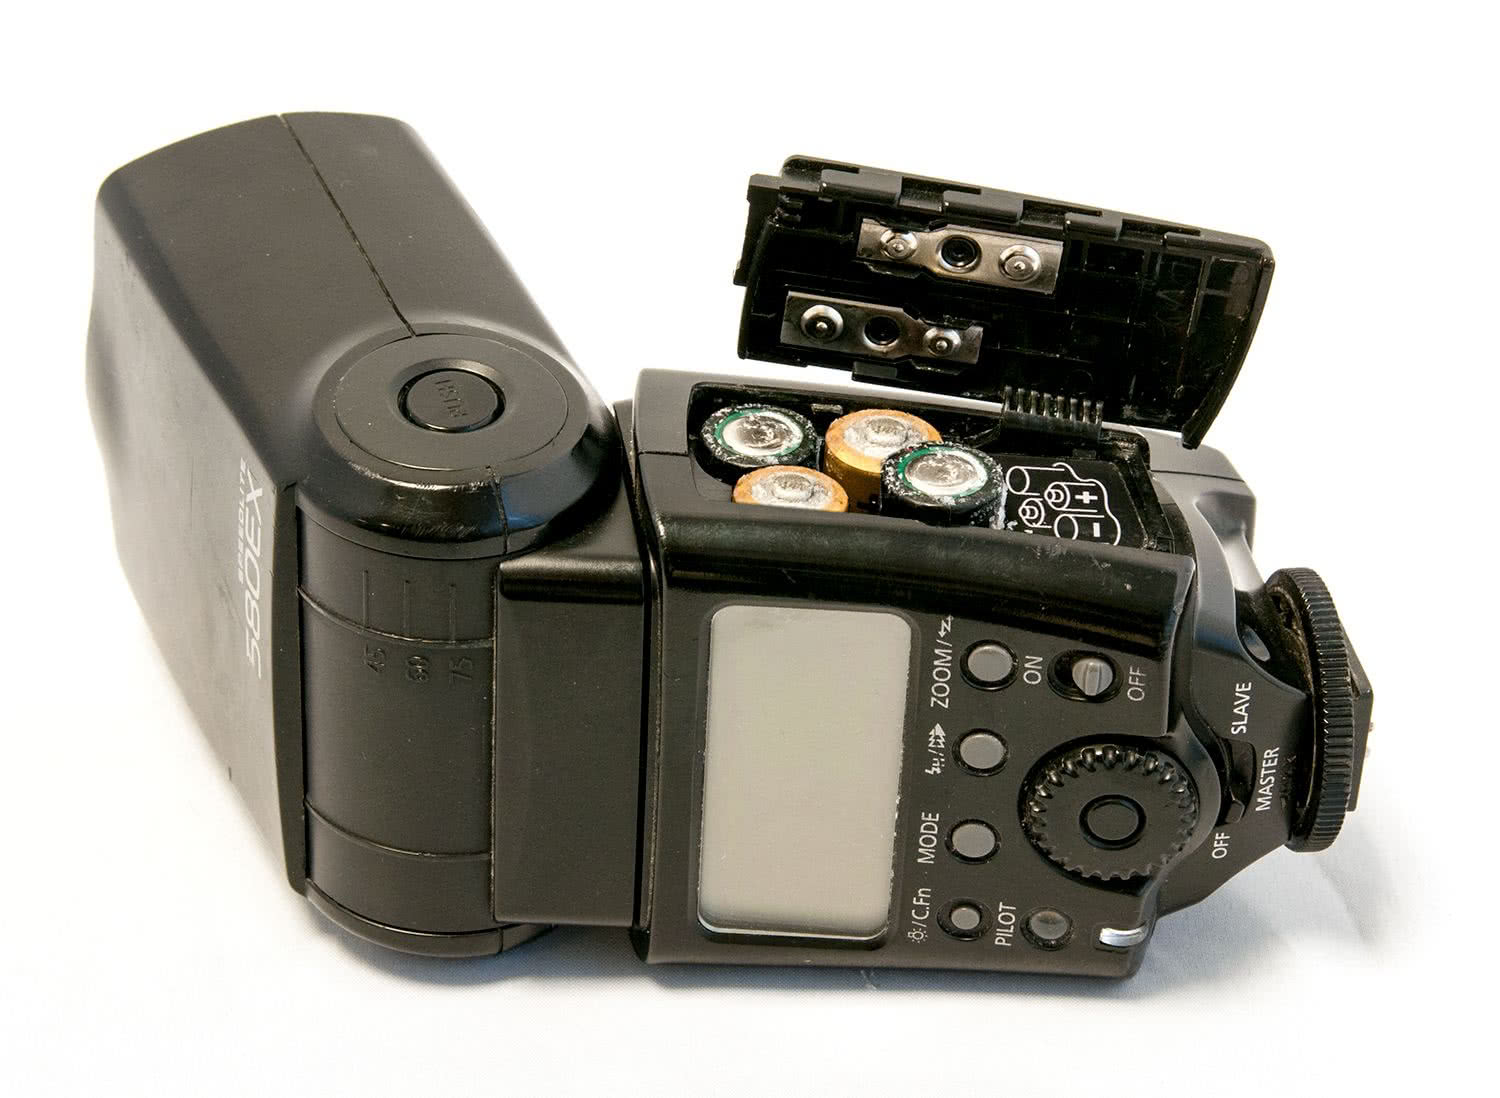
Take the case of this poor Speedlite. It had been left for a couple of months, and the batteries had leaked rather badly. There was a happy ending however, as it was simply a matter of carefully cleaning the contacts to remove the salty deposits, and the flashgun was as good as new.
In many cases though, if the batteries have leaked excessively, the battery acid can cause corroded contacts and find its way into the circuitry, rendering the equipment irreparable.
So, once again, make a point of taking the batteries out and storing them in a separate pouch or a dedicated pocket in your bag. This way, if they leak, at least they won’t damage anything expensive!
Disposing of batteries
Our responsibility to recycle correctly cannot be emphasised enough. At Fixation, we have regular collections of WEEE (Waste Electrical and Electronic Equipment) product, including batteries, from our home in London’s Vauxhall.
If your batteries have leaked and you have removed them, please do not throw in the general rubbish bin. These and all types of batteries contain some pretty nasty stuff (acid, lead, mercury, nickel) and they must be recycled correctly. We and all Wex Photo Video stores have collection bins for batteries, as do many other stores including all major supermarkets. We are always happy to recycle them for you, so just bring them in and we will deal with them in the correct way.
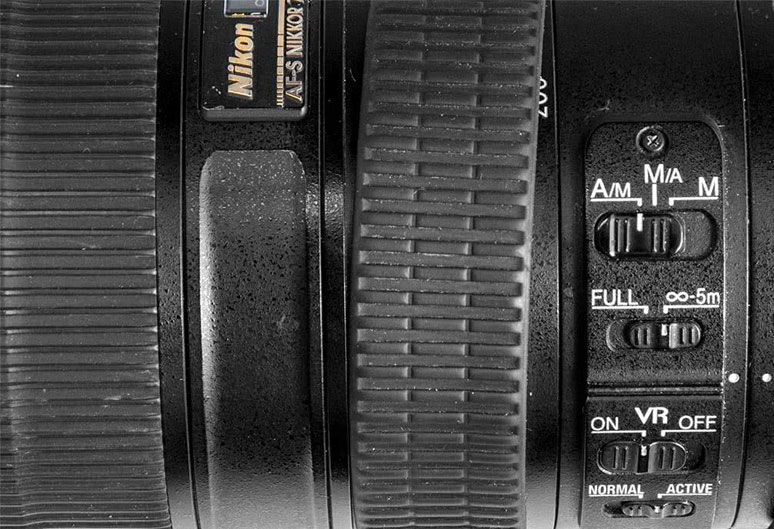
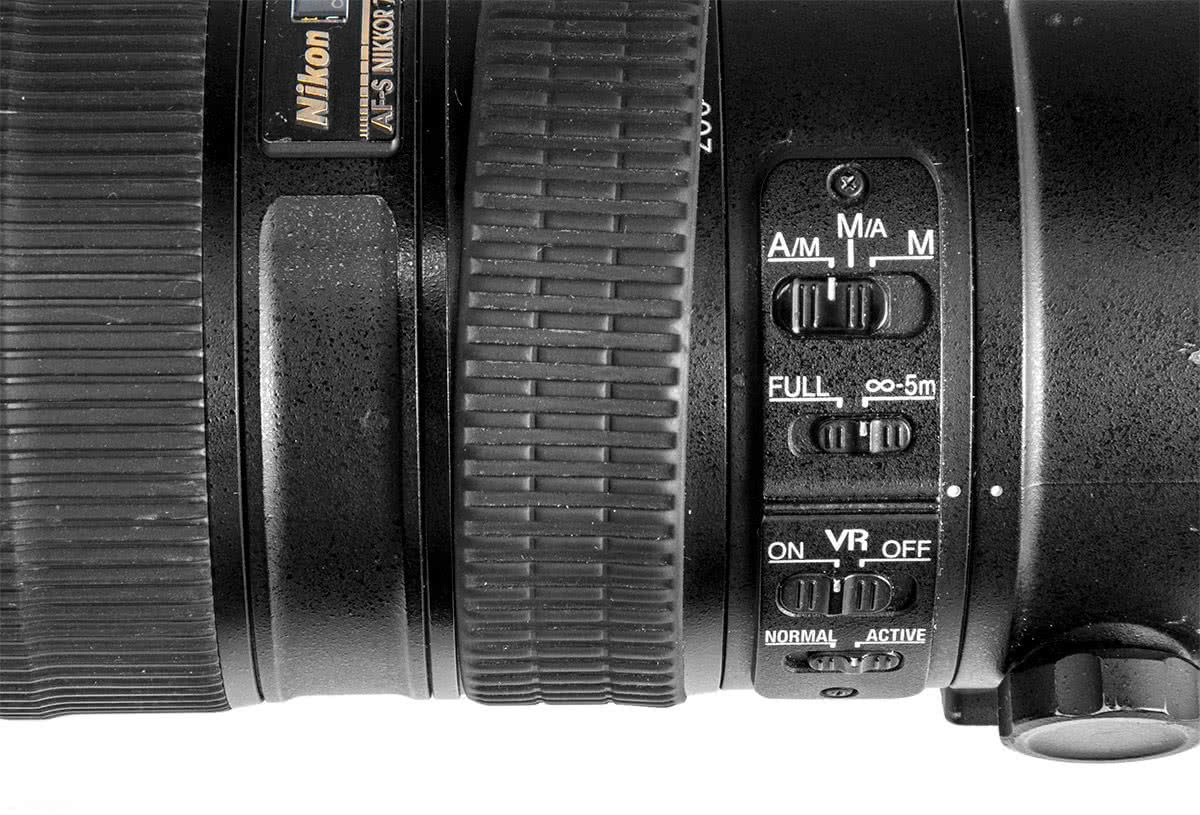
Loose lens grip rubbers are a frustrating and common problem for photographers and videographers alike. It’s easy to spend so much time worrying about the valuable lens elements and delicate lens coatings, not to mention the sophisticated sensor in your digital camera, that you forget about the little things. But if the little circular grip rubbers of your focus or zoom rings come loose, it can cause a whole host of problems!
For one, it makes your grip on the lens much less secure, and this means it’s easy to drop. You’ll probably end up squeezing the barrel more tightly to compensate, and this can easily cause mishandling or slippage at a crucial moment. It can also make it much more difficult to achieve a smooth zooming or focusing action, which can cause you to miss a crucial shot. If you’re a working photographer, or just someone who uses their camera a lot, a loose lens grip rubber is something you want to take care of sooner rather than later.
There are a few DIY solutions that some people have tried to fix loose lens grip rubbers. Some recommend a dab of adhesive or a double-sided tab to keep the rubber in place on the lens barrel. Others will even suggest heating the lens grip to shrink the rubber a little and help it stay in place, with a hair dryer or similar appliance! There’s also the tried and tested quick solution of wrapping a rubber band around the ring to hold it in place and make it easier to grip.
A Nikkor 70-200mm ƒ/2.8G with a stretched and loose zoom grip
All these are potentially workable. However, they tend to be stopgaps, meaning temporary solutions that are really just putting off the inevitable – that the lens grip rubber needs replacing. After all, with lens grip rubbers as cheap as they are, the best and safest thing to do is to get hold of a replacement part and fix it on at home.
Let’s quickly walk through the process.
Replacing lens grip rubbers
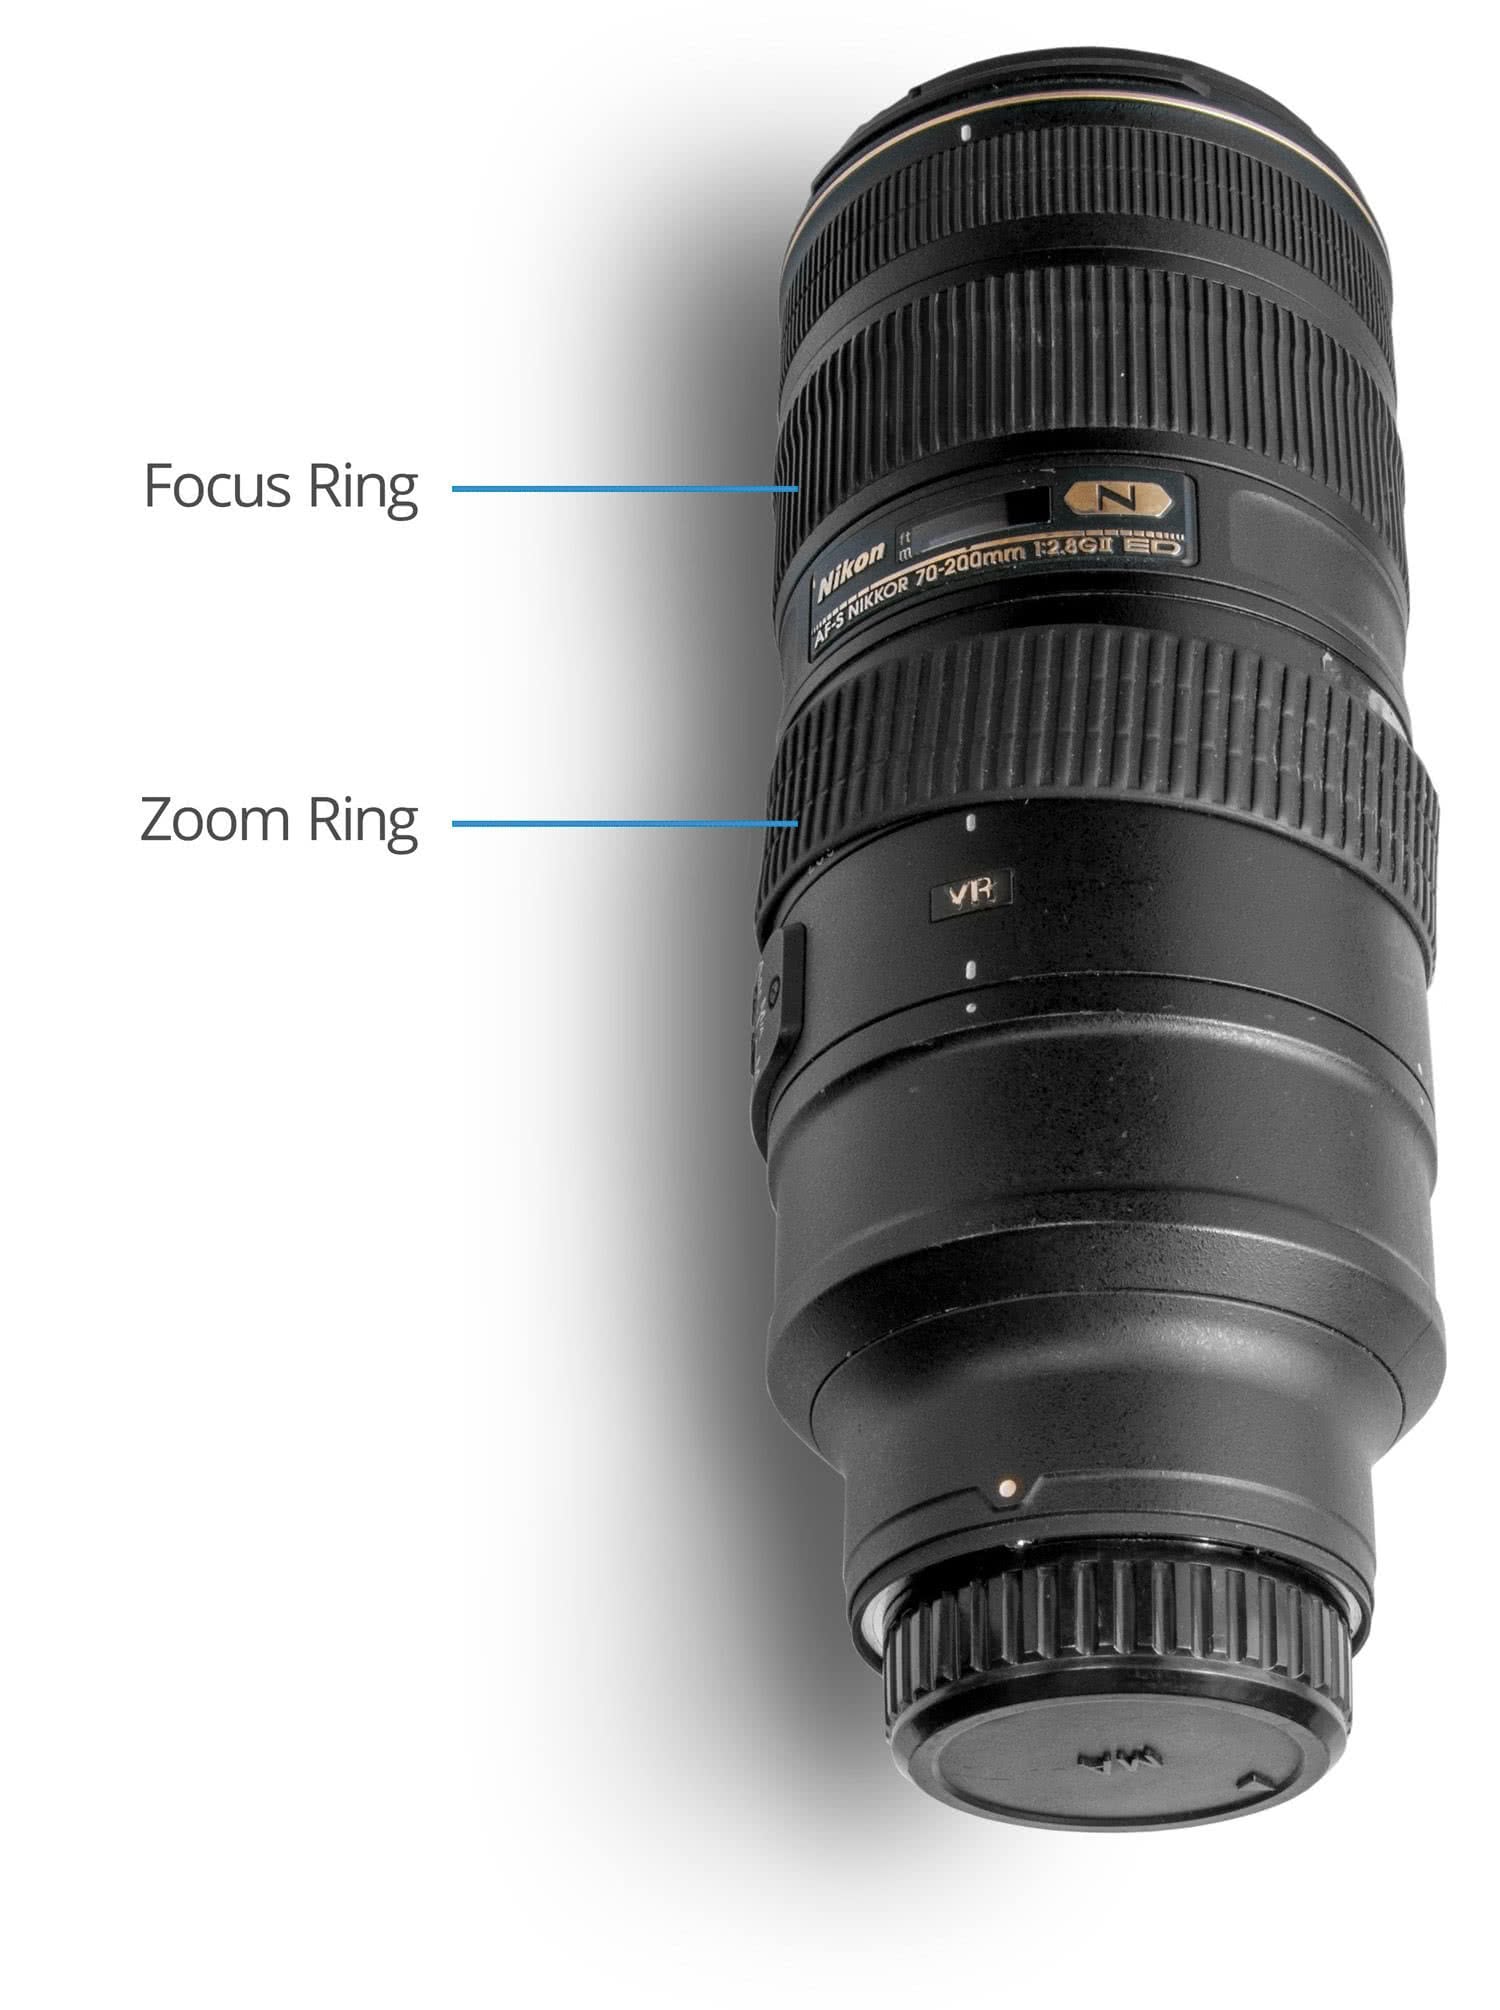
You can get in touch with us to order the correct grip rubbers for your lens – the details are at the bottom of this page. One important thing to remember is to ensure you’re getting the correct rubber for the focus ring or the zoom ring, depending on which has come loose. You’d be surprised how many people mistakenly order the wrong one! If you’re unsure, you can send us a photo of your lens to double-check.
Once you have the lens ring replacement, you can fit it yourself at home. Find a decent working space – an ordinary clean desk will do – and lay the lens out on it. Work off the loose lens ring if it isn’t completely off already.
Attaching the new lens grip ring is nice and straightforward – you don’t even need any adhesive! If the rubber is in the right place, it should fit snugly and stay there. The only trick is to make sure that the lens surface is completely clean, and does not have any loose dust or dirt particles on it, as this may compromise the fit of the grip rubber. Give it a good wipe with some methylated spirit and that should take care of it.
Once this is done, work the new grip rubber onto the lens, ensuring that it first snugly in the groove. Now that you’ve replaced the rubber, give it a few turns, check the rotating action is smooth and there isn’t any play between the rubber and the lens. Once this is done, you’re good to go!
Ordering new lens grip rubbers
To purchase grip rubbers, simply contact our admin team on 020 7582 3294 or email admin@fixationuk.com. The average cost is around £10.00 (excluding VAT).
Also, we know that not everyone likes tinkering with their own equipment, even for things as small as lens rubbers! If you’re not comfortable fitting the lens grip rubber yourself, our service department will happily oblige at no extra charge.
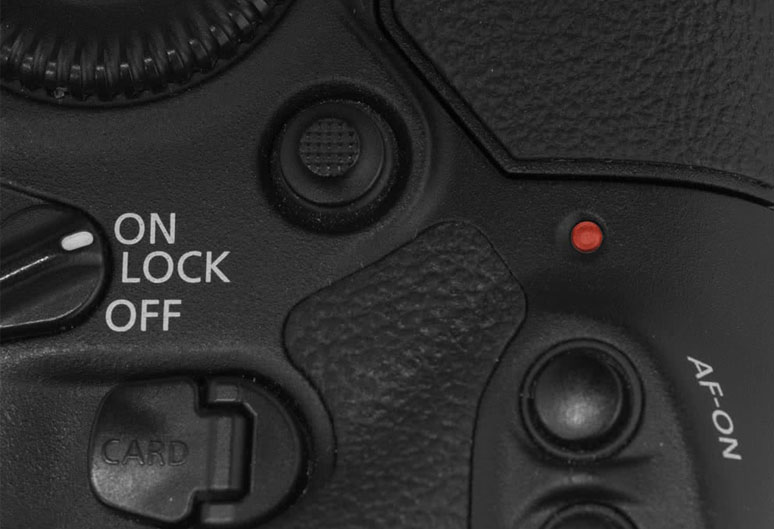
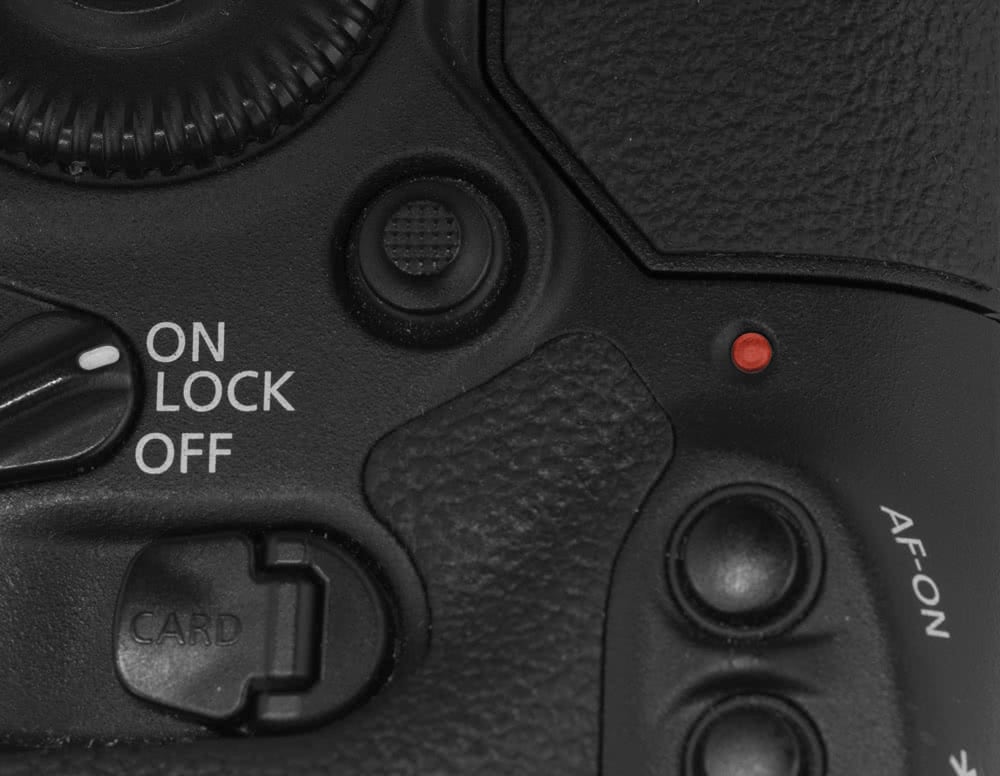
You’ll have all noticed the little light that blinks every now and then on the back of your DSLR; red on a Canon, green on a Nikon.
It’s there to indicate that the camera is accessing the card, either to write data when shooting or read data when previewing images. Something important to bear in mind though, is that you should never attempt to remove the card or the battery while the light is on.
If you’ve taken a large burst of images and your memory card isn’t particularly fast, you’ll notice the light on while the camera’s buffer writes the data to the card. If this process is interrupted you stand a very good chance of corrupting not only the images the camera is currently writing, but the entire contents of the card! The same principle applies if you remove the battery during the same process.
Nikon cameras have a green lamp
Canon cameras have a red lamp
Yes, there is software available that can access corrupt data, but it’s not a 100% guaranteed operation.
It’s perfectly safe to turn the camera off while the light is on; the camera’s power will actually stay on until the writing process is complete so there’s no danger of losing anything, just don’t get carried away and pop the card out early or remove the battery.
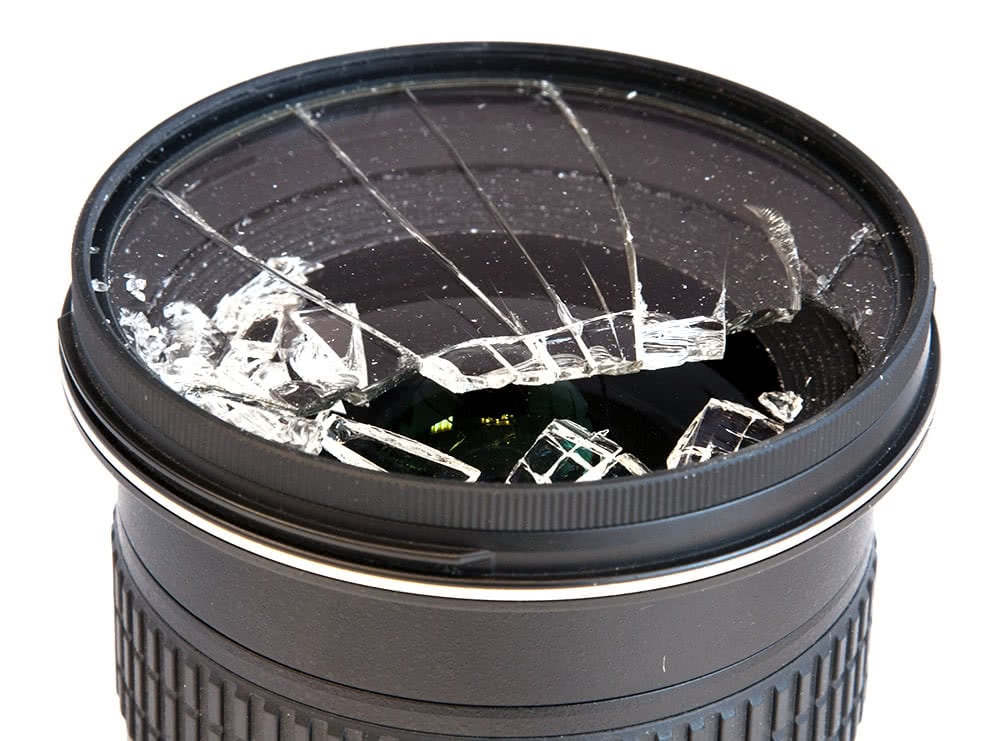
I’m sure we all recognise the importance of keeping a UV or protector filter on our lenses, but judging by the number of scratched front elements we see in our workshop every week, it looks like some photographers believe in living dangerously.
It can sometimes feel like a hard-sell when the salesman suggests you part with even more money on top of the considerable amount you’ve just handed over for your lovely new glass, but there’s a good reason for it…
This 12-24mm ƒ/4 Nikkor arrived recently looking rather sorry for itself and an accidental drop. Luckily the filter had taken the brunt and the front element was untouched, so £40 for a new filter and the customer was happily on their way, rather than spending around £275 to have a new front element fitted.
Oh, and another £40 for a filter, in case the lens attempted to defy gravity again!
We use cookies on our website to give you the most relevant experience by remembering your preferences and repeat visits. By clicking “Accept”, you consent to the use of all the cookies.
This website uses cookies to improve your experience while you navigate through the website. Out of these cookies, the cookies that are categorized as necessary are stored on your browser as they are essential for the working of basic functionalities of the website. We also use third-party cookies that help us analyze and understand how you use this website. These cookies will be stored in your browser only with your consent. You also have the option to opt-out of these cookies. But opting out of some of these cookies may have an effect on your browsing experience. We log visitor IP addresses and cookie preferences for due diligence reporting.
Necessary cookies are absolutely essential for the website to function properly. These cookies ensure basic functionalities and security features of the website, anonymously.
Advertisement cookies are used to provide visitors with relevant ads and marketing campaigns. These cookies track visitors across websites and collect information to provide customized ads.
Performance cookies are used to understand and analyze the key performance indexes of the website which helps in delivering a better user experience for the visitors.
Analytical cookies are used to understand how visitors interact with the website. These cookies help provide information on metrics the number of visitors, bounce rate, traffic source, etc.
Functional cookies help to perform certain functionalities like sharing the content of the website on social media platforms, collect feedbacks, and other third-party features.